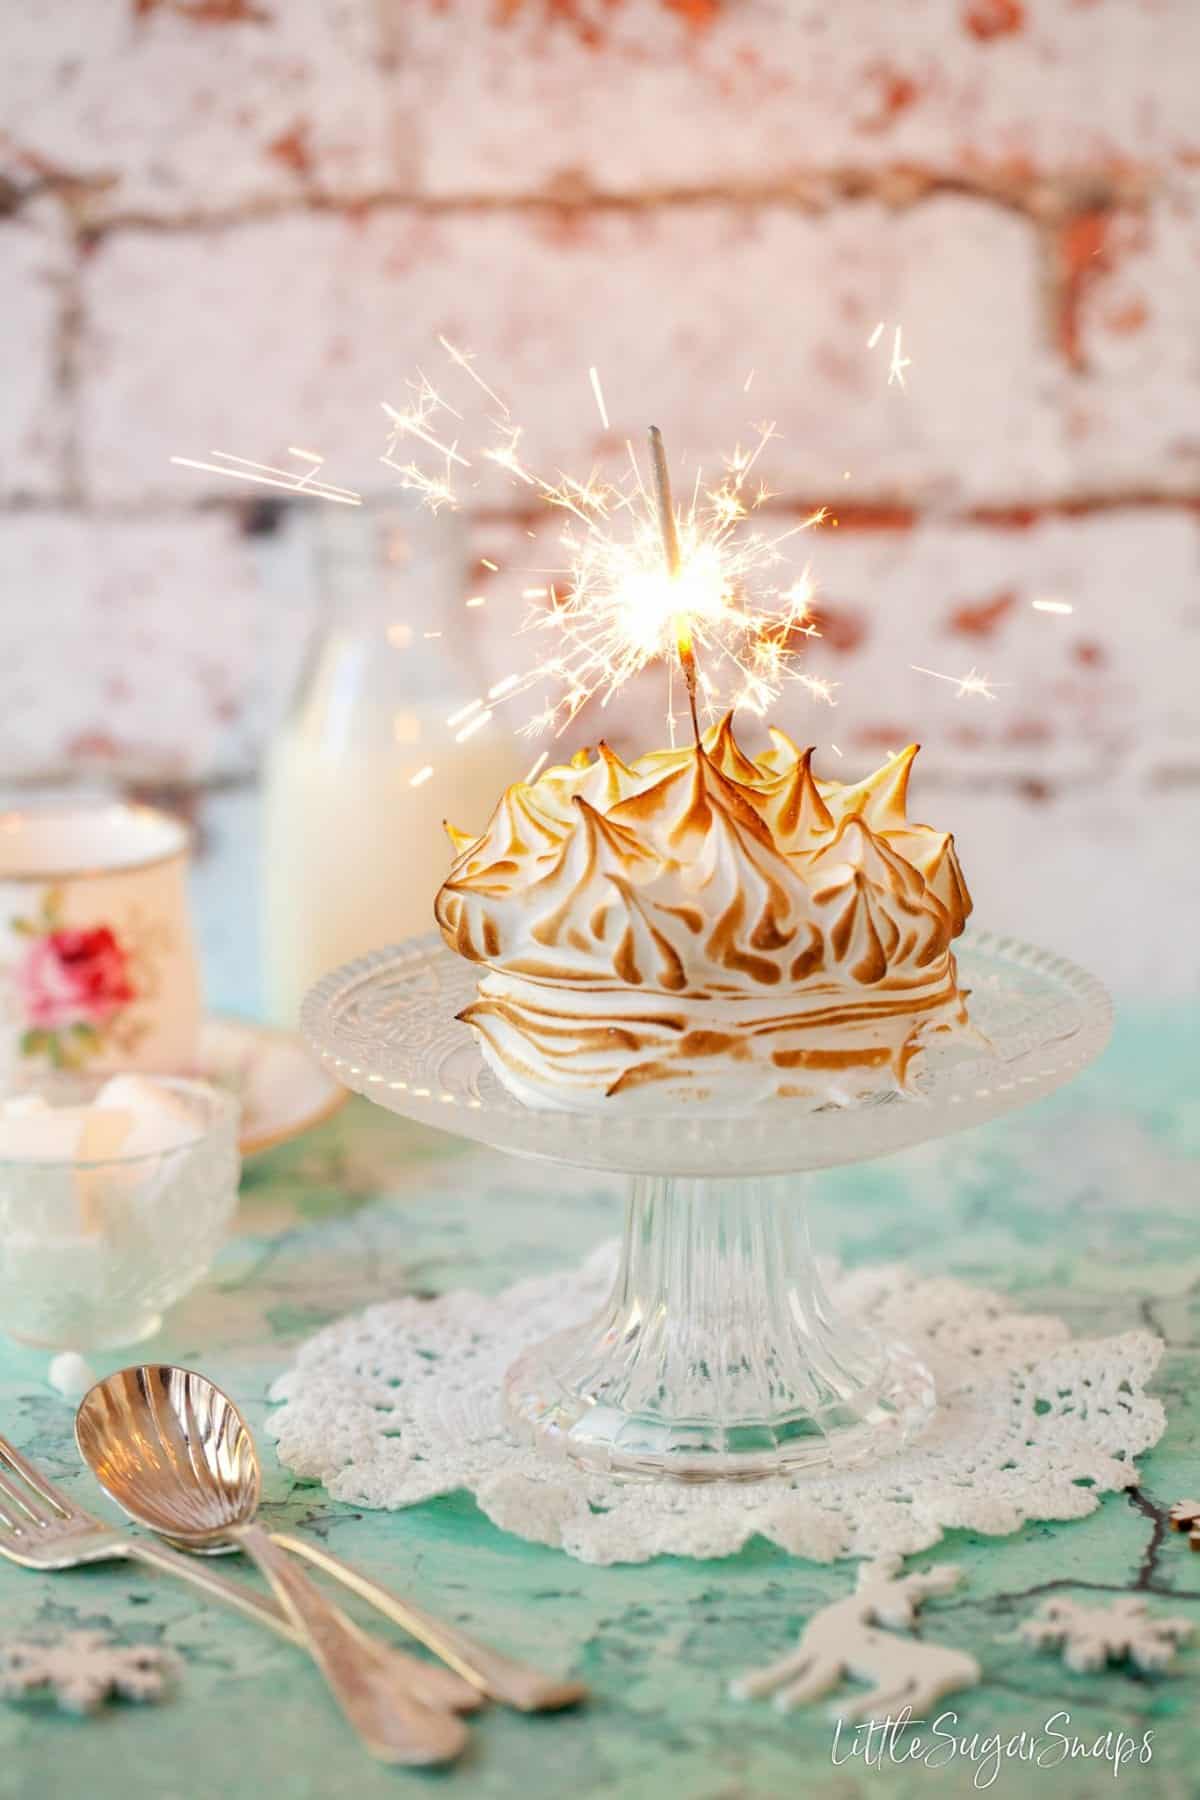
Individual Baked Alaskas are an impressively showy dessert bound to delight any guest who is sitting at your table. Panettone and mincemeat add welcome fruit and spice to this classic dessert.
This post may contain affiliate links. As an Amazon Associate, I earn from qualifying purchases.
Christmas leftovers – do you still have some? I really do hope you do. This post was meant to come out much earlier in January, but I hit a snag and missed my opportunity to photograph them. That meant I had to wait another week to have my helpers on stand by to polish off these beauties once I’d finished clicking – ice cream waits for nobody.
These individual Baked Alaskas require two foods most readily at hand around Christmas time – Panettone and mincemeat. I usually have the leftovers lingering into the New Year, so I’ve been serving a variation of this show-stopping dessert up for a while now.
It’s so late in January now, that I did consider holding this recipe back until next January. But rather than sitting on this recipe for a year, I’m taking the view that if you see these mini Baked Alaskas now, then you can keep the recipe safe and ensure you have leftovers next January to make them. That, or run around raiding the pantries of all family and friends until you find a forgotten about stash of Christmas goodies. Somebody, somewhere, must have some leftovers you can put to good use, right?
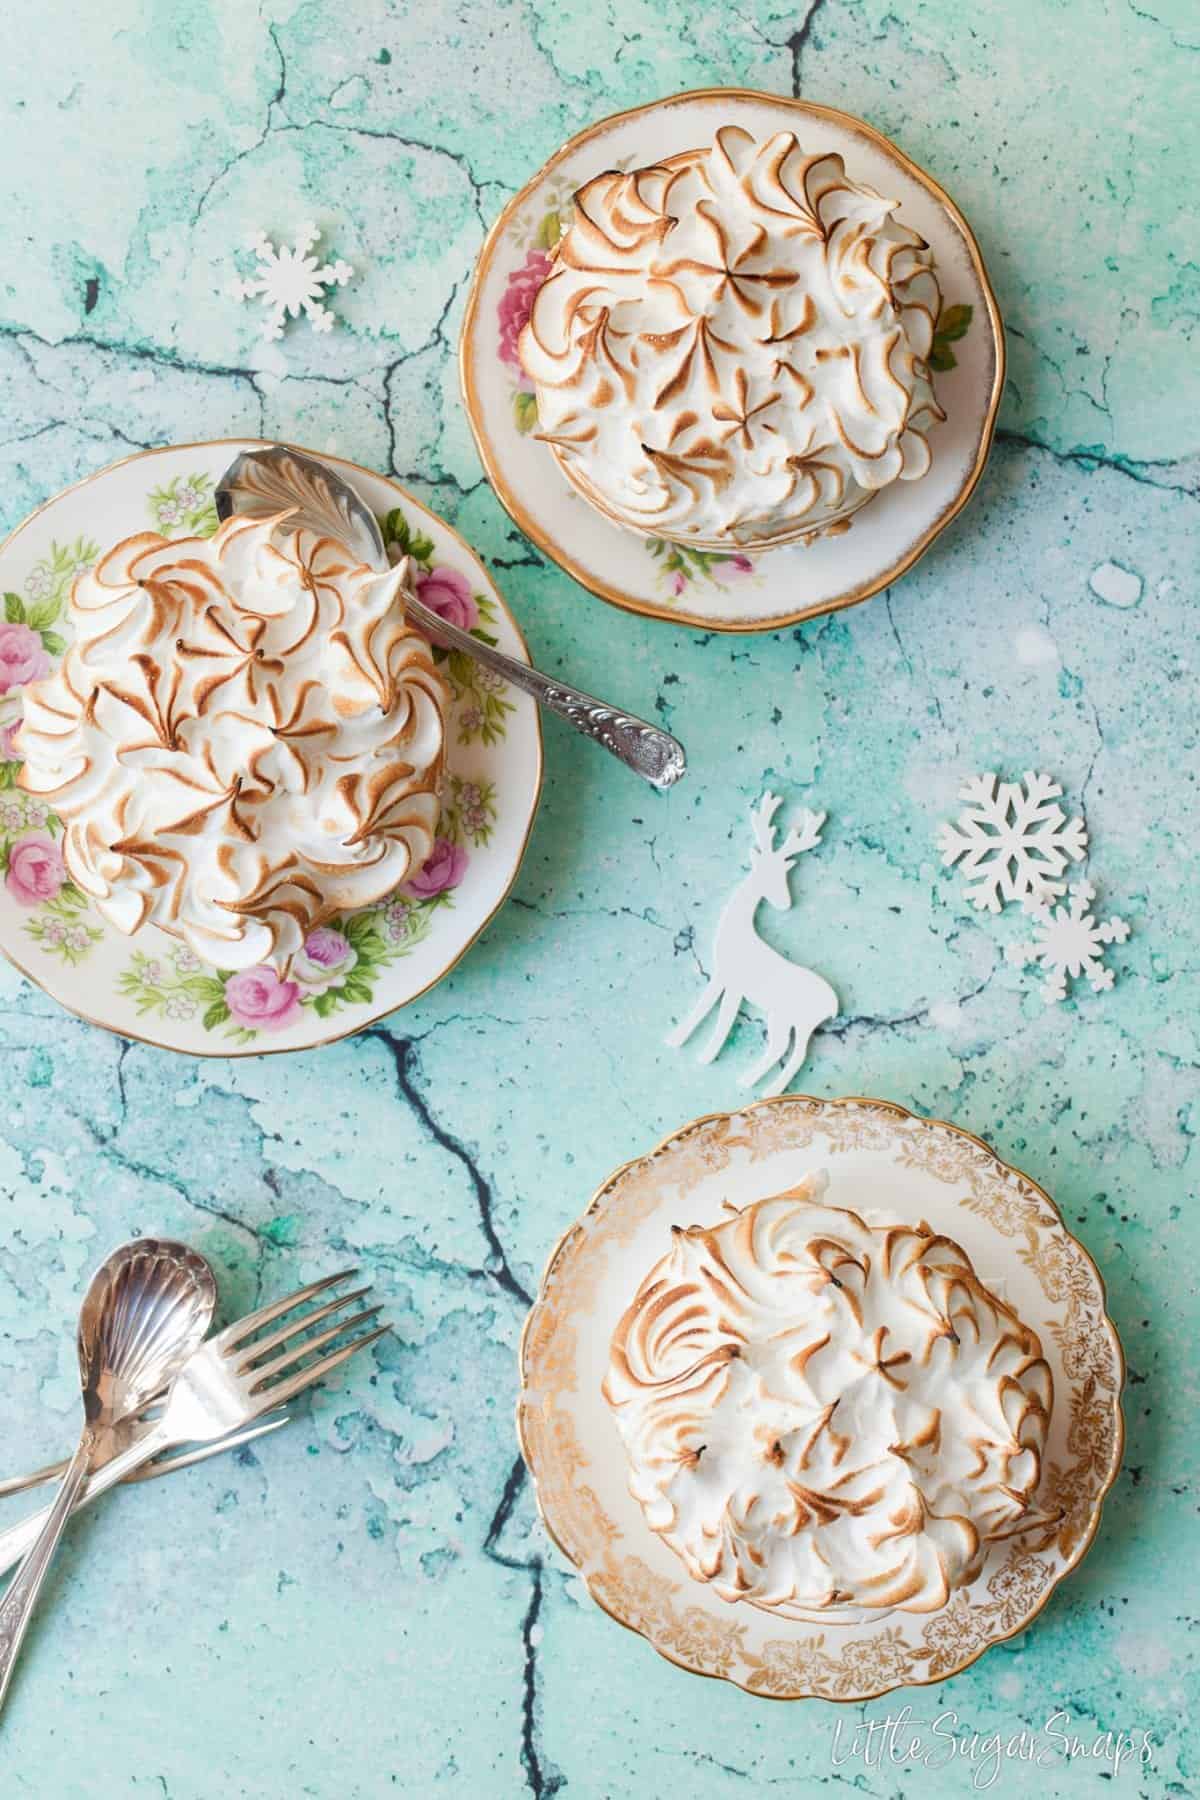
Baked Alaska is a slightly retro, undeniably showy and utterly impressive dessert. In fact, I’d go as far as to say that Baked Alaska is the extrovert of the dessert world.
These Christmas themed individual Baked Alaskas bring a fruity and sweetly spiced edge to this eye-catching and extravagant classic pudding. I’ve replaced the sponge cake with panettone that has been blended with homemade mincemeat. Topped with creamy vanilla ice cream & pillowy toasted Swiss meringue, it really is a great way to beat the January blues and use up those Christmas leftovers.
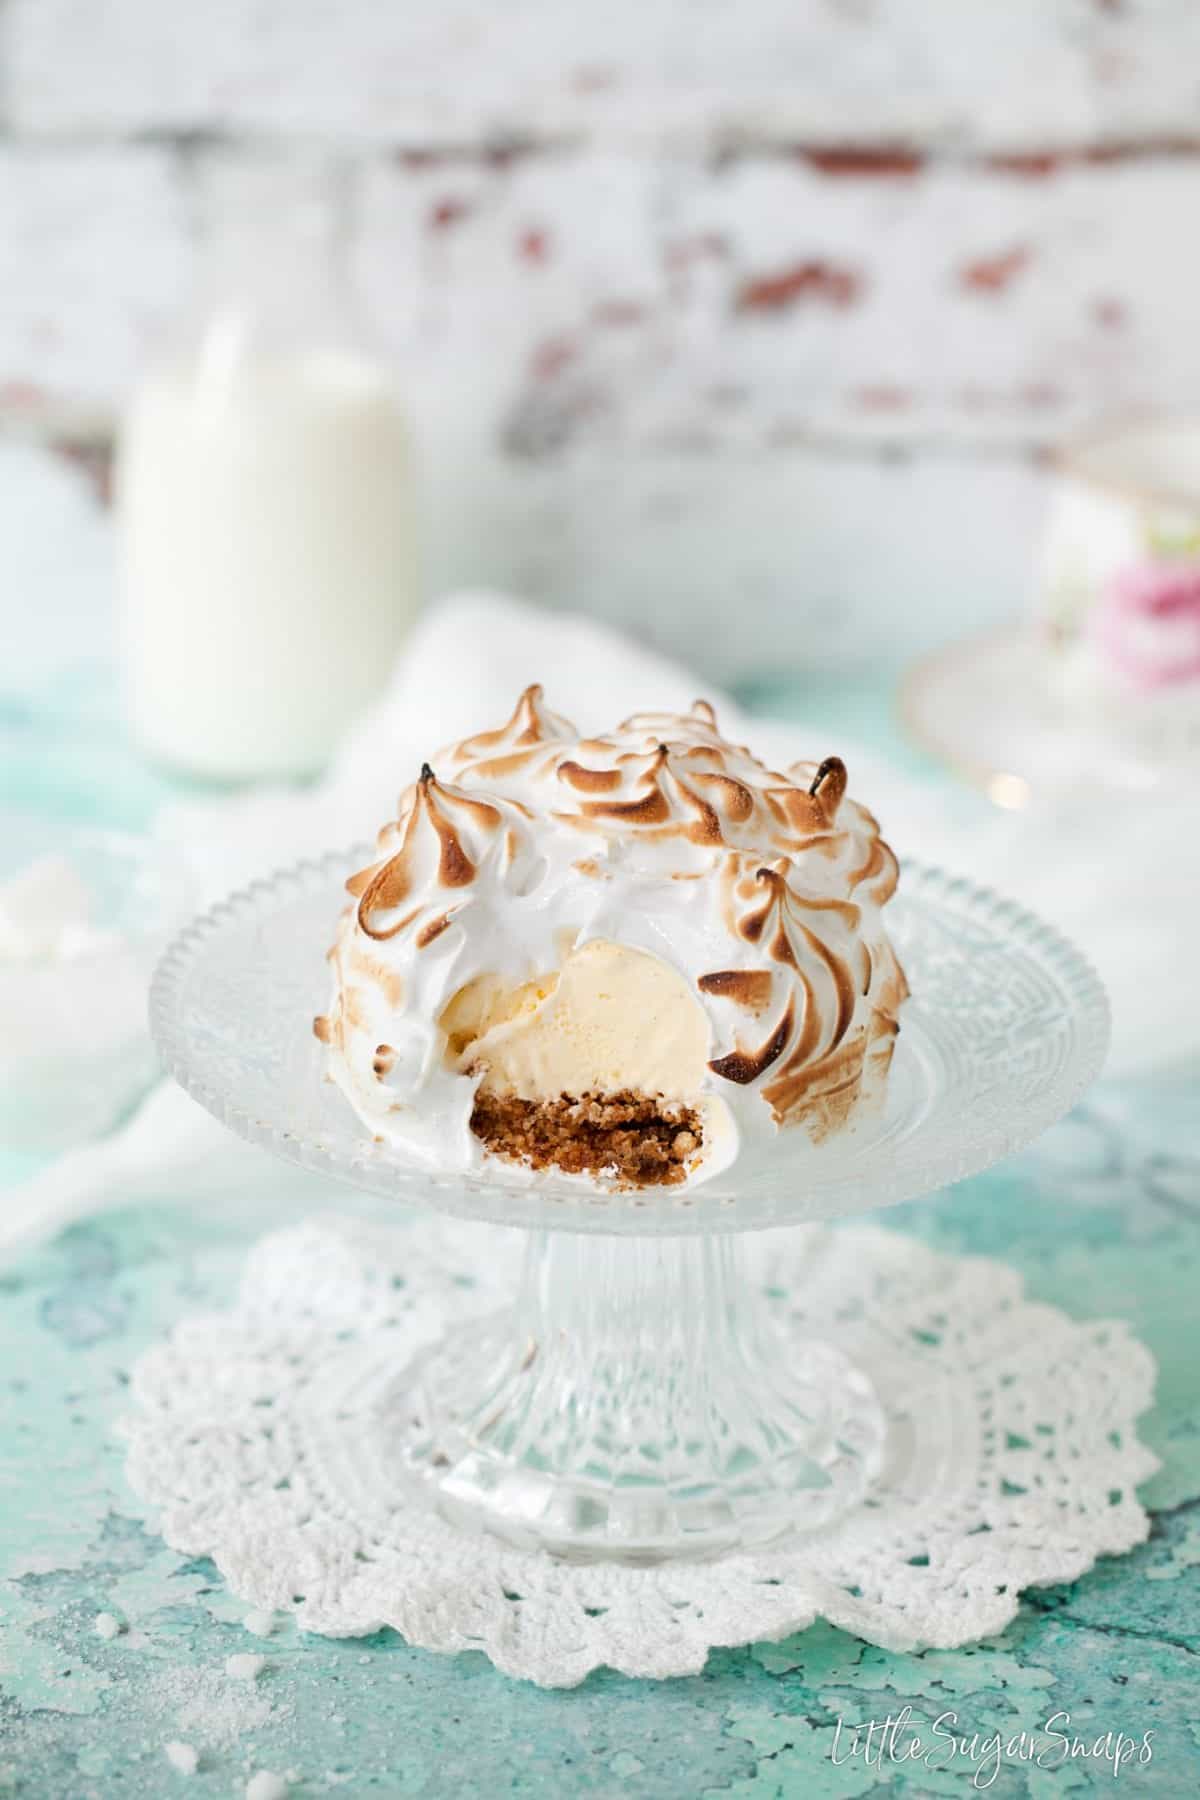
At first glance, making these mini Baked Alaskas might seem like quite a bit of work. But the good news is: it’s not as complicated as it sounds. The trick is to work methodically and quickly. To help you along, should this be your first time around at making Baked Alaska, I have a few tips.
How to make Baked Alaska
Timing is crucial for success when making any Baked Alaska. But it can be done in stages:
- prepare your base – in this case, a blend of panettone and mincemeat firmly pressed into a ramekin
- top with softened ice cream – again, firmly pressed down to ensure no gaps
- freeze really well – preferably overnight, but for a minimum of 4 hours
- Make the Swiss meringue – this can be done slightly ahead of time too
- Quickly (very quickly) cover each dessert with the meringue – piping is quicker and neater than spooning it on
- Use a kitchen blowtorch to toast the meringue – this gives much better results than cooking in the oven
- Serve straight away and leave no leftovers
That’s seven steps to an exhibitionist style dessert that is sure to impress guests.
But there are a few more things to note:
- this recipe creates 4 substantial individual baked Alaska desserts. It can be made in a 6-inch cake tin to serve 5-6 smaller portions if large sweets are not your thing
- there will most likely be meringue to spare. In this case, more is most definitely better than less. Running out on the final dessert is not a sensible option. Bake any leftover meringue afterwards
- if using the oven rather than a blowtorch, cooking times vary depending on the size of the dessert – read the recipe carefully
- talking of the recipe, I highly recommend reading it start to finish before you begin
- and to reiterate, do work as quickly as possible once the desserts come out of the freezer
- finally, if you have long hair, tie it back when it’s meringue time – that’s my voice of sticky haired experience talking
And that’s it. When broken down into simple stages, these individual Christmas Baked Alaskas are really not as intimidating as the lengthy instructions would have you believe.
But these puddings are impressive beauties. Don’t forget to save the recipe for next year… My family usually enjoy them at the very start of January each year.
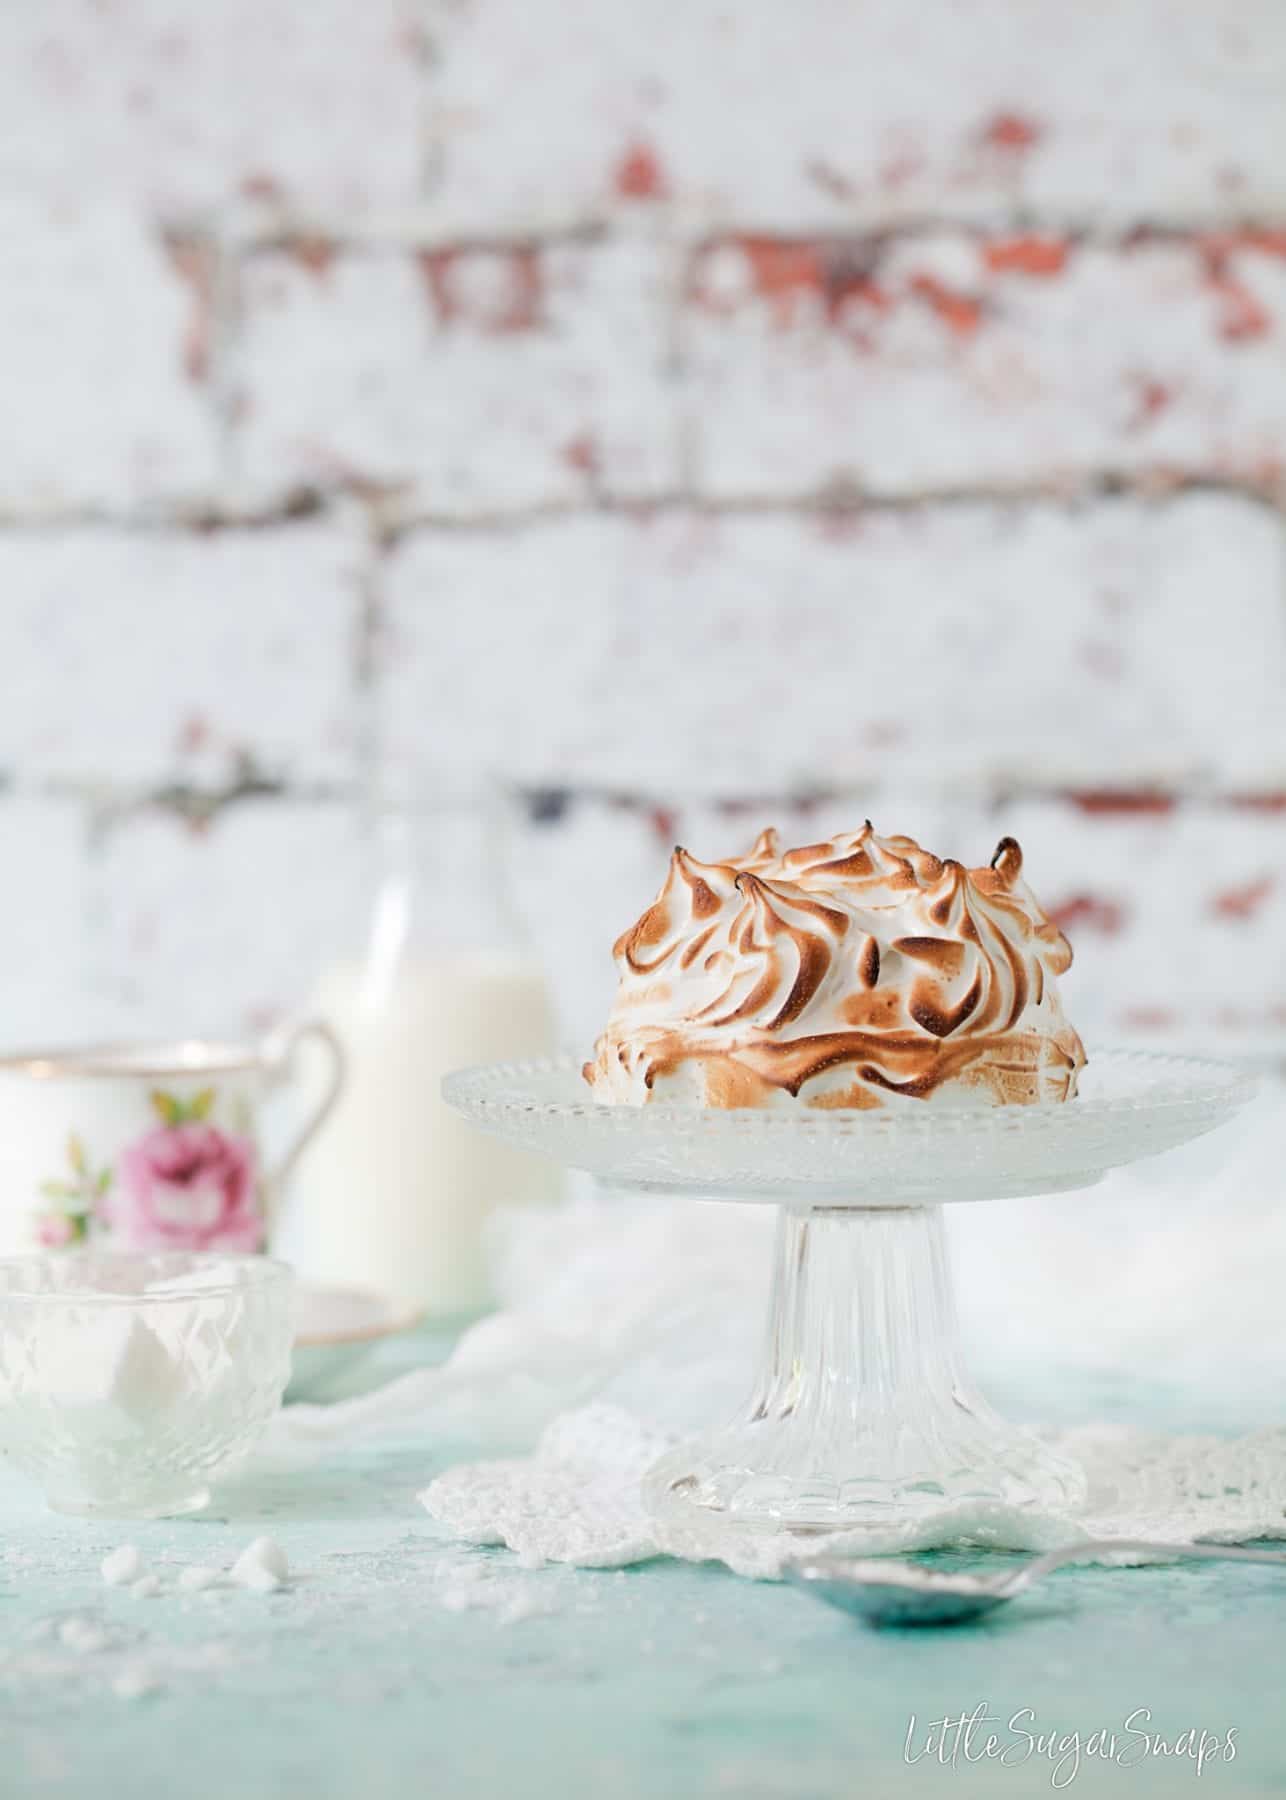
This recipe is a great way to use up mincemeat and panettone. If you are looking for a way to use up Christmas pudding, try these homemade chocolates.
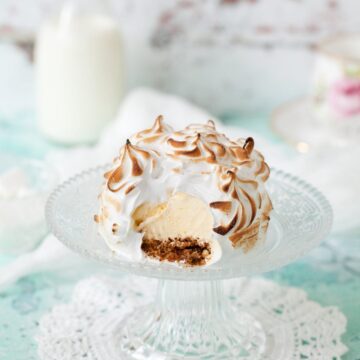
Individual Baked Alaska with Panettone & Mincemeat
Ingredients
For the Base & Ice Cream
- 140 g/ 5 oz Panettone
- 8 teaspoon Mincemeat
- 500 ml/ 16 fl oz Vanilla ice cream (not soft serve)
For the Swiss Meringue
- 4 (160g) Egg whites (large)
- 250 g/ 1 ¼ cup White Sugar
Equipment Needed – blow torch
Instructions
** Please read the instructions in full before attempting this recipe **
Prepare the Base Layers
- Choose your ramekins (7-8cm diameter) if making individual desserts or a larger tin (a 6 inch round cake tin would be ideal). Line with a piece of clingfilm – it needs to be large enough to cover the base and sides of the ramekin/ tin and also cover the contents on the ramekin/ tin
- Put the panettone into a food processor and pulse until it looks like breadcrumbs
- Add the mincemeat and pulse again until the large pieces of fruit are broken down and the mixture sticks together when gently squeezed in your hand (add another spoon of mincemeat if it does not stick together at this point – some mincemeats are more fluid than others)
- Divide the mixture between the ramekins and press down firmly using the back of a teaspoon
- Allow the ice cream to soften slightly, then divide between the ramekins, pressing it firmly into the dish to ensure it is well packed
- Cover the ice cream with the over-hanging clingfilm and place in the freezer for 4 hours (or overnight) to firm up
Make the Swiss Meringue
- Put the egg whites and sugar into a spotlessly clean heatproof bowl and beat gently with a handheld whisk
- Place the bowl over a pan of simmering water (this is a double boiler). Ensure that the bottom of the bowl is not touching the water
- Heat the egg whites, gently whisking continuously, until the mix reaches a temperature of 71C/ 160F on a food thermometer
- Transfer the egg whites to the bowl of a stand mixer and whip (using high speed). First, the mixture will cool, turning white & foamy. Continue to whip until the mixture reaches the stiff peak stage. By this time it will be thick & glossy
- Spoon the meringue into a large piping back fitted with a large closed star/ flower nozzle (I used a Jem 2D)
Assembling the Baked Alaska
- Work quickly when assembling the Baked Alaska to ensure that they all reach the table with the ice cream still set
- When ready to serve, remove the ramekins from the freezer and remove the desserts using the clingfilm. Remove the clingfilm and place the desserts, onto a heatproof surface – well spaced out (or better still put them onto heatproof serving plates). The pannetonne layer should be on the bottom.
- Pipe a layer of meringue around the side of each dessert – lines work well around the edge. Pipe the meringue onto the top in a pattern of your liking (I used rosettes). Fill in any small gaps to ensure the base and ice cream are completely covered
- It should take no more than 5 minutes in total to cover all 4 desserts. Put aside any leftover meringue – it can be baked later (see notes).
- Light your blowtorch and hold it close to the meringue on the first dessert. Keep the blowtorch moving all around the meringue until it has toasted. Repeat for all of the desserts. It will take approx 15-30 seconds to toast each one.
- Carefully transfer each Baked Alaska to a serving plate (if not already on one), using a palette knife dipped in hot water to help you slide and push it onto the plate. Keep a cocktail stick handy too and, if necessary, use the tip to help push the dessert off the knife and onto the plate without damaging the meringue (wipe the palate knife if it gets sticky).
- Serve immediately.
- If making the large Baked Alaska, place on a heatproof plate (or surface) and pipe the meringue all over it. Use the blowtorch to toast the meringue as before. Depending on your speed, it may be necessary for the dessert to sit for 5 minutes before slicing to ensure the ice cream and base have relaxed sufficiently (keep an eye on the time and serve once it has been out of the freezer for 10 minutes).

Sarah Perlmutter
Quick question…For the individual portions.. Do you gently remove the Alaskas from the ramekin molds when set? Or not?
Jane Coupland
Hi Sarah, you definitely need to remove the ramekins – I’ve just updated the recipe card to make this clearer. Thanks for asking.
Joanne Higginson
Woah! Impressed!
Jane Saunders
Haha – thankyou Jo!
Sisley White
It’s so beautiful. I’ve never made one but I think I have to now.
Jane Saunders
Thankyou Sisley – I’ve pleased to hear that I’ve inspired you to give it a go.
Sisley White
It’s so beautiful. I’ve never made one but I think I have to now.
Cat | Curly's Cooking
Yuuuuum! This looks so pretty and a great way to use up that mincemeat I have lurking in the back of the fridge!
Jane Saunders
Go for it Cat!
Mandy
Oh wow what a stunning looking dessert. It looks and sounds incredible.
Jane Saunders
Thanks so much Mandy!
Jo Allison / Jo's Kitchen Larder
I’m really glad you didn’t wait until next January before posting this recipe! 🙂 What a beautiful dessert, a real showstopper full of festive flavours. Pinning onto my Christmas board ready for next year! 🙂
Jane Saunders
Thanks – so pleased you like it.
Julia Frey
These are absolutely perfect! I can only imagine how difficult they are to photograph, Jane but you did an outstanding job! Now I wish I had one in front of me!
Jane Saunders
Ah, thanks Julia. A bit like the preparing of this dessert, the photos required me to be quick on my toes.