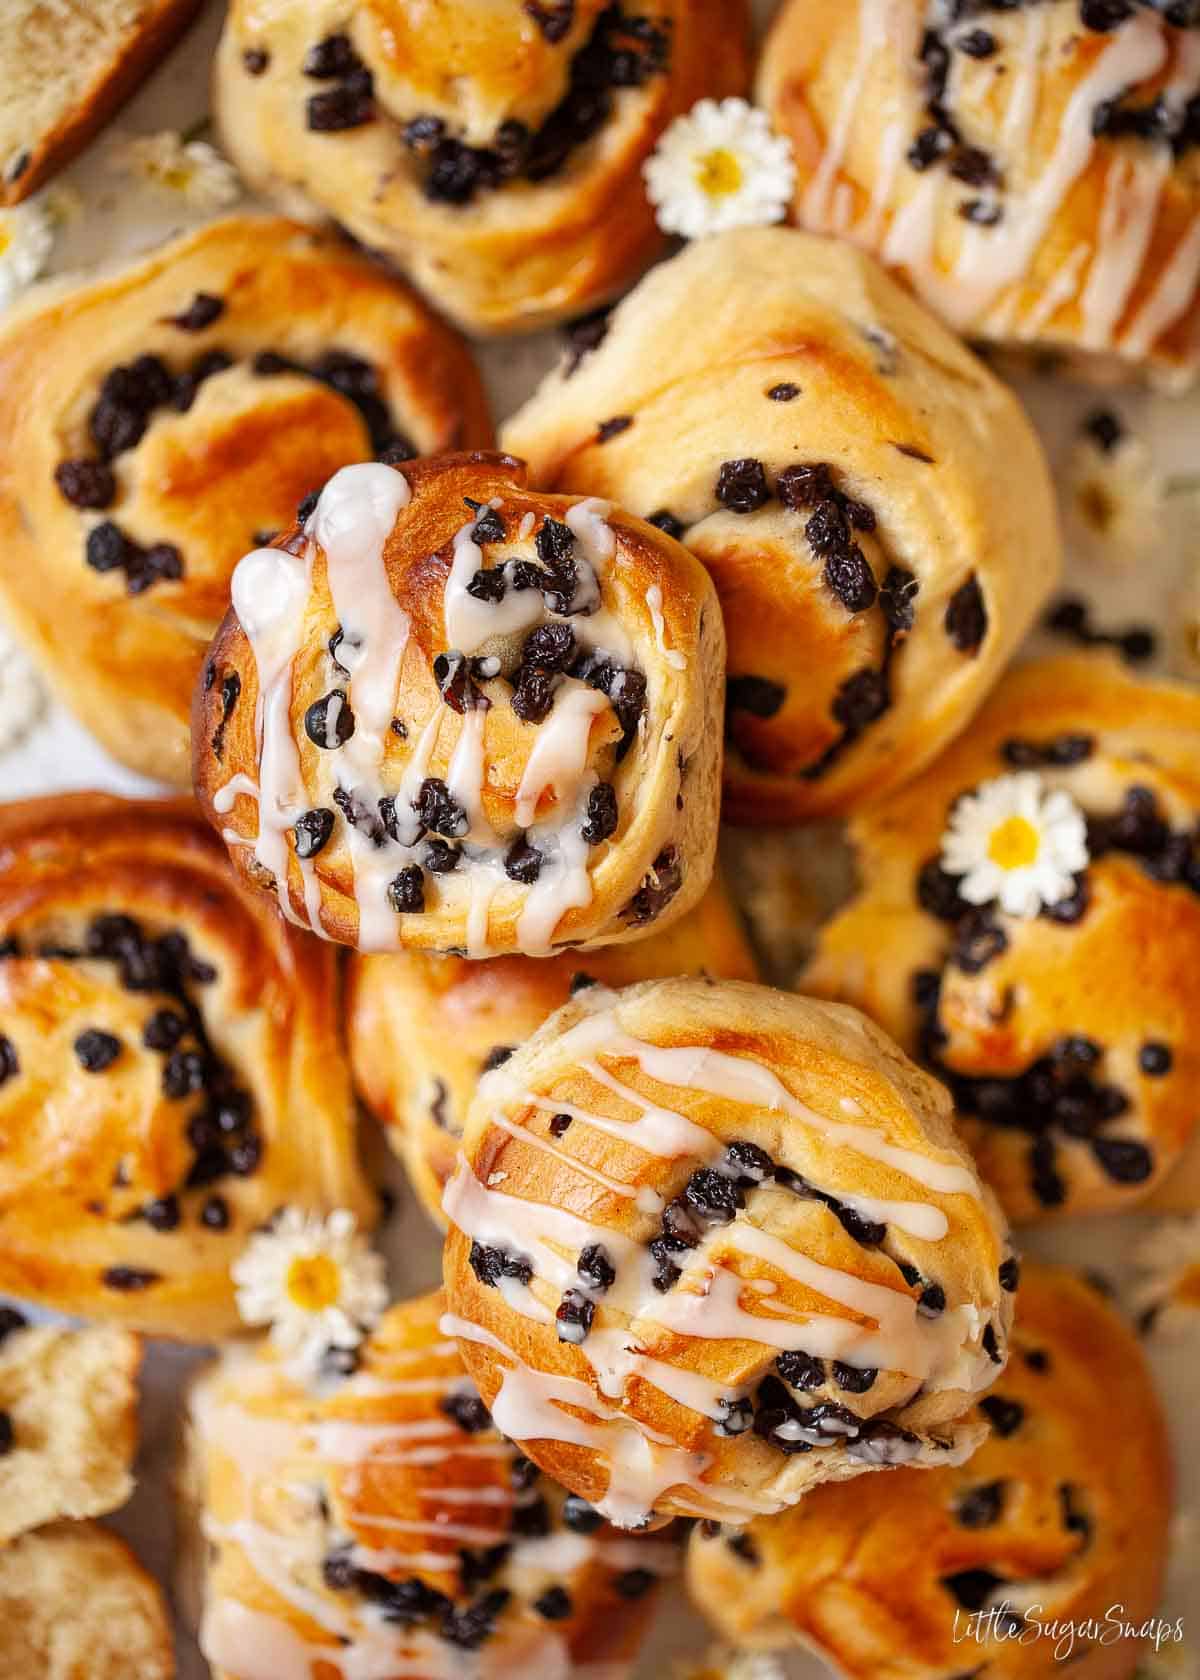
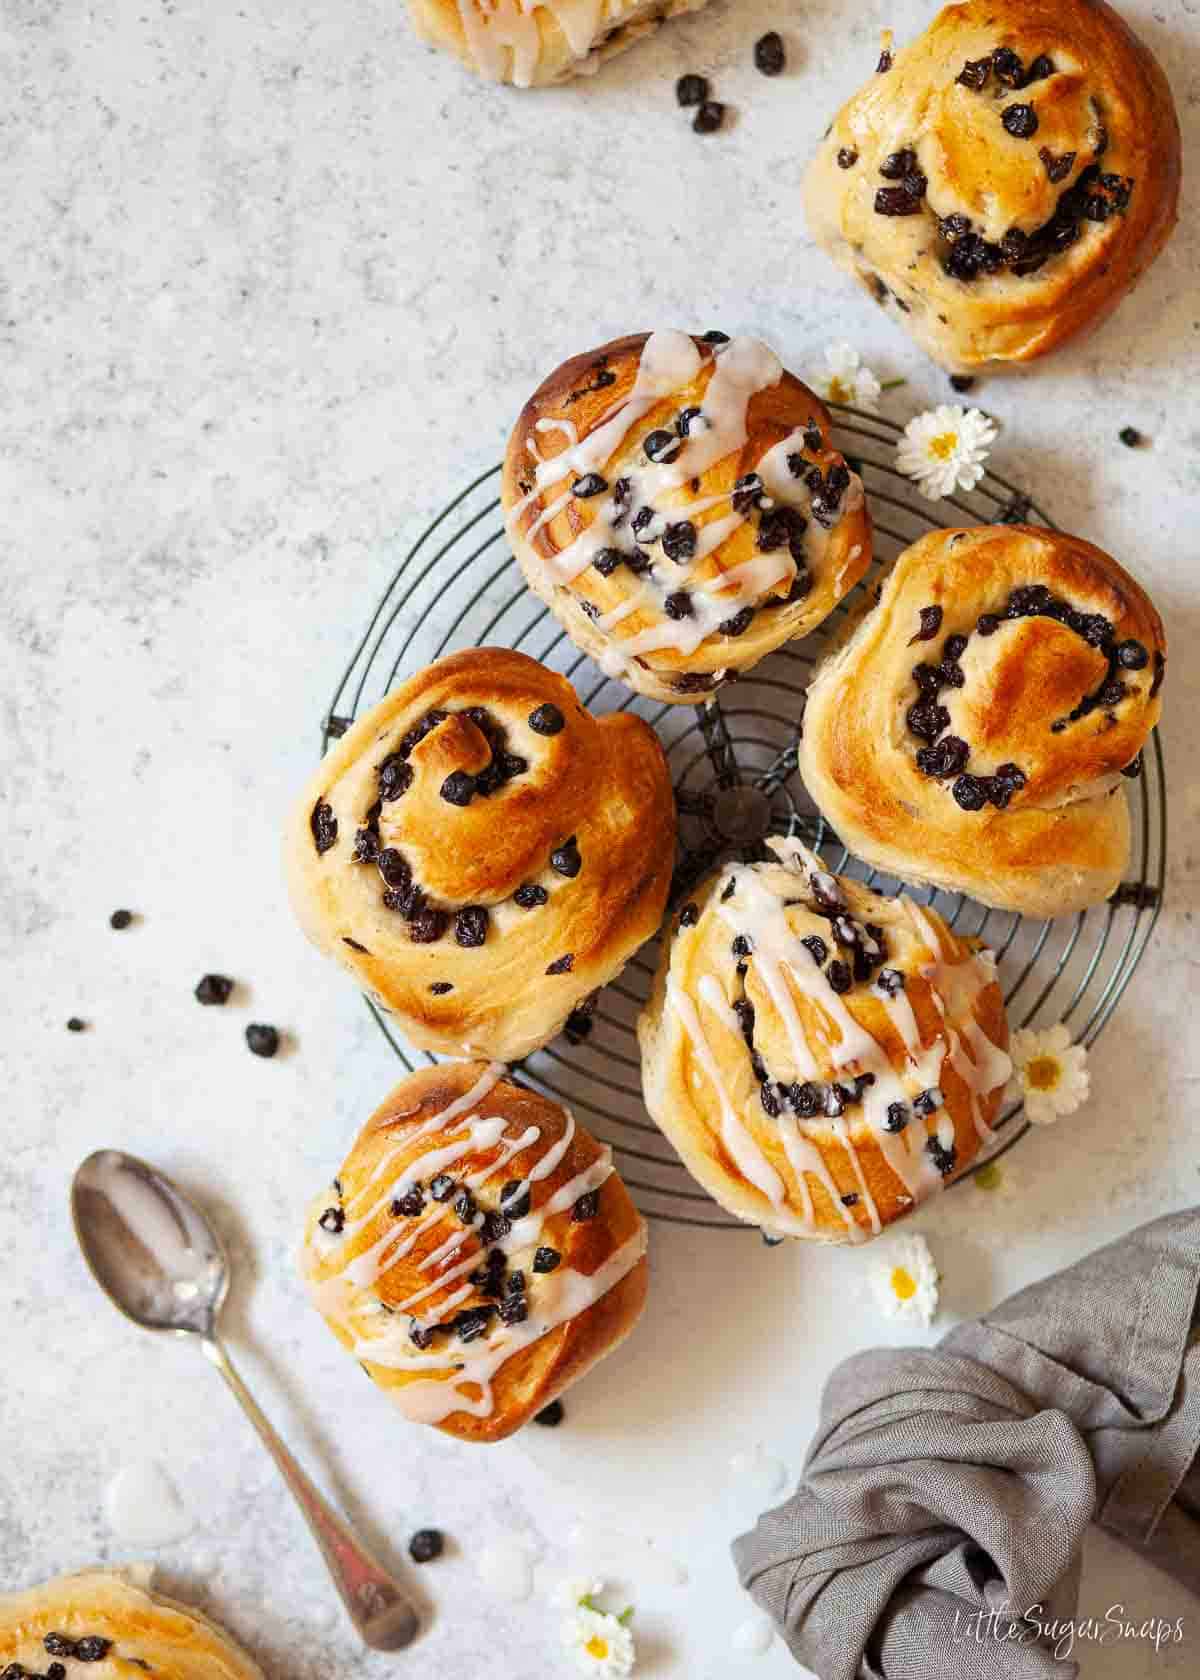
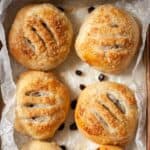
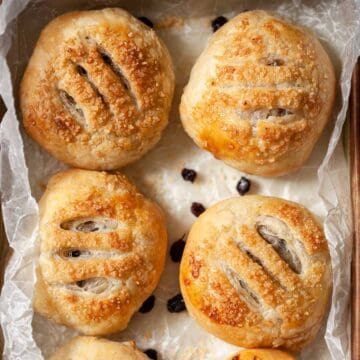
Currant buns are a classic English tea-time treat. But not all English buns are the same. These Belvoir Castle buns, from the East Midlands, are particularly easy on the eye. Though traditionally served without further adornment, a drizzle of glace icing works wonders to turn them into exceptionally pretty glazed currant buns.
This post may contain affiliate links. As an Amazon Associate, I earn from qualifying purchases.
Currant buns are a classic English treat served at teatime. But not all buns are created equals. There are a great many variations on the English bun around and these Belvoir Castle buns are a fine example.
A humble list of ingredients turns into a magnificent and filling treat well served alongside a good cup of tea. These buns use a sweetened yeast dough to great advantage by combining it with plump and juicy currants. No fancy adornments are strictly necessary.
These Belvoir Castle buns represent Leicestershire in my collection of West and East Midlands food recipes. Have you taken a look yet? There’s a gorgeous plum loaf from Lincolnshire and some Shropshire soul cakes in the collection Both recipes might well appeal to fans of currant buns.
Why you’ll enjoy this recipe
These old-fashioned currant buns have a great deal going for them:
- The recipe uses inexpensive, easy-to-find pantry and fridge staples.
- The dough is gently sweetened rather than excessively sugary.
- Once baked, these buns are fluffy and soft on the inside.
- They’re packed full of juicy currants.
- Even unglazed they look more impressive than a typical English bun which is shaped like a bread roll.
- But they can also be turned into glazed currant buns to maximise kerb appeal.
- The recipe can be halved to create a batch of six.
- Or it can be doubled to produce 24.
- They can be frozen.
If you enjoy sweet buns with dried fruit in them then don’t miss out on my recipe for lemon buns.
What are Belvoir Castle Buns?
Belvoir (pronounced ‘beaver’) Castle, nestled in the Leicestershire countryside, is the ancestral home of the Duke of Rutland, where the family have lived in an unbroken line for almost a thousand years. It is here that the 7th Duke of Rutland, heading up the family in 1869, fell for a particular version of the English bun. In fact, he was so head-over-heels for them that they became known as Belvoir Castle Buns.
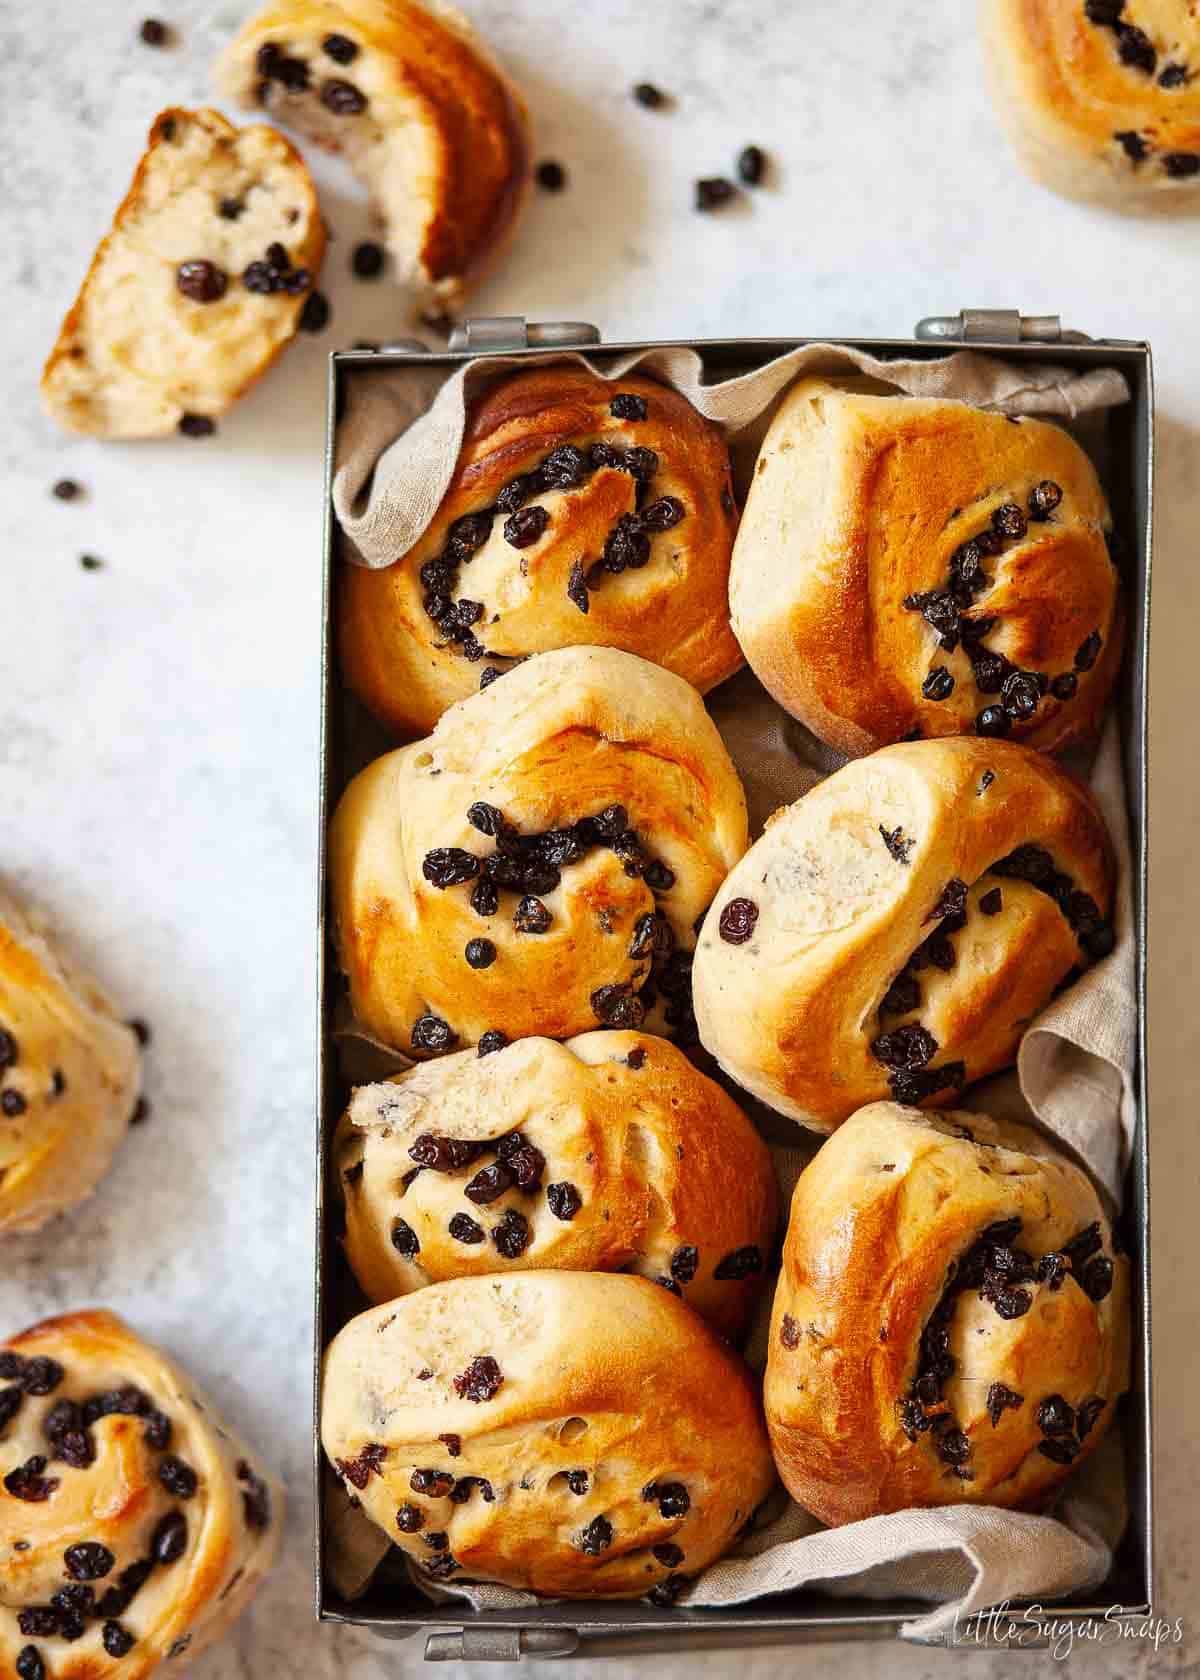
They comprise a classic currant bun mixture of sweetened dough and plenty of currants. However, whereas many English buns are simply shaped into balls and allowed to prove before baking, Belvoir Castle buns are rolled up buns:
- The dough is rolled out into a rectangle.
- Then it is sprinkled with currants and rolled up (like a Swiss roll).
- Then it is sliced into portions.
- Finally, the buns prove before baking.
In essence, this type of currant bun is like a Chelsea bun or a cinnamon roll in style.
My version of these currant buns differs from the original in 3 small ways:
- I have chosen to soak the currants in water to ensure they are particularly plump and juicy. I definitely recommend this step as it makes a huge difference to those currants.
- The original recipe does not knead any currants into the dough. I, however, knead a third of the fruit directly into the dough. This helps to ensure a good distribution of currants in each and every bite.
- A light drizzle of glace icing is also not traditional when making Belvoir Castle buns. But the addition of icing does take these buns up a level, in my opinion. It’s entirely up to you whether to include icing to turn them into glazed currant buns.
Ingredients
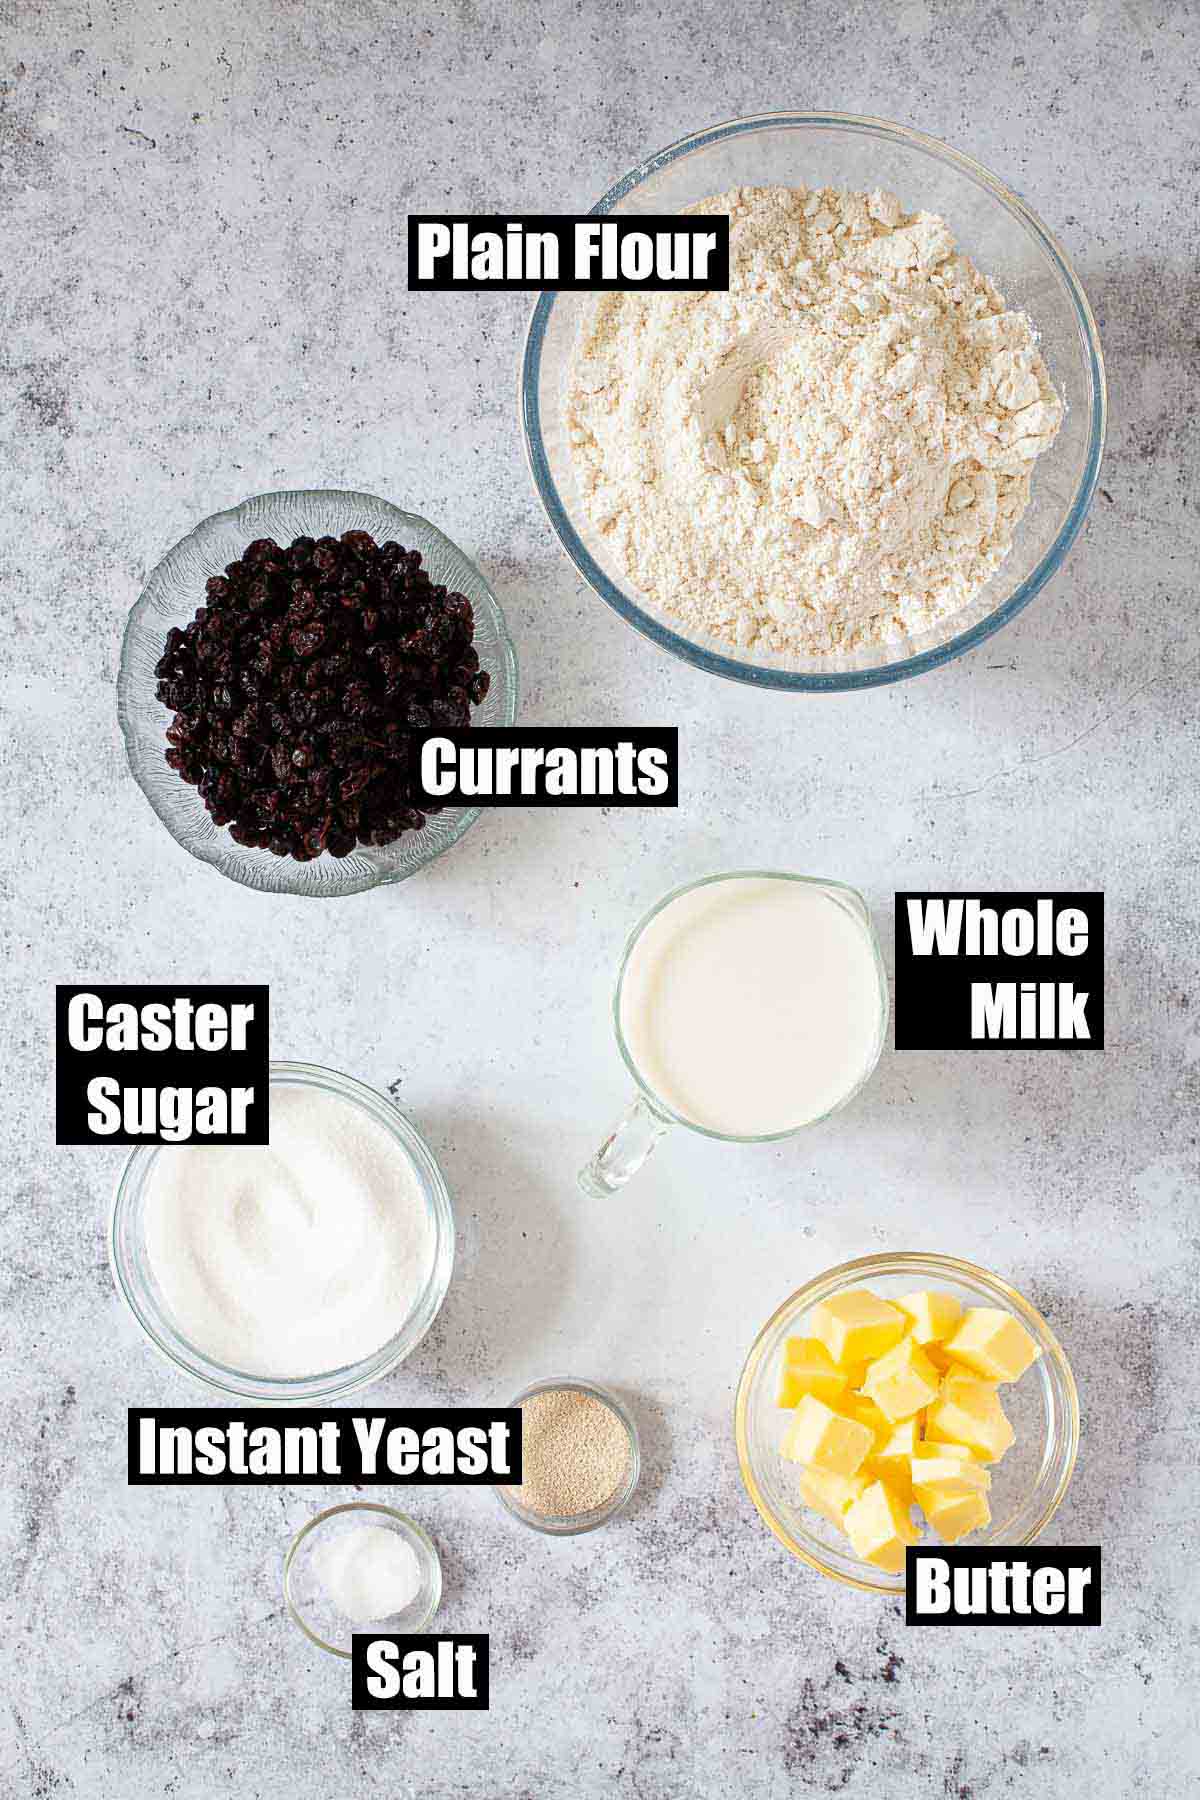
Plain Flour (white): this is the best flour to use for these buns to create a light and fluffy texture. Bread flour can alternatively be used, but the texture will be slightly chewier.
Do not use self-raising flour as this contains raising agents that will affect the outcome of this recipe. Cake flour should also be avoided as it does not contain enough protein and will result in dense buns.
Whole Milk: these buns are created from an enriched dough, so choosing milk with a decent amount of fat present is key to achieving the best flavour. Avoid using skimmed milk at all costs.
Butter: again, for the best flavour, only proper butter will do here. Baking margarine is a poor substitute in this instance and I do not recommend using it.
Currants: I’m aware that currants have a reputation for being the poor relation in the world of dried fruits compared to raisins and sultanas. However, this recipe is for currant buns, so only currants will do. Vostizza currants (available from M&S) are my favourites. In fact, finding them has renewed my passion for baking with currants.
Fast Action Dried Yeast: (aka instant yeast) is my preference for any bread recipe as it’s very easy to use. It does not need to bloom in water but can instead be mixed directly into the flour and liquid. If you prefer to use fresh yeast, try using 15g in place of the quick yeast.
Step-by-step instructions
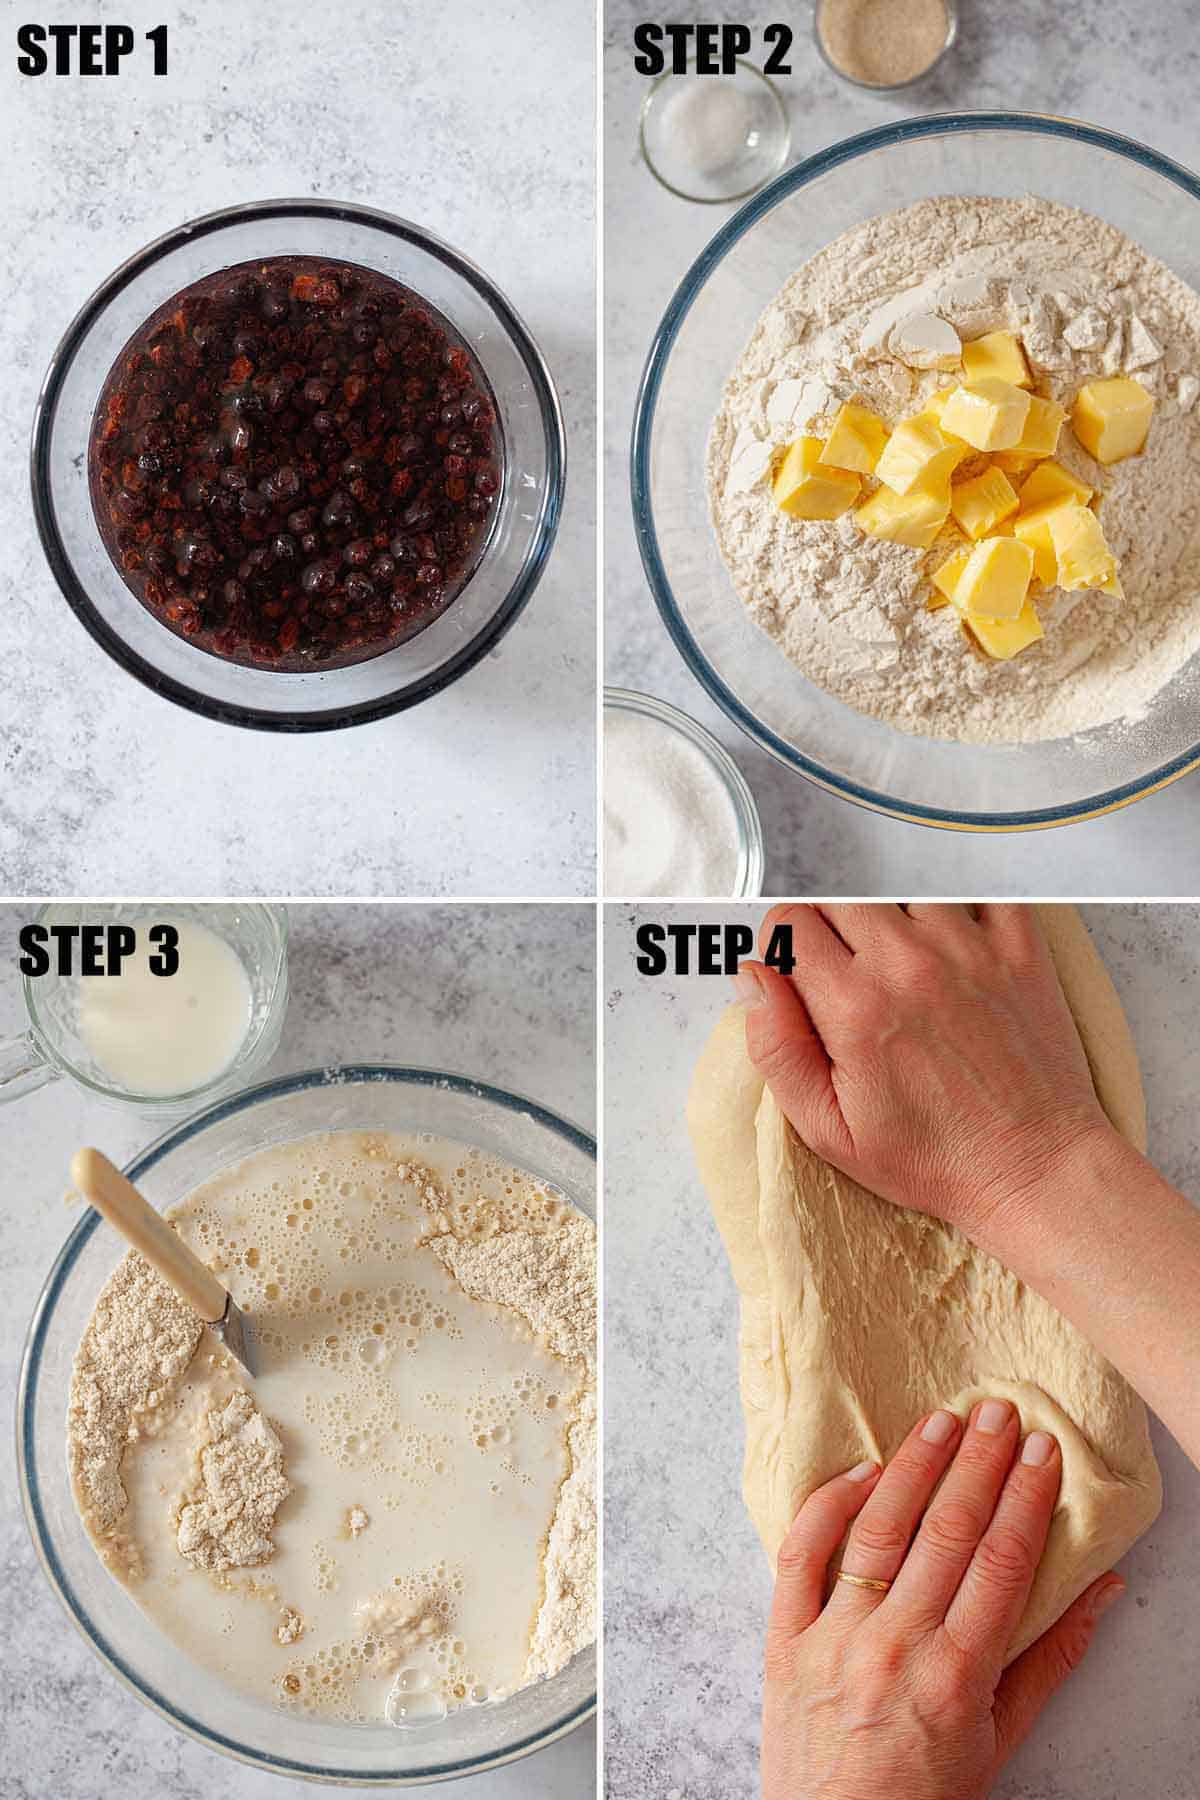
- Put the currants into a heatproof bowl and cover them with freshly boiled water. Set aside.
- Begin by rubbing the butter into the flour.
- Stir through the salt, sugar and dried yeast then pour in 200ml of the lukewarm milk and mix into a dough. Add more milk as required to bring all of the flour into the dough.
- Tip the dough onto a lightly floured worktop and knead for 10 minutes.
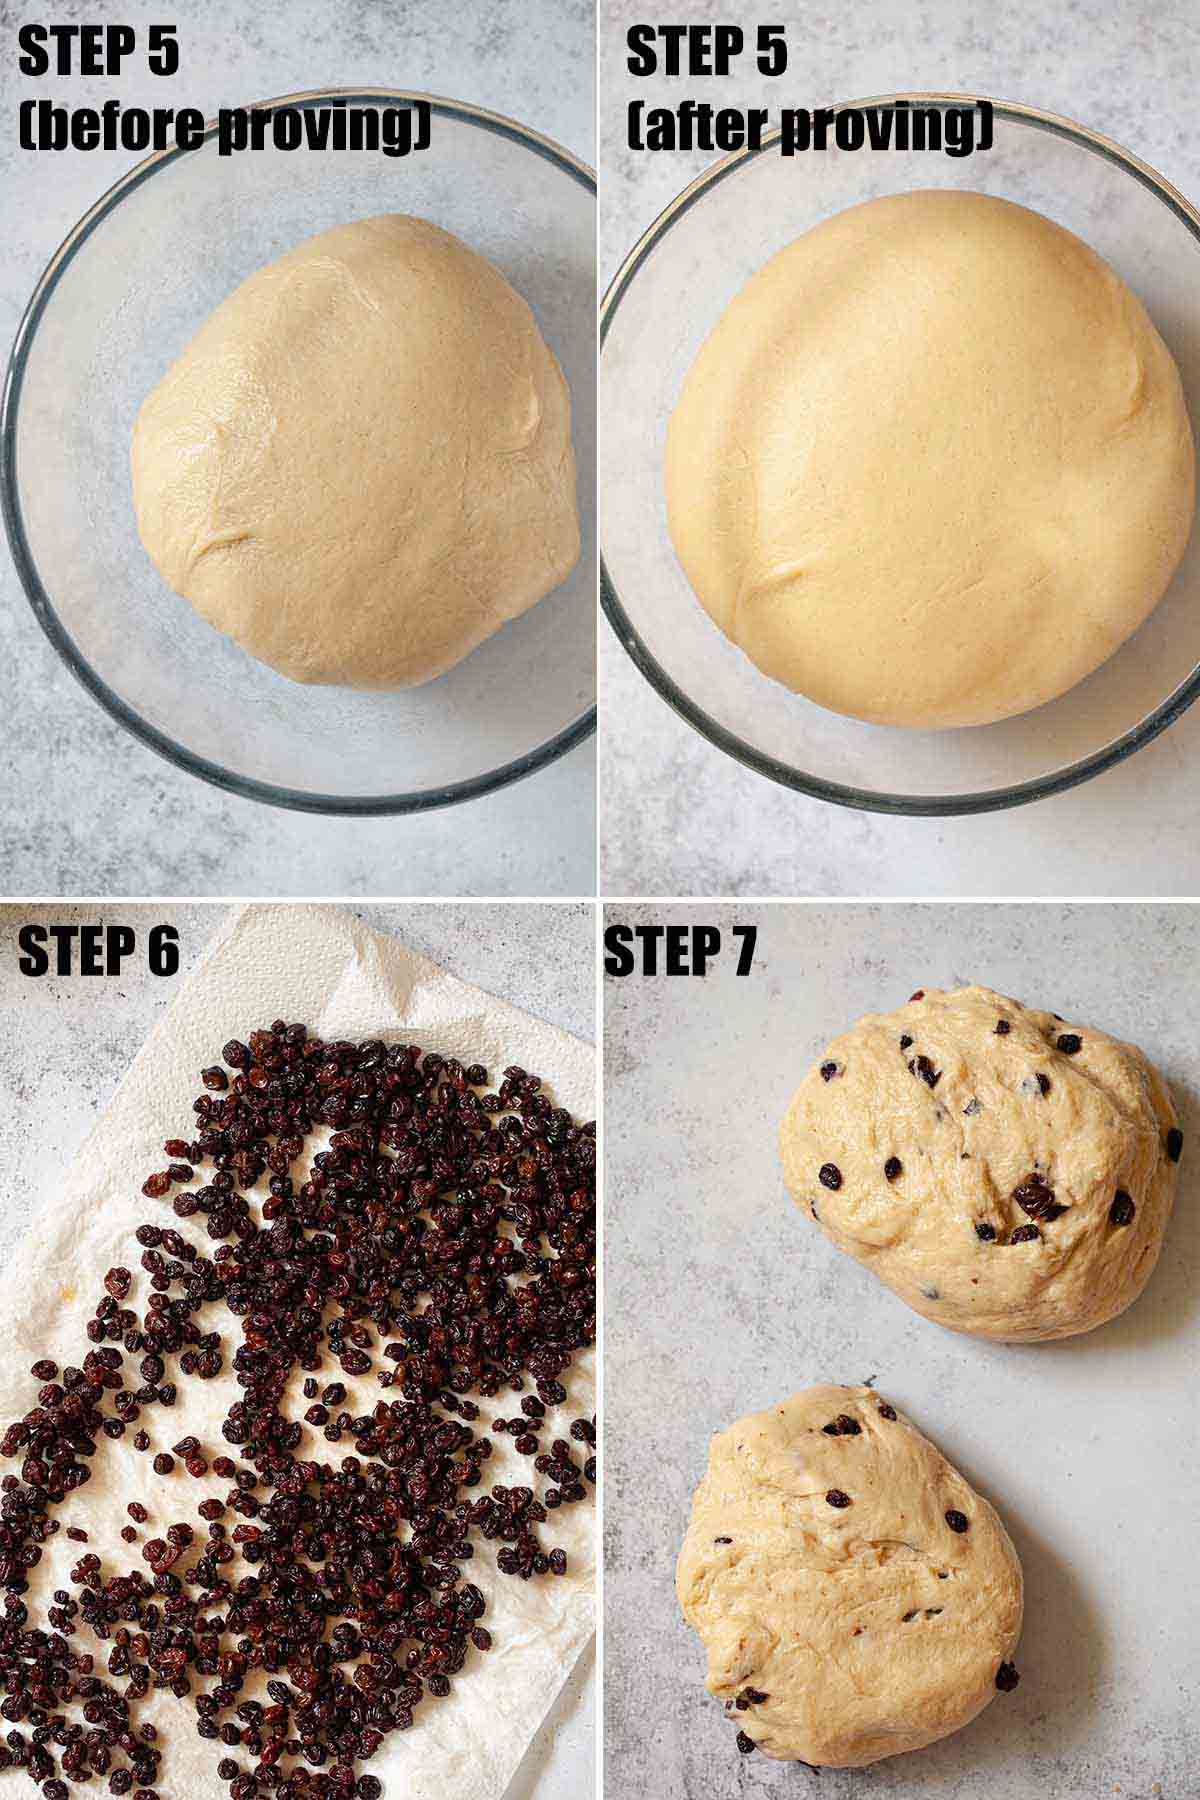
- Place in a large bowl (clean), cover with a clean tea towel and leave to rise for 2-3 hours until doubled in size.
- Drain the currants from the water and lay on kitchen paper. Blot them dry.
- Knock the dough back and spread it out on a worktop. Sprinkle ⅓ of the currants over it, gather the dough up into a ball and knead for 2 minutes then divide the dough into 2 equal portions.
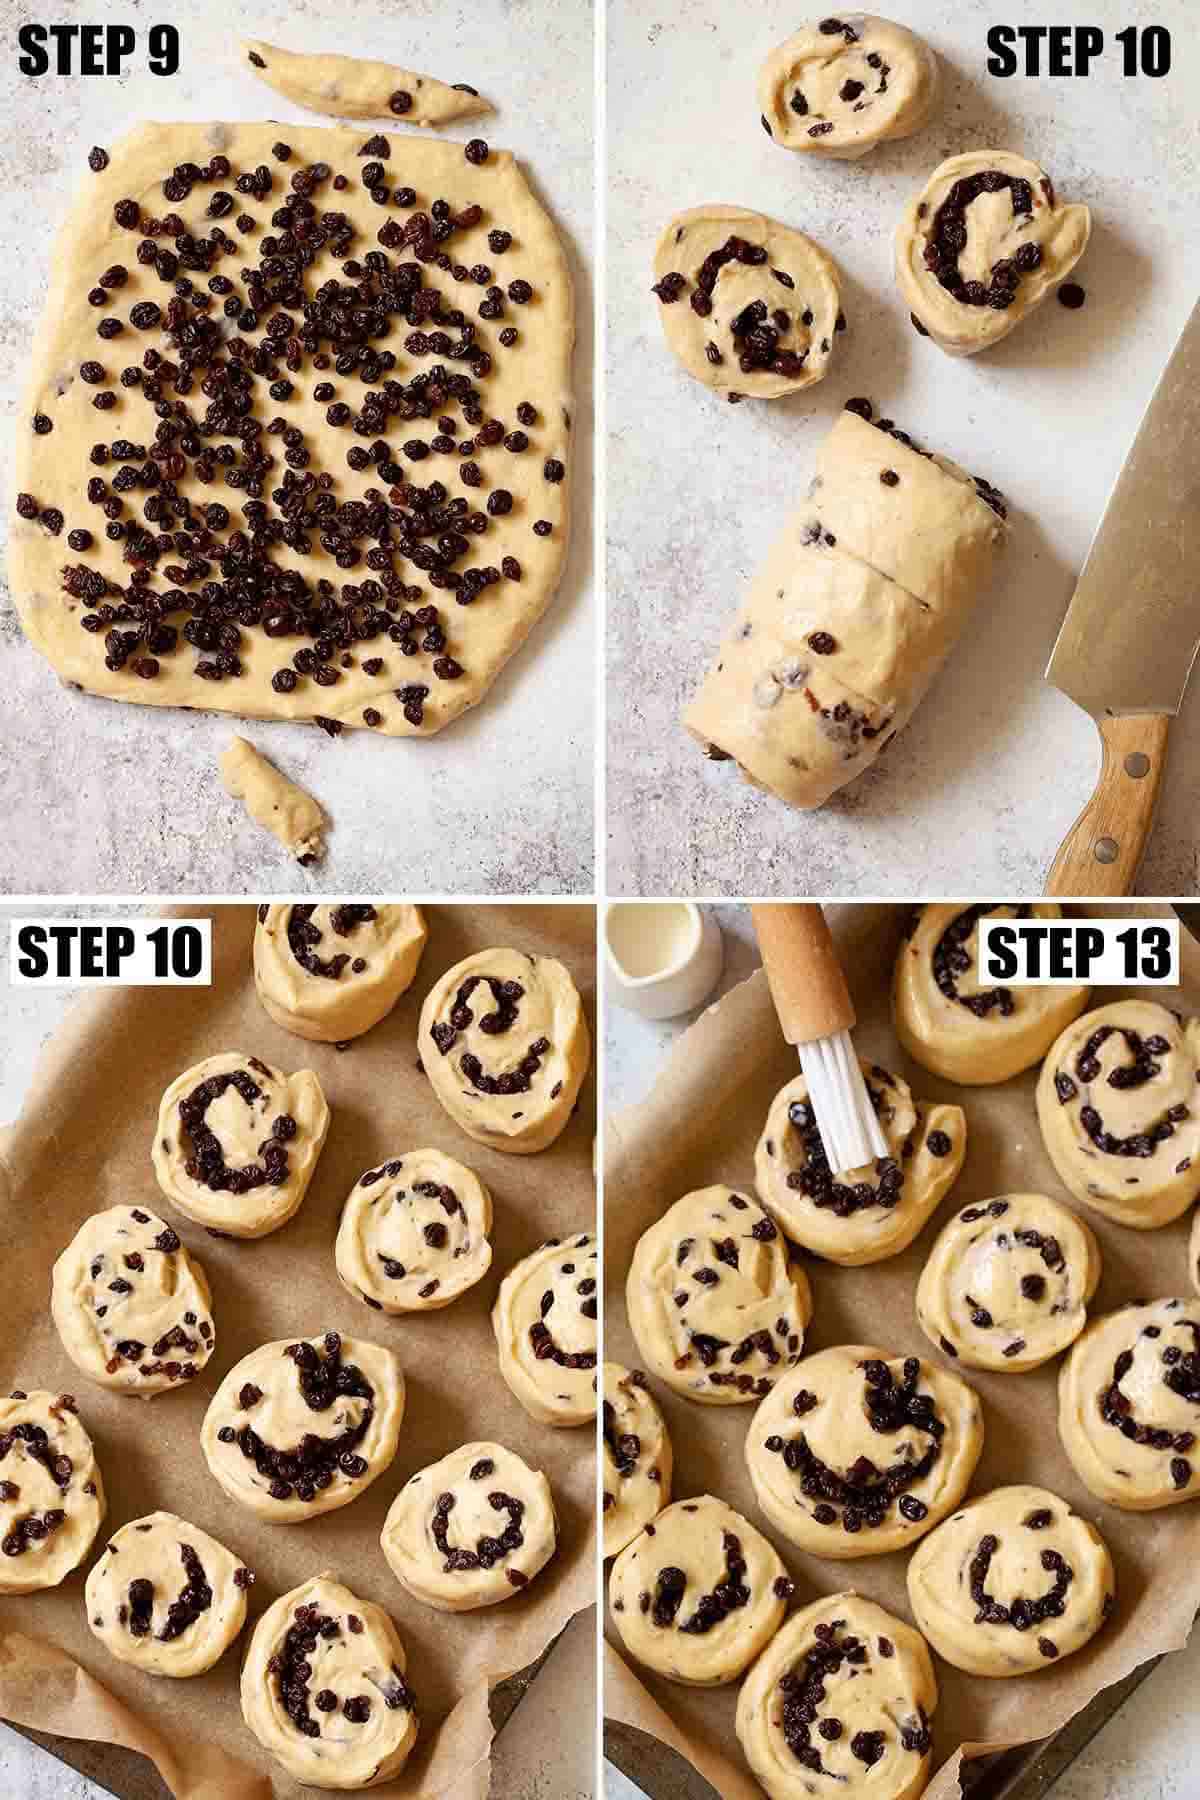
- Roll a portion out to form a rectangle approximately 15cm wide and 22cm long. Trim 1cm from each end.
- Scatter half of the remaining currants over the dough and roll it up (to end up with a log approximately 20cm long).
- Divide the log into 6 pieces and lay the cut buns on a baking sheet lined with baking parchment.
- Repeat with the remaining piece of dough and currants.
- Cover the buns with a tea towel and leave to prove for 30-45 minutes until well risen.
- Brush with milk and bake for 10-12 minutes until golden brown and cooked throughout (if you have a probe food thermometer check the internal temperature is at least 95C/ 203F).
- Slide onto a wire rack and allow to cool.
- Optional: if making glazed currant buns let them cool completely then drizzle glace icing (made by mixing icing sugar with a few drops of water) over them.
Expert tips
- Ensure the milk is lukewarm. Using cold or chilled milk will mean the dough takes significantly longer to rise.
- For best results knead the dough by hand for a full 10 minutes (pop your favourite tunes on and get stuck in). Your currant buns will be lighter, softer and fluffier thanks to your efforts.
- Allow plenty of time for the dough to rise. Even on a warm day expect to wait 2-3 hours for the first proving and a further 30-45 minutes for the second proving once the buns have been shaped.
- On a cold day you may prefer to put the dough somewhere warm, such as an airing cupboard) to help the dough rise in a sensible timeframe.
- Splitting the dough into 2 portions when ready to roll helps create neater buns – the dough is easier to handle and roll up this way.
- The buns might vary in size depending on how well you can roll the dough into rectangles. It’s worth trimming the very ends of the dough away to ensure the rolls at the ends are not too small.
- For pull-apart currant buns, place all 12 rolls 1-2cm apart on a baking tray. As they prove and then bake, they will touch.
- Alternatively, split the rolls across 2 baking sheets if you prefer the buns not to touch whilst cooking.
- For a shinier finish brush with beaten egg instead of milk.
- If using glace icing let the buns cool completely before drizzling the icing over them otherwise the icing will slide off them.
Frequently asked questions
The traditional recipe for Belvoir Castle buns specifies plain (all-purpose) flour rather than bread flour.
There’s no reason why bread flour cannot be used in place of plain flour though. There will likely be a bit more chew to the resulting buns.
Store these buns in an airtight container and eat on the day they are baked to enjoy them at their very best.
They should definitely be consumed within 24 hours as they turn stale quickly.
These buns can be frozen. It’s best to do this as soon as they are cold. Simply pop them into a freezer-proof bag and store them in the freezer for up to 3 months. Do not add the icing glaze if intending to freeze your currant buns.
Whilst these buns are not the unhealthiest treat you could tuck into, they do still contain butter and sugar, so they can’t really be classed as being too healthy either, if I’m being brutally honest. They’re midway on the spectrum I would say.
Other types of English buns
Iced Bun
These are very basic, but rather tasty English buns. Iced buns are finger rolls made from an enriched dough, batch-baked so they have to be pulled apart. They are incredibly soft and contain no dried fruit but do come topped with an icing-sugar glaze.
Bath Bun
The Bath bun is a sweet roll made from an enriched milk-based yeast dough. It is studded with dried fruit and topped with crushed sugar after baking. Some recipes also include a lump of sugar pressed into the middle before baking.
Sally Lunn Bun
This bun also originates from Bath. It’s much larger than the Bath bun, but much plainer (no dried fruit). The Sally Lunn is like a huge brioche bun, in fact.
Hot Cross Bun
Perhaps the most famous of all English buns are hot cross buns. Traditionally eaten at Easter, they contain plenty of dried fruit, mixed spices, and candied citrus peel. They have a namesake cross piped across the top.
Chelsea Bun
These are swirl-shaped currant buns incorporating lemon peel and baking spices. Chelsea buns look similar to cinnamon rolls.
Belgian Bun
This is another sweet bun containing dried fruit. A Belgian bun may contain lemon curd and it comes adorned with glace icing and half a glace cherry. What joy!
More sweet regional recipes


Have you made these Belvoir Castle buns? Did you turn them into glazed currant buns? If you have made them please give the recipe a rating or leave a comment – I love to hear how you get along with my creations. And of course, if you have a question, just drop me a line and I’ll do my best to help you out.
Stay in touch: sign up to receive LittleSugarSnaps newsletters to hear when new recipes are published. You’ll get a free welcome e-book with my top baking tips and 5 favourite cake recipes.
Or stay in touch on Facebook, Instagram and Pinterest.

Currant Buns (Belvoir Castle Buns)
Ingredients
- 450 g Plain flour
- 115 g Currants
- 75 g Butter room temperature
- 90 g Caster sugar
- 250 ml Whole milk must be lukewarm when used
- 2 teaspoon Quick action dried yeast
- ½ teaspoon Salt
- A little extra milk for glazing the buns before baking
Optional Glace Icing Drizzle
- 2 tablespoon Icing sugar
- A few drops of water
Instructions
- Put the currants into a heatproof bowl and cover them with freshly boiled water. Set aside to soften.
- Begin by rubbing the butter into the flour in a medium-sized bowl.
- Add the salt, sugar and dried yeast and stir briefly. Pour in 200ml of the lukewarm milk and mix into a dough. Add more milk, little by little, as required to incorporate all of the flour into the dough.
- Tip the dough onto a lightly floured worktop and knead for 10 minutes.
- Place in a large bowl (clean), cover with a clean tea towel and leave to rise for 2-3 hours until doubled in size.
- When the dough is ready drain the currants from the water and lay on kitchen paper. Blot them dry to remove excess liquid.
- Knock the dough back and spread it out on a worktop. Sprinkle ⅓ of the currants over it, gather the dough up into a ball and knead for 2 minutes to distribute the currants evenly in the dough.
- Divide the dough into 2 equal portions.
- Roll one portion out to form a rectangle approximately 15cm wide and 22cm long.
- Trim up to 1cm from each end to neaten the rectangle and scatter half of the remaining currants over the dough. Roll it up (to end up with a 20cm long log).
- Use a large sharp knife to cut the log into 6 pieces.
- Repeat with the remaining piece of dough and currants.
- Lay the 12 cut buns onto a baking sheet lined with baking parchment (or use 2 baking sheets if you prefer them not to touch as they bake, making it necessary to pull them apart)
- Cover the buns with a tea towel and leave to prove for 30-45 minutes until well risen.
- Meanwhile, preheat the oven to 220C/ 425F/ GM 7.
- Brush each bun with milk and bake for 10-12 minutes until golden brown and cooked throughout (if you have a probe food thermometer you can check the internal temperature is at least 95C/ 203F).
- Slide onto a wire rack and allow to cool.
- Optional: if making glazed currant buns let them cool completely then make the glace icing by mixing the icing sugar with a few drops of water to attain a slightly runny consistency that can be drizzled using a knife or teaspoon. Drizzle a little over each bun.
Notes
- Ensure the milk is lukewarm. Using cold or chilled milk will mean the dough takes significantly longer to rise.
- For best results knead the dough by hand for a full 10 minutes (pop your favourite tunes on and get stuck in). Your currant buns will be lighter, softer and fluffier thanks to your efforts.
- Allow plenty of time for the dough to rise. Even on a warm day expect to wait 2-3 hours for the first proving and a further 30-45 minutes for the second proving once the buns have been shaped.
- On a cold day you may prefer to put the dough somewhere warm, such as an airing cupboard) to help the dough rise in a sensible timeframe
- Splitting the dough into 2 portions when ready to roll helps create neater buns – the dough is easier to handle and roll up this way.
- The buns might vary in size depending on how well you can roll the dough into rectangles. It’s worth trimming the very ends of the dough away to ensure the rolls at the ends are not too small.
- For pull-apart currant buns, place all 12 rolls 1-2cm apart on a baking tray. As they prove and then bake, they will touch.
- Alternatively, split the rolls across 2 baking sheets if you prefer the buns not to touch whilst cooking.
- For a shinier finish brush with beaten egg instead of milk.
- If using glace icing let the buns cool completely before drizzling the icing over them otherwise the icing will slide off them.


Leave a Reply