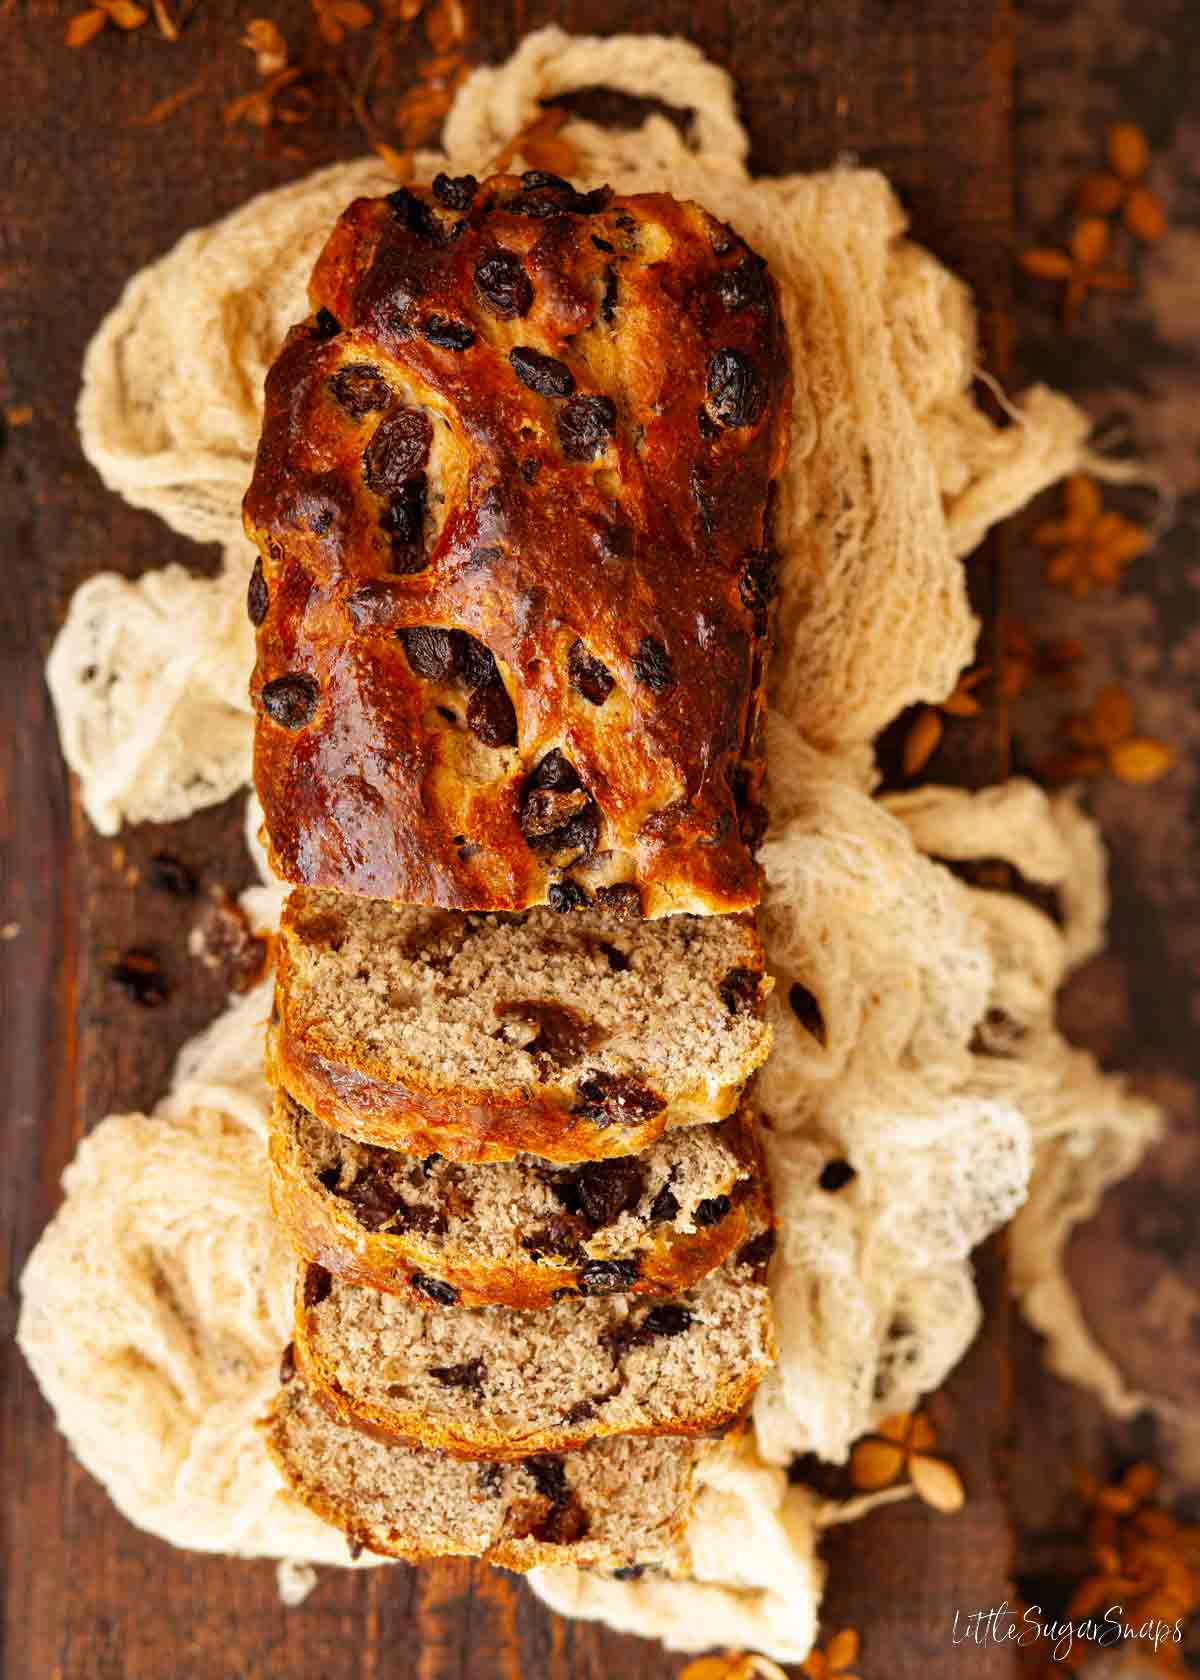
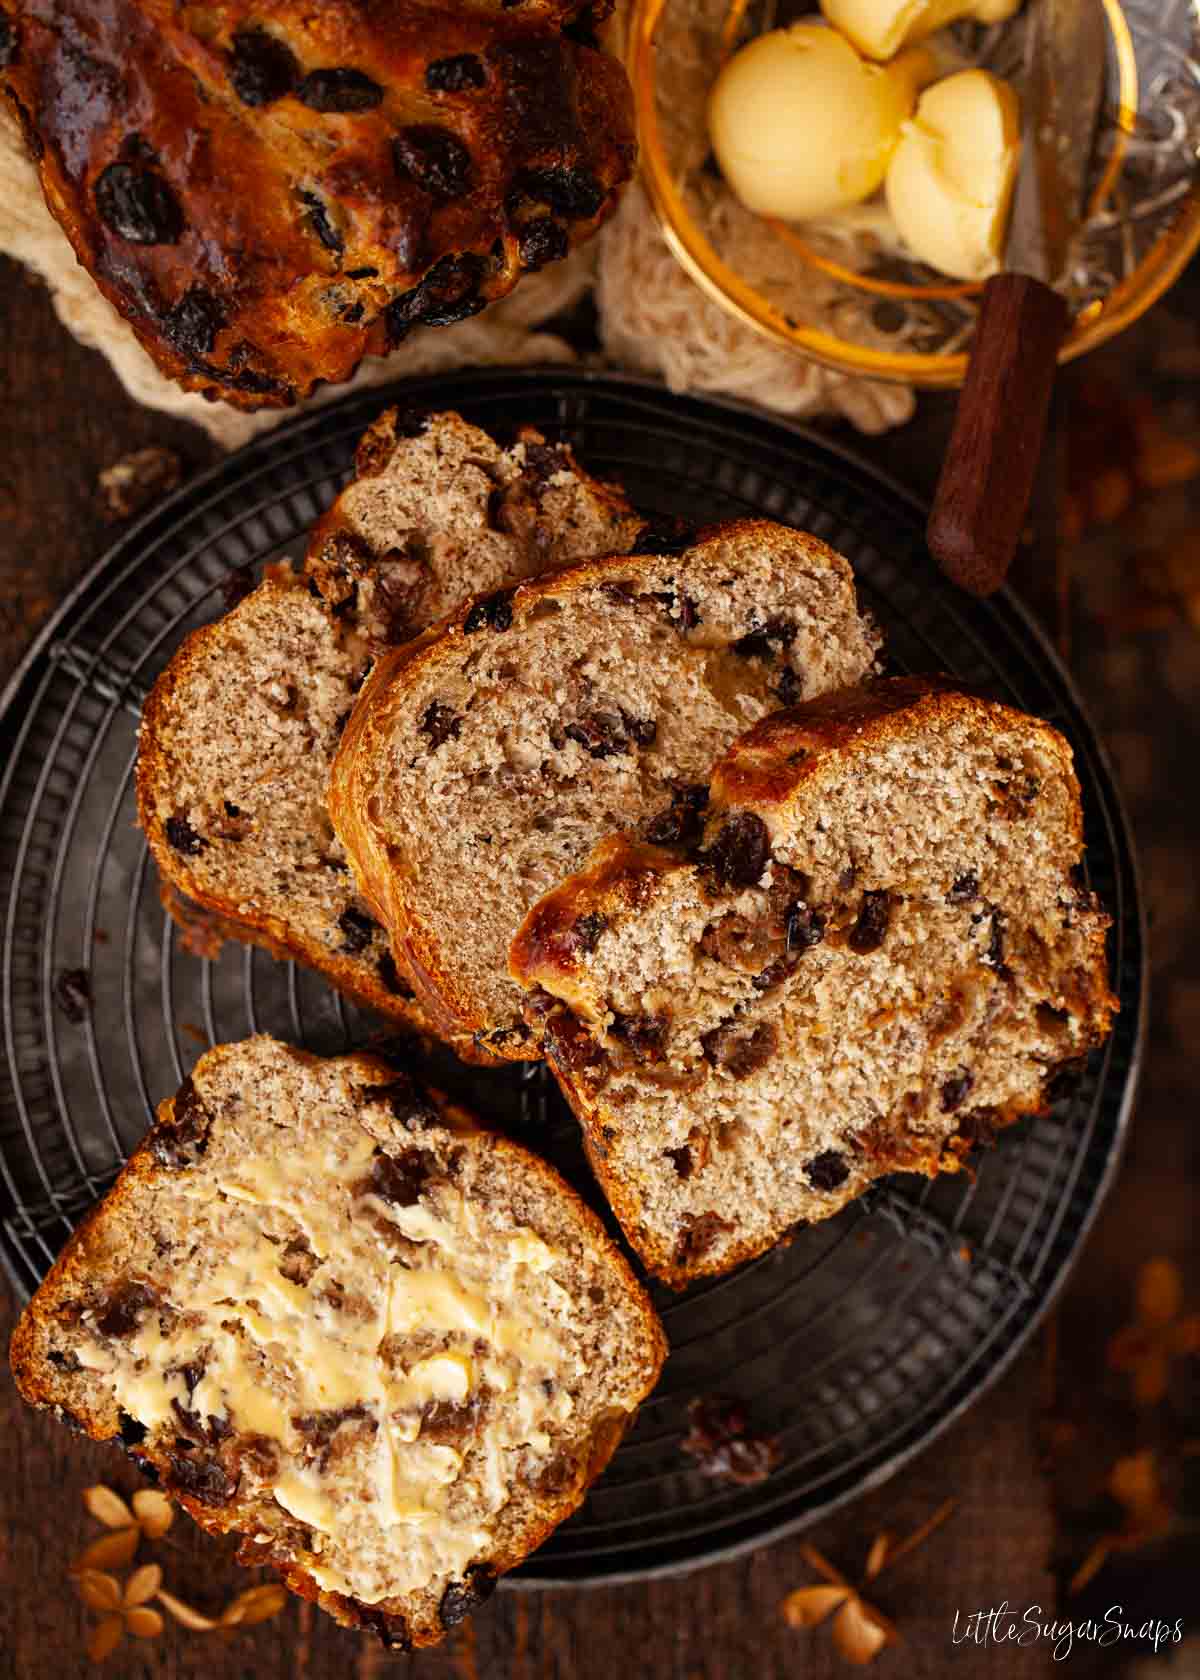
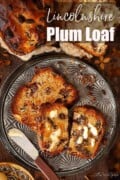
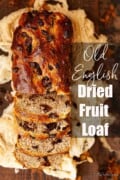
Lincolnshire plum bread (Lincolnshire plum loaf) is an enriched bread heaving with raisins, sultanas and currants. Try a slice of this dried fruit bread slathered in butter, served with a chunk of cheese or toasted.
Like a fruity loaf? Have a go at my coffee, date and rye bread.
Want to Save This Recipe?
Jump to:
Lincolnshire plum bread, also known as Lincolnshire plum loaf, has been knocking around its namesake county for close on two centuries. It’s a regional delicacy that locals are incredibly proud of and it often makes appearances on cafe menus.
There is not a definitive recipe for this traditional English tea loaf, but there’s a common thread amongst the various recipes floating around: plenty of dried fruit.
Lincolnshire plum bread is best enjoyed with a slick of butter and a good cup of tea served alongside it.
This post, which forms part of my collection of Midlands recipes, is dedicated to my paternal Grandad. He was born in Lincolnshire in 1903 and, I’m told, he saw no earthly benefit in venturing out of his home county without very good reason. I was quite young when he passed away, so I only have a few sparse memories of him. I wish I’d had the chance to know him better.
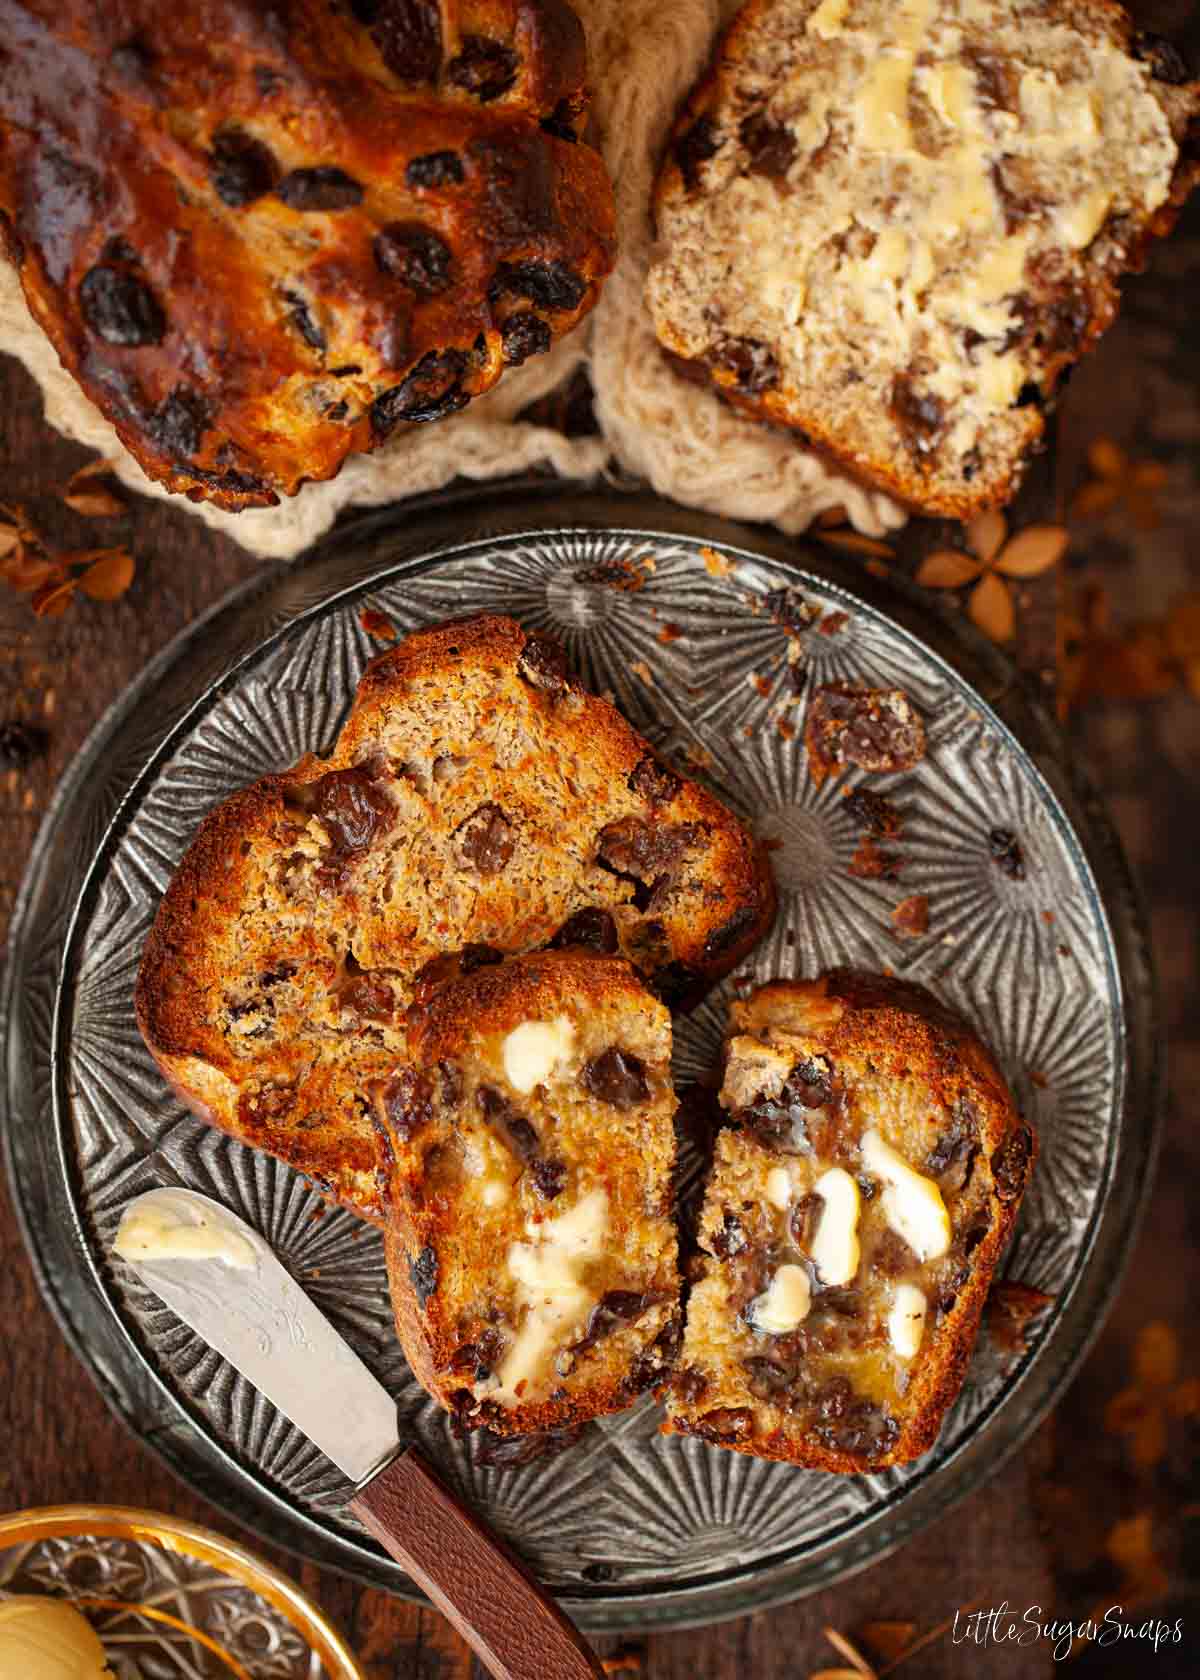
This bread would make a great addition to a tea-table laden with other classic British goodies such as cheese scones, Banbury cakes, pikelets and fairy cakes.
Why you’ll love this plum loaf
- The recipe makes plenty – 2 loaves to be exact. That’s one for now and one to stash in the freezer for a rainy-day food hug.
- The smell – it’s deliciously fruity with a hint of warming spice.
- The taste – it’s got more dried fruit than the average recipe for this type of loaf.
- It stores well – it will stay fresh for several days but can also be frozen.
What is Lincolnshire plum bread?
Quite simply, Lincolnshire plum bread is an English tea loaf created in the county of Lincolnshire in the East Midlands. It’s essentially a dried fruit loaf filled to bursting point with a blend of universally popular and easy to find dried fruits. A gentle hint of spice is often included too.
There are 2 distinct versions of it around. One includes yeast and the other does not:
- The yeasted version is essentially an enriched dough packed with dried fruit. This is the one I’m presenting today.
- The Lincolnshire plum loaf made without yeast is much more cake-like and is often referred to as a quick bread. Apparently, my Auntie Eunice makes a legendary one that always vanished within seconds when presented at the family gatherings of my childhood in Lincolnshire at teatime. Alas, this is not the one I’m presenting today. (I haven’t been able to find a suitable recipe to link to, but if you’re interested in this version, drop me a message.)
When was Lincolnshire plum loaf first created?
The first commercially produced Lincolnshire plum loaf seems to have been made by the Myer family of bakers who started baking it around the turn of the 1900s to feed their farm workers. By the 1930s they began selling it.
However, historical sources find versions of this bake as early as the 1830s. So, the exact origin & date and the truly original recipe are open to debate.
Like a lot of old-English traditional recipes, there are numerous versions floating around, all varying slightly in terms of ingredients used and methods.
Why does Lincolnshire plum bread not contain plums?
Interestingly, ‘plum’ is an old-English turn of phrase referring not to the stone fruit we all know as plums but to dried fruit instead. Lincolnshire plum loaf contains not one scrap of plum, but it does contain plenty of currants, raisins and sultanas.
If you clicked through looking for a plum bread containing fresh plums, sorry for the confusion (but you’ve got to love a little language history). I hope I can convince you to give this old-English recipe a try. If not, here’s a fresh plum cake from one of my favourite fellow bloggers.
How should Lincolnshire plum loaf be served?
Try a slice thickly spread with butter or add a chunky slither of cheddar cheese, to introduce a savoury edge to your snack. Better still, opt for a chunk of Lincolnshire Poacher, to keep things local.
Of course, this yeasted Lincolnshire plum bread is fantastic toasted too, but I do suggest toasting under the grill as it’s not as robust as a typical slice of bread and can be tricky to remove from a stand-alone toaster without it breaking up.
In the unlikely event that you don’t finish your devilishly irresistible loaf before it goes stale, turn those leftovers into a Lincolnshire plum loaf bread and butter pudding and serve with a generous glug of custard.
Recipe development and ingredients notes
This recipe has been through a great many renditions (approximately 12). I wanted to create an authentic Lincolnshire plum loaf recipe that my born and bred Lincolnshire grandparents would recognise and approve of, so I’ve worked and worked on this recipe over several months to perfect it.
My grandparents were born at the start of the 1900s. My Grandad was a farm hand and my grandma, following marriage, looked after the home and raised their seven children who survived infancy. They were definitely on the wrong side of the poverty line, so luxury ingredients would not have been an option.
I’ve kept this knowledge at the forefront of my mind as I’ve developed this recipe and tried to address several important questions that kept floating around my mind:
- What ingredients would my grandmother have had access to and what could she realistically have afforded?
- If she soaked the fruit at all, would she have done so in tea or just water?
These, and several other ingredient debates are addressed below. It’s quite an in-depth look at the ingredients I’ve selected, the reasons why I’ve chosen them and the possible substitutions that can be made. Hopefully, my ramblings will enable you to bake the best Lincolnshire plum bread possible for your tastes, budget and dietary requirements.
Lard v Butter
The popularity of lard as a baking ingredient has definitely declined even in my lifetime. It featured frequently in my old school cookbook. Why? Well, it’s cheap and, it has to be said, lard can add significantly to bakes when used appropriately. For instance, it adds wonderful flakiness to pastry.
But, like language (and wrinkles), tastes keep evolving as the decades roll by and, whilst the use of lard has declined, the popularity of butter in baking has undoubtedly increased.
However, with this particular recipe, my mind was drawn to the most compelling reason my grandma might have used lard if she ever made her own plum bread – the cheap price. This alone means that it’s highly likely that lard was used regularly when making Lincolnshire plum loaf 100+ years ago, especially in the more hard-pressed households.
So, my recipe testing began with three versions: one made with lard, one with butter and one with a mixture of the two fats. In all honesty, there was very little discernible difference in the texture of the three loaves. But the plum loaf made with butter had a marginally better taste than the ones that included lard.
So, based on the taste, I suggest that butter is marginally the best option here, but, as the difference was almost negligible you should feel free to substitute lard or a vegan friendly shortening fat (such as Trex) as you see fit.
Although I have not tested this recipe with it, a dairy-free butter block should also be perfectly fine to use.
Choice of dried fruit
Most recipes for Lincolnshire plum bread contain currants, raisins and sultanas in varying proportions. If you are looking for the classic flavour, stick with these. And don’t be afraid of the currants. They often get a bad press, but trust me, they are delicious in this recipe and really add depth to that fruity flavour.
If, however, you want to get creative and introduce more modern flavours, feel free to reduce the quantities of these three fruits and add in dried apricots, dried prunes (plums – haha) citrus peel and any other dried fruits you see fit to include. Just ensure the total fruit content remains the same as that listed in the recipe (450g).
My recipe includes more fruit than the average recipe found online. I increased the amount in line with feedback from my dad. As he’s another man born and raised in Lincolnshire, I consider his word gospel on this subject (even though he defected to my home county of Nottinghamshire decades ago).
Soaking v not soaking the dried fruit
Having made countless versions of this plum loaf I can assure you that soaking of the dried fruit overnight in either water or tea is essential to ensure the bread contains plump and juicy fruits for the very best of taste sensations.
I think it’s entirely possible that an organised home baker a century ago would have perhaps left the fruit soaking overnight for the liquid to work its magic and be ready for use the following day.
As for whether the fruit would have been soaked in tea or water, that might have been dependent on how far the housekeeping was stretching that week.
If tea was used, you can bet it would have been standard tea rather than a fancy flavour such as Ceylon, Darjeeling or Earl Grey. And, since teabags were not commonplace in the UK until the 1950s, the baker most likely brewed the tea and then poured it over the fruit, straining away the tea leaves in the process.
So, what’s my conclusion? Go with standard black tea rather than water for a flavour boost whilst sticking with tradition. But feel free to deviate if you have a penchant for a particular type of black tea.
As for the use of teabags, although I’m usually a total sucker for freshly brewed loose-leaf tea, I’m fully onboard with the convenience of teabags in this recipe.
Fresh yeast v dried yeast
Without a doubt, my grandma would have used fresh yeast to bake yeasted bread in her early married life as dried yeast was not manufactured until the 1940s.
So, for a truly authentic loaf, pick yourself up some fresh yeast and get baking. I, however, get on much better with dried yeast, so have no qualms about making this ingredient substitution. I’ll just have to hope my grandma would have approved.
Milk v water
As for which liquid is best to add to the dough, I wholeheartedly approve of milk. I’ve come across recipes that use just water, or a mixture of the two.
However, as this is an enriched dough, I feel that the flavour and fat content that milk possesses only adds positively to the plum loaf. And I like to daydream that, as a farm hand, my Grandad might have enjoyed a plentiful supply of milk as a perk of the job (fingers crossed).
If you cannot consume dairy, feel free to replace the milk with water though. I’d argue that coconut, nut or rice-based milk would not be entirely suitable.
Baking spices.
The baking spices typically used in a traditional Lincolnshire plum loaf are open to debate. I’ve come across recipes listing cinnamon, mixed spice, ginger, allspice and nutmeg.
However, one thing is clear – the spices should not be too strong. They should be used subtly to impart a delicate flavour. After much digging around old recipes and deliberating, I finally settled on using a touch of cinnamon and allspice. These seemed like the two most favoured additions.
Again, it’s hard to say if my grandma would have had opposing views on this point or not. She may even have left them out if her pantry was not well stocked (at least one recipe I’ve consulted has no mention of spice). So go with your own personal preferences but go gently and keep the spice profile modest.
Flour and sugar
Regardless of whether or not the average home baker would have had access to it 100 years ago, strong bread flour is the best option for this recipe. The proteins and gluten in this type of flour help to trap the bubbles of gas created by the activated yeast. This gives the loaf structure and springiness.
At a push use plain flour. The texture won’t be quite as good, but you’ll get away with it.
Use only white sugar in this recipe. Caster sugar is best but granulated could be used instead.
Eggs and the egg wash glaze
Eggs add richness to the dough and should not be left out. Use large eggs.
An egg-wash glaze is an optional extra though. It’s not necessarily traditional, but it does ensure that the top of each loaf has an appealing shine to it, so I highly advise it.
Step by step instructions
- Put the dried fruit into a bowl with 2 teabags and cover with freshly boiled water. Stir after 10 minutes and leave to soak for several hours (or overnight).
- Rub the fat into the flour.
- Stir in the sugar, spices, dried yeast and salt.
- Heat the milk to lukewarm then make a well in the centre of the flour mixture and pour it in. Add the eggs.
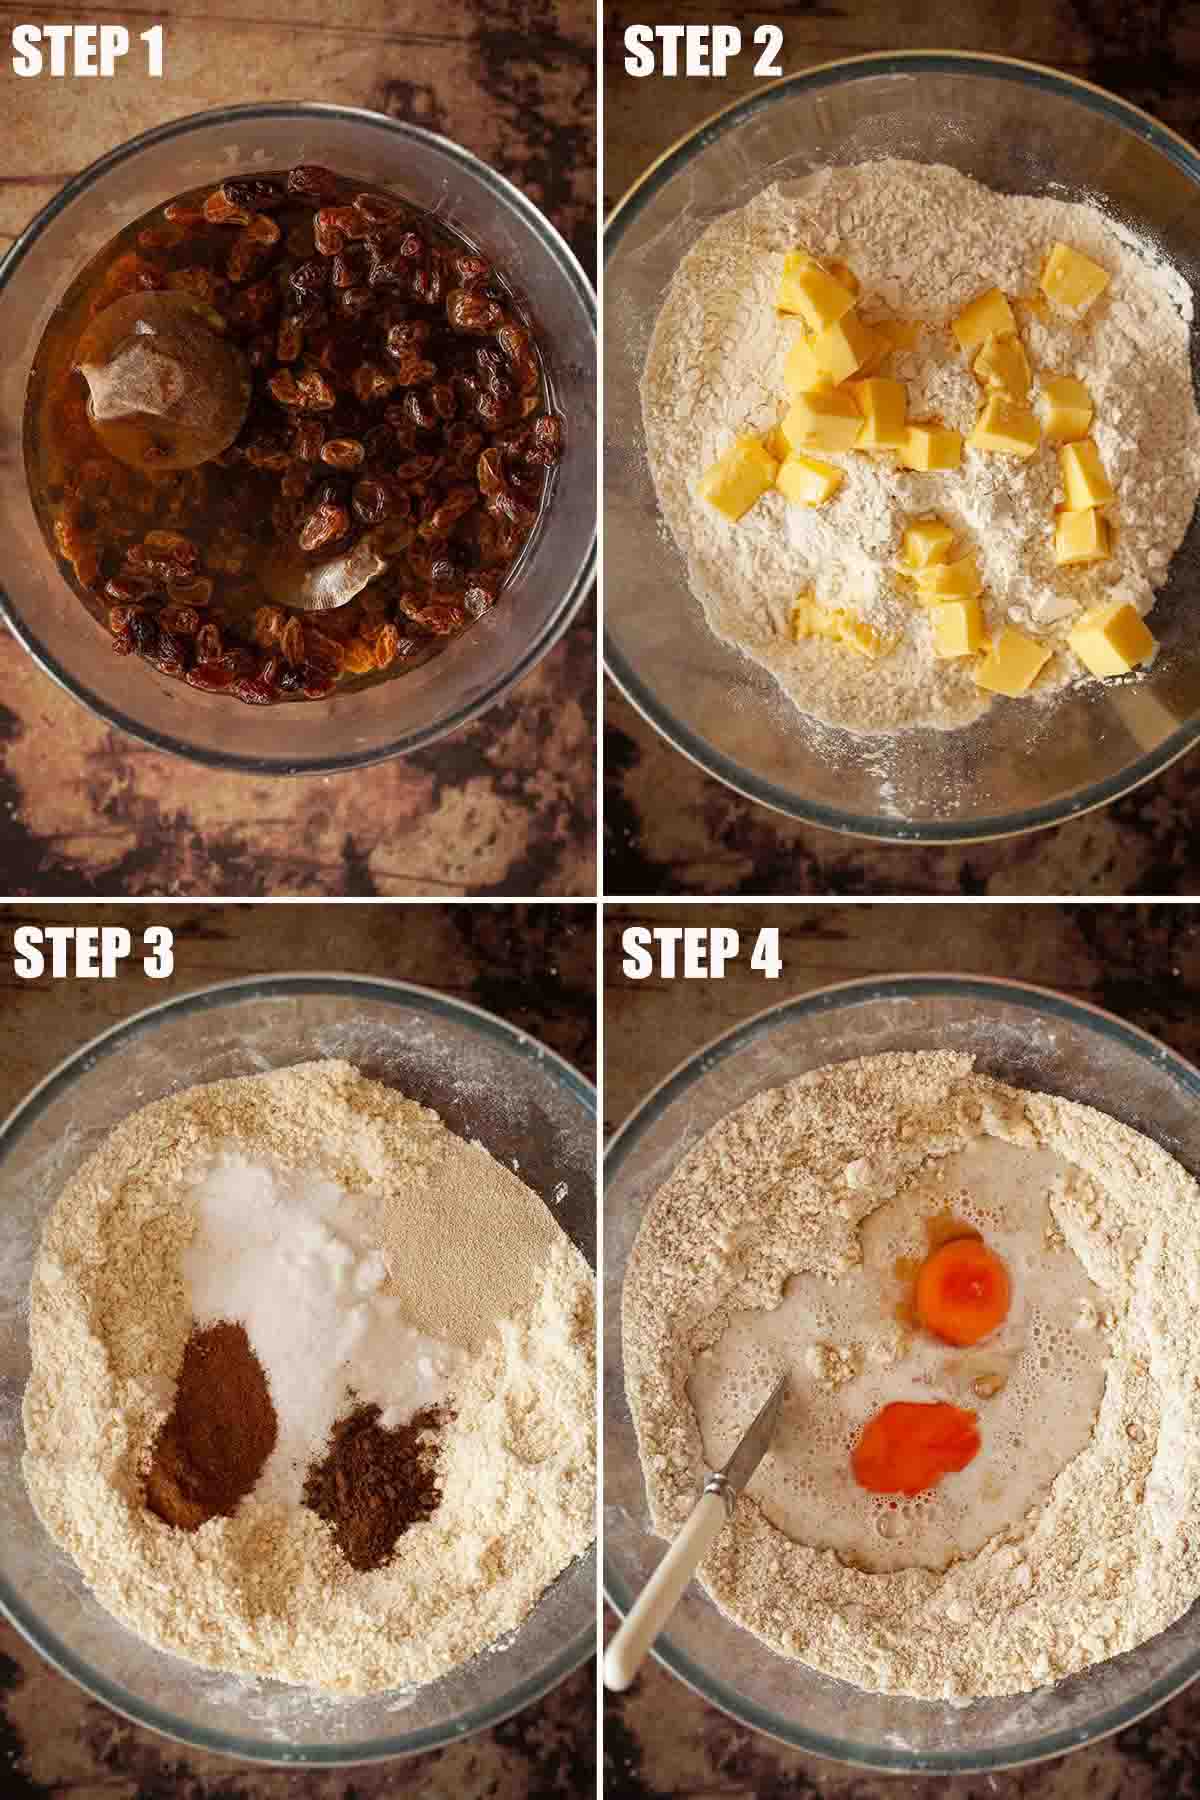
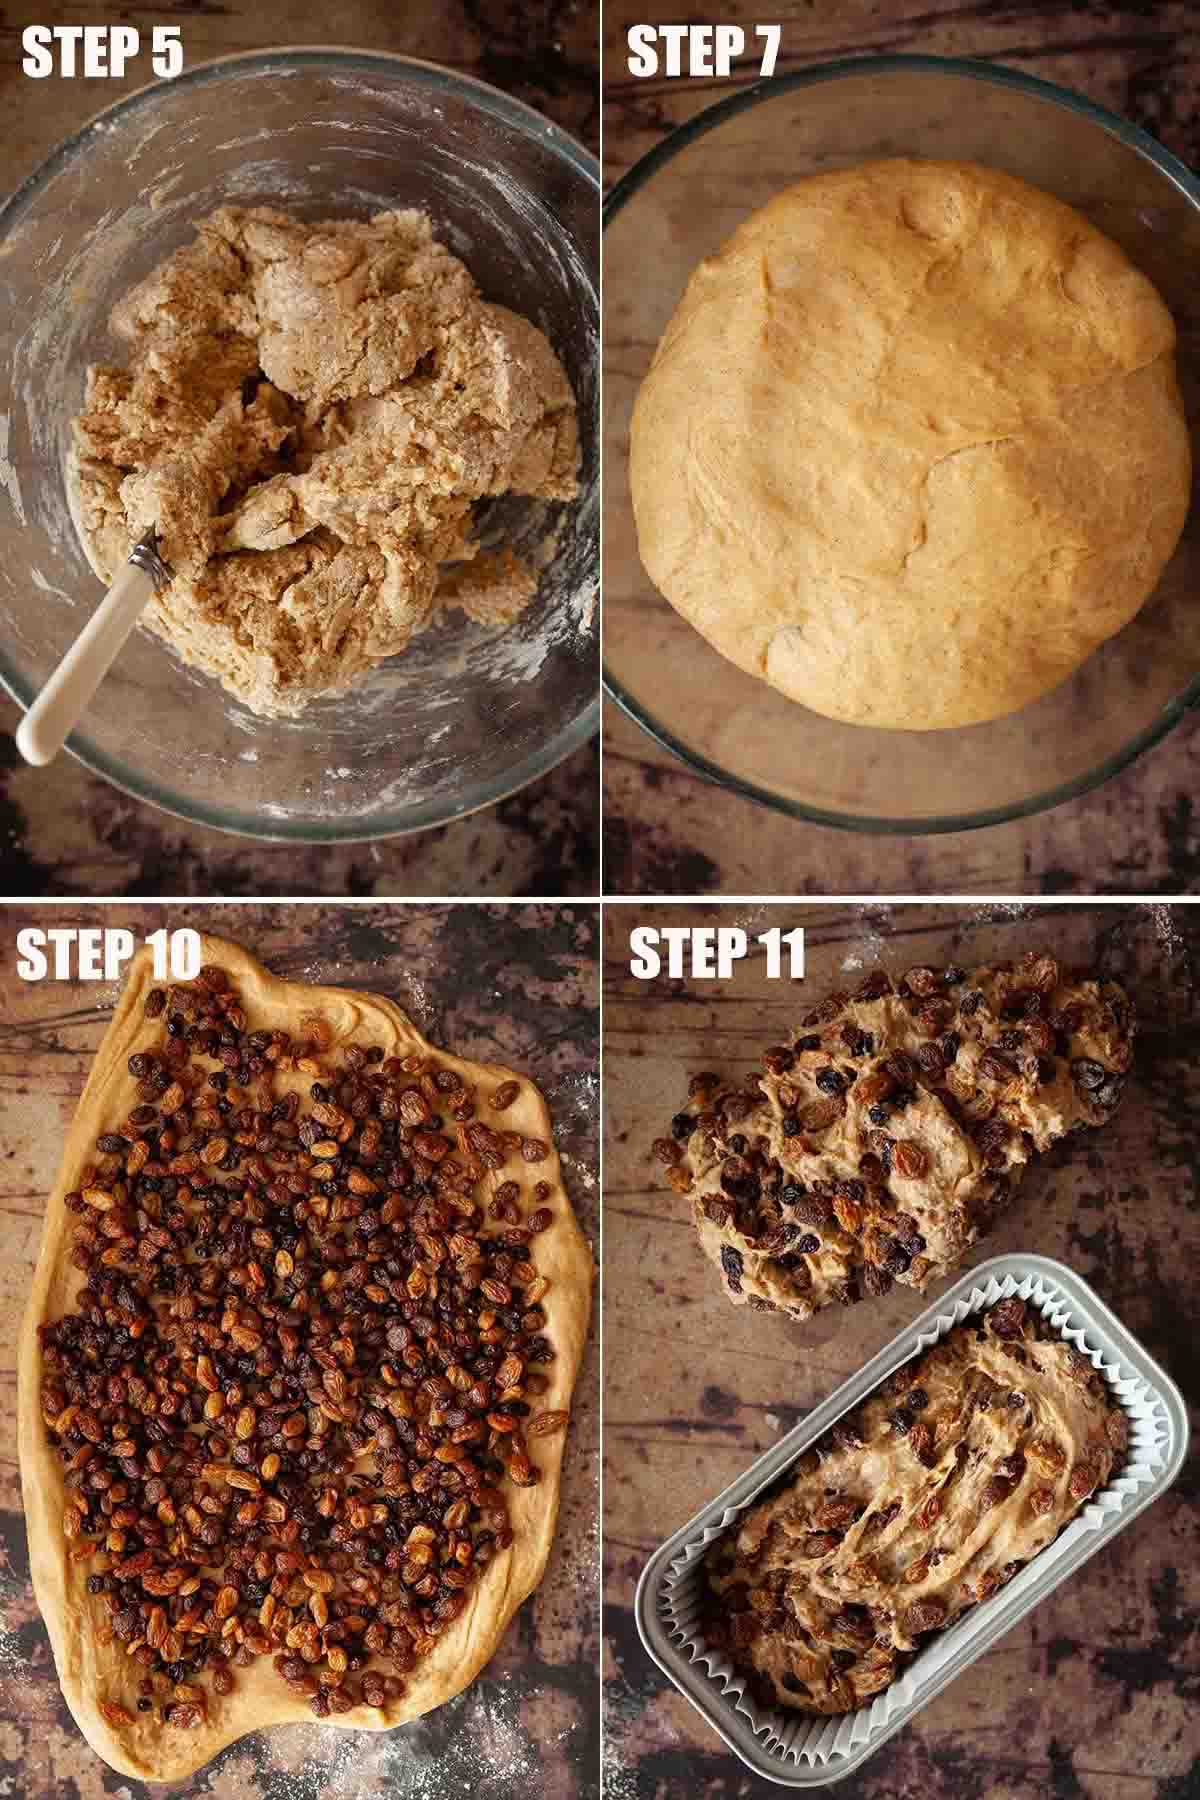
- Use a blunt knife to beat the liquid briefly to break up the eggs, then mix the liquid into the dry ingredients.
- Tip the dough onto a lightly floured worktop and knead firmly for 10 minutes until the dough is smooth and elastic.
- Put into a clean, lightly oiled bowl, cover and leave to rise until doubled in size (typically 2-3 hours but it may take more/ less time on cold/ hot days).
- Once the dough is in the bowl drain the fruit from the liquid – tip it into a large sieve. Leave to drain while the dough rises.
- When the dough has doubled in size tip the fruit onto a clean tea towel and blot to remove excess moisture.
- Knock back the dough then spread it out into a large rectangle. Scatter the fruit over the top, then fold it up. Knead for around 3 minutes until the fruit is well spread (it will get a little sticky and fruit will fall out. This is normal. Just keep pushing the fruit back into the dough).
- Line 2 x 1lb loaf tins with parchment then divide the dough in half and shape each piece to fit into the tins.
- Cover the tins loosely with a clean tea towel and leave to prove for another 2 hours until the dough looks well risen (again, exact timing will depend on how warm/ cold the room is).
- Meanwhile, pop a baking sheet into the oven as it heats up.
- When ready to bake brush the top of each loaf lightly with a little beaten egg, then slide it onto the baking sheet in the oven and bake for 20 minutes. Cover loosely with foil and continue to bake for a further 20 minutes.
- Remove from the oven and let rest in the tin for 5 minutes, then remove each loaf from the tin and let cool completely on a wire rack.
Expert tips
- Always use digital kitchen scales and grams for the best results. I do not provide cup measurements as this is an inferior and highly inaccurate method of weighing out ingredients for baking.
- Ensure that you use room temperature butter & eggs and that the milk is lukewarm when added. Using cold or chilled ingredients will extend the rising time considerably and enriched doughs such as this one already take quite some time to rise compared to regular bread dough.
- Knead the bread vigorously for a full 10 minutes by hand for the best results – the crumb is so much better as a result.
- Set a timer, so you can be sure you knead for long enough. The worst crime you can commit is under-kneading this dough.
- Don’t use a stand mixer for the kneading. I’m normally an advocate of this energy-saving technique, but not in this instance. The loaf seems to hold together so much better when kneaded by hand rather than by machine (sorry).
- Don’t forget to drain and blot the fruit once it has soaked in the tea. If you don’t do this then the dough will become too sticky to handle.
- Don’t forget to cover the loaf partway through the baking time to avoid burning the fruit poking through the top of the dough.
- Use a food thermometer to check the internal temperature of the loaves. They are sufficiently cooked when the temperature reaches 95C/ 203F.
Frequently asked questions
Yes, Lincolnshire plum loaf can be frozen. Let cool completely, then either slice or leave whole before wrapping tightly in clingfilm and placing in the freezer.
Don’t forget to label and date it, so you know when it was put in the freezer (it will store well for 6-8 weeks).
When required, pull out the loaf or a slice, cover with a clean tea towel and let defrost fully before using.
Of course. Please see my suggestions in the ingredients notes section regarding this.
Those lucky enough to live in Lincolnshire will be able to pick up a loaf of the good stuff in plenty of bakeries. In my research for this recipe, my dad kindly dropped into Curtis of Lincoln and picked up a loaf for me to taste test. Delicious.
A few bakeries also despatch their plum bread by post for customers across the UK, but it will set you back a fair bit once delivery is accounted for. Take my advice and make your own. It will be cheaper than the cost of purchasing a loaf online and you’ll get 2 loaves in the bargain.
More recipes from the East Midlands
This recipe for Lincolnshire plum bread is part of my growing collection of recipes from the East and West Midlands. I won’t deny that working on this one has really pulled on my heartstrings because of my family connection with this quiet county. I have fond memories of Sunday tea-times around my grandparent’s table, my grandad always at the head of the table, chirping away to anybody who would listen with the unmistakable lilt of a countryside Lincolnshire accent. Which of my fourteen paternal cousins my brothers and I might see each visit was always a mystery to unfold on the day.
More tempting East Midlands recipes?
📖 Recipe
Want to Save This Recipe?
Lincolnshire Plum Bread
Equipment
- 2 x 1lb loaf tins
Ingredients
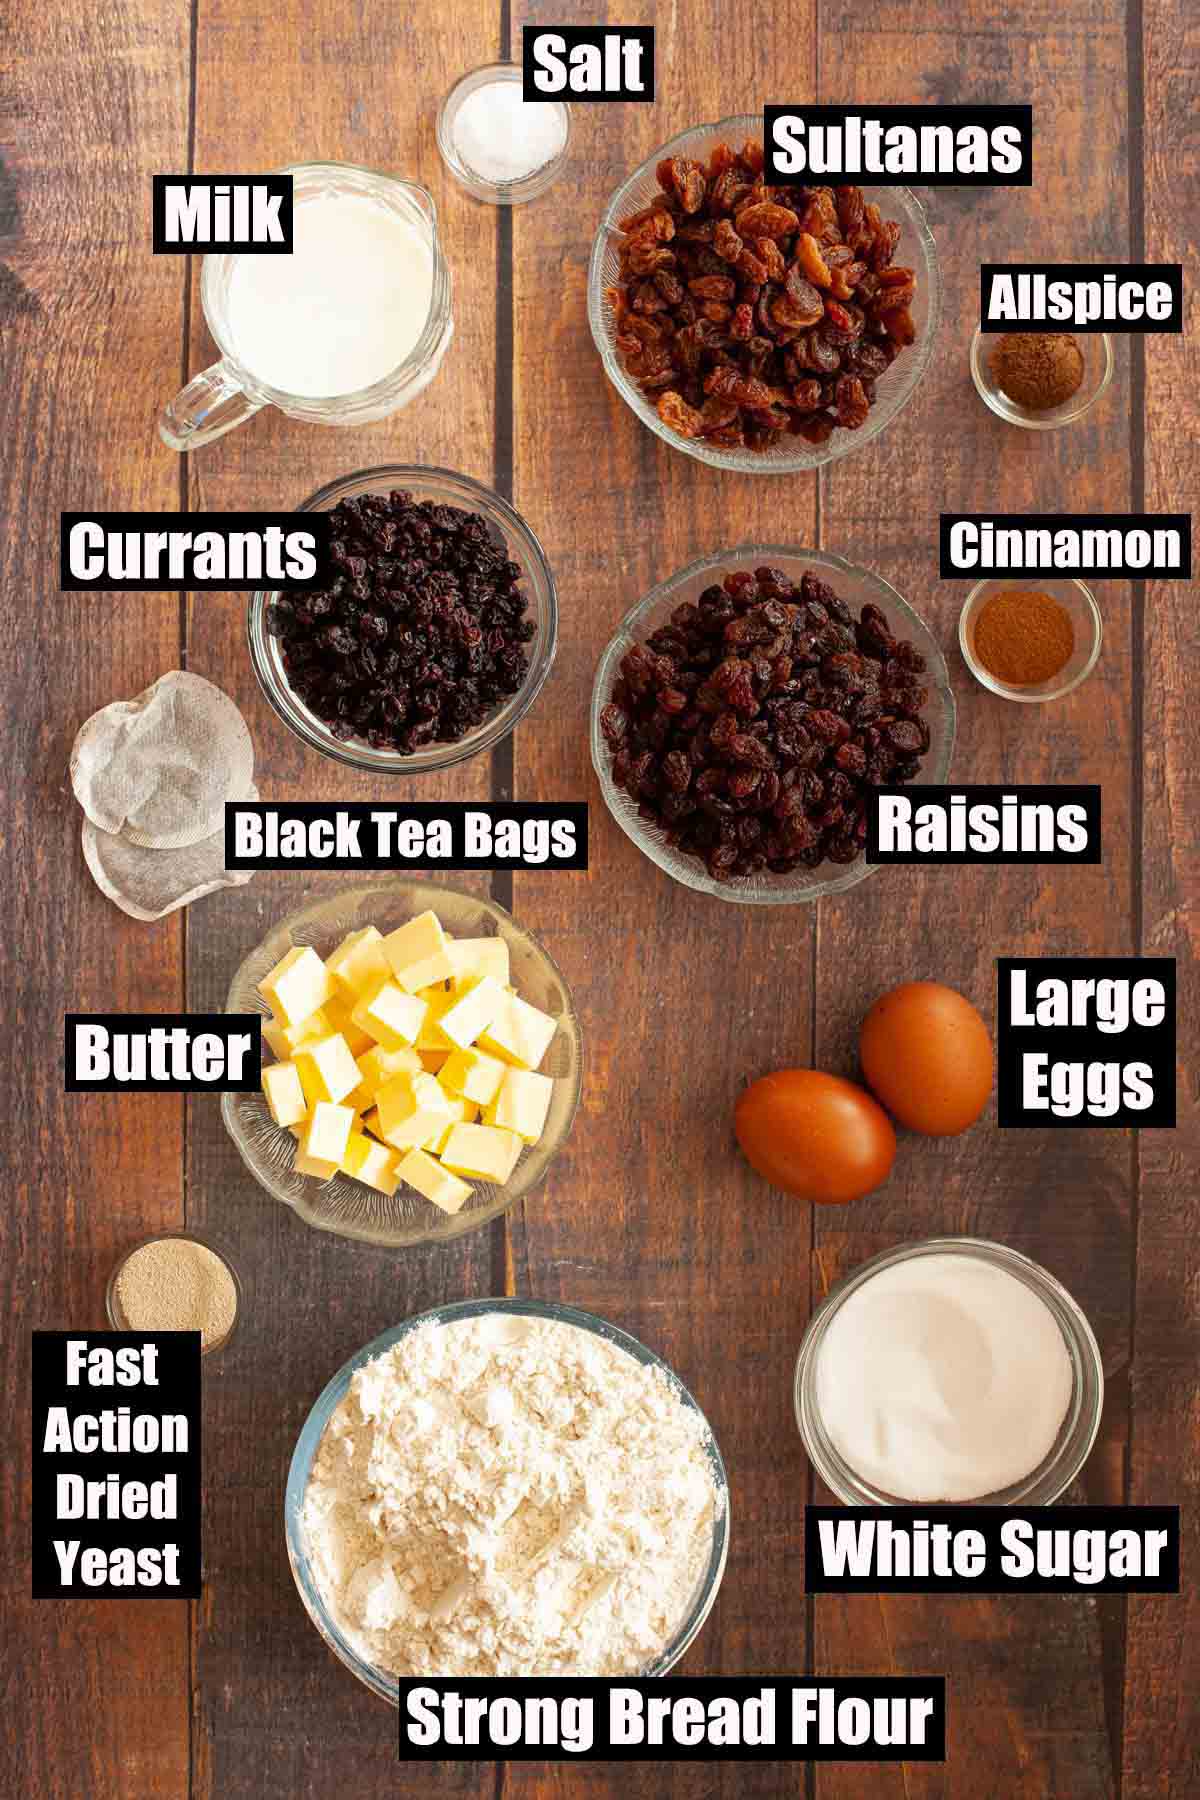
- 200 g Raisins
- 150 g Sultanas
- 100 g Currants
- 2 Tea bags (black tea such as English breakfast)
- 450 g Strong bread flour (white)
- 120 g Butter or lard
- 3 teaspoons Fast action dried yeast (see notes)
- 75 g Caster sugar
- 120 ml Whole milk
- 2 Eggs large, free-range
- ½ teaspoon Ground allspice
- ½ teaspoon Ground cinnamon
- ½ teaspoon Salt
- A little beaten egg
Instructions
- Put the dried fruit into a bowl with 2 teabags and cover with freshly boiled water. Stir after 10 minutes and leave to soak for several hours (or overnight).
- Rub the fat into the flour.
- Stir in the sugar, spices, dried yeast and salt.
- Heat the milk to lukewarm then make a well in the centre of the flour mixture and pour it in. Add the eggs.
- Use a blunt knife to beat the liquid briefly to break up the eggs, then mix the liquid into the dry ingredients to form a dough.
- Tip the dough onto a lightly floured worktop and knead firmly for 10 minutes until the dough is smooth and elastic.
- Put into a clean, lightly oiled bowl, cover and leave to rise until doubled in size (typically 2-3 hours but it may take more/ less time on cold/ hot days).
- Once the dough is in the bowl drain the fruit from the liquid – tip it into a large sieve. Leave to drain while the dough rises.
- When the dough has doubled in size tip the fruit onto a clean tea towel and blot to remove excess moisture.
- Knock back the dough then spread it out into a large rectangle. Scatter the fruit over the top, then fold it up. Knead for around 3 minutes until the fruit is well distributed. (The dough will get a little sticky and some of the fruit will fall out. This is normal. Just keep pushing the fruit back into the dough).
- Line 2 x 1lb loaf tins with parchment then divide the dough in half and shape each piece to fit into the tins.
- Cover the tins loosely with a clean tea towel and leave to prove for another 2 hours until the dough looks well risen (again, exact timing will depend on how warm/ cold the room is).
- Meanwhile, pop a baking sheet into the oven and preheat it to 190Cc/ 375F/ GM 5.
- When ready to bake brush the top of each loaf lightly with a little beaten egg, then slide it onto the baking sheet in the oven and bake for 20 minutes. Cover loosely with foil and continue to bake for a further 20 minutes.
- Check the internal temperature of the loaf with a food thermometer. It should register 95C/ 203F. If it is below this temperature, re-cover the loaves with the foil, bake a little longer and check again.
- Once fully baked, take the loaves out of the oven and let rest in the tins for 5 minutes, then remove each loaf from the tin and let cool completely on a wire rack.
Notes
- Always use digital kitchen scales and grams for the best results. I do not provide cup measurements as this is an inferior and highly inaccurate method of weighing out ingredients for baking.
- Ensure that you use room temperature butter & eggs and that the milk is lukewarm when added. Using cold or chilled ingredients will extend the rising time considerably and enriched doughs such as this one already take quite some time to rise compared to regular bread dough.
- Knead the bread vigorously for a full 10 minutes by hand for the best results – the crumb is so much better as a result.
- Set a timer, so you can be sure you knead for long enough. The worst crime you can commit is under-kneading this dough.
- Don’t use a stand mixer for the kneading. I’m normally an advocate of this energy-saving technique, but not in this instance. The loaf seems to hold together so much better when kneaded by hand rather than by machine (sorry).
- Don’t forget to drain and blot the fruit once it has soaked in the tea. If you don’t do this then the dough will become too sticky to handle.
- Don’t forget to cover the loaf partway through the baking time to avoid burning the fruit poking through the top of the dough.
- Use a food thermometer to check the internal temperature of the loaves. They are sufficiently cooked when the temperature reaches 95C/ 203F.




Karen Jacklin
I made two plum loaves earlier this week which turned out disastrously! Not to be beaten I researched and found your recipe. Boom! Delicious! Gorgeous with cheese, just how we like it. Thank you so much for investing and sharing. Your method and tips were so helpful. How long will it keep for, assuming it isn’t eaten?
Jane Coupland
Hi Karen, oh excellent – very pleased you found my recipe then! In the current UK summer heat I think 1-2 days, longer if you can store in somewhere cool like a pantry. You can always slice and freezer it or freeze the loaf whole. Hope that helps
Kathryn
Absolutely love this recipe. Easy to follow. Great.
Jane Saunders
Hi Kathryn – thanks so much for your review. I worked exceedingly hard on this recipe so I’m thrilled it was time well spent 🙂
Tom
Hi Jane, my wife is from Sleaford in Lincolnshire and had asked me to bake Lincolnshire Plum Bread. If found your recipe and baked it! My wife is absolutely delighted; she says “it smells and tastes exactly the way good Lincolnshire Plum Bread should smell and taste”. Who
Am I to argue?
Thank you so much for all your work in developing and sharing this recipe.
Tom
Jane Saunders
Tom, thank you so, so much for taking the time to tell me what your wife said about the loaf. I’m delighted 🙂
Comments like this make the hard work worthwhile!
Barbara Hart
A beautiful recipe.Takes a long time to prove and bake,but finished results are worth the wait
Jane Saunders
Barbara, thankyou so much. I worked and worked on this recipe and waiting for the proving is the only way to go – all that dried fruit does slow it down. Patience is a rather tasty virtue in this instance.