

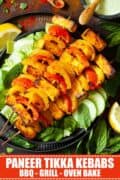

Grilled paneer tikka sticks are a versatile, easy and delicious veggie-friendly option for dinner or BBQs. This tikka recipe is quick to prepare - requiring less than 30 minutes hands-on work and it uses spices you are likely to have in your store cupboard already.
Serve a spicy cocktail with these kebabs or opt for a cheeky rum laced masala chai afterwards.
Jump to:
It's true that dried herbs and spices have a short shelf life once opened. That's why, when creating this recipe for grilled paneer tikka sticks, I've purposefully kept the required spices to a minimum whilst also ensuring that these veggie-friendly kebabs deliver plenty of gorgeous Indian spice flavour.
If you're in the market for a quick, easy and accessible paneer tikka recipe I think you'll like this one. And for readers with an extended spice rack I've got a couple of additions to the base recipe to suggest too.
If you're intending to serve this grilled paneer tikka as an appetiser for curry night you might also like to try veggie rogan josh, chicken and lentil curry or a lamb balti for the main course.
Why these paneer tikka sticks are worth making
- This recipe is down to earth. It requires no specialist cooking equipment, such as a tandoor oven. Instead, it is cooked either on a BBQ, under the grill or in the oven.
- It also requires no hard-to-find ingredients - you'll likely pick everything up in a mainstream supermarket.
- Hands-on time is minimal (30 minutes max).
- The paneer can be left to marinate overnight, so it's a great make-ahead recipe.
- There's plenty of flavour, including some (optional) green chilli heat.
What is Paneer Tikka?
Paneer tikka is a popular Indian dish, often served as an appetiser in restaurants.
It is made from chunks of paneer cheese (Indian cottage cheese) that have been marinated in spices. Traditionally, this dish is grilled in a tandoor oven and it is a fantastic vegetarian alternative to chicken tikka.
As far as the spices go, there are many variations of the tikka blend kicking around and there's really no right or wrong version. But garlic, ginger, turmeric, chilli powder, coriander and cumin are widely found in paneer tikka recipes and it's a solid flavour profile to adopt.
Ingredients notes
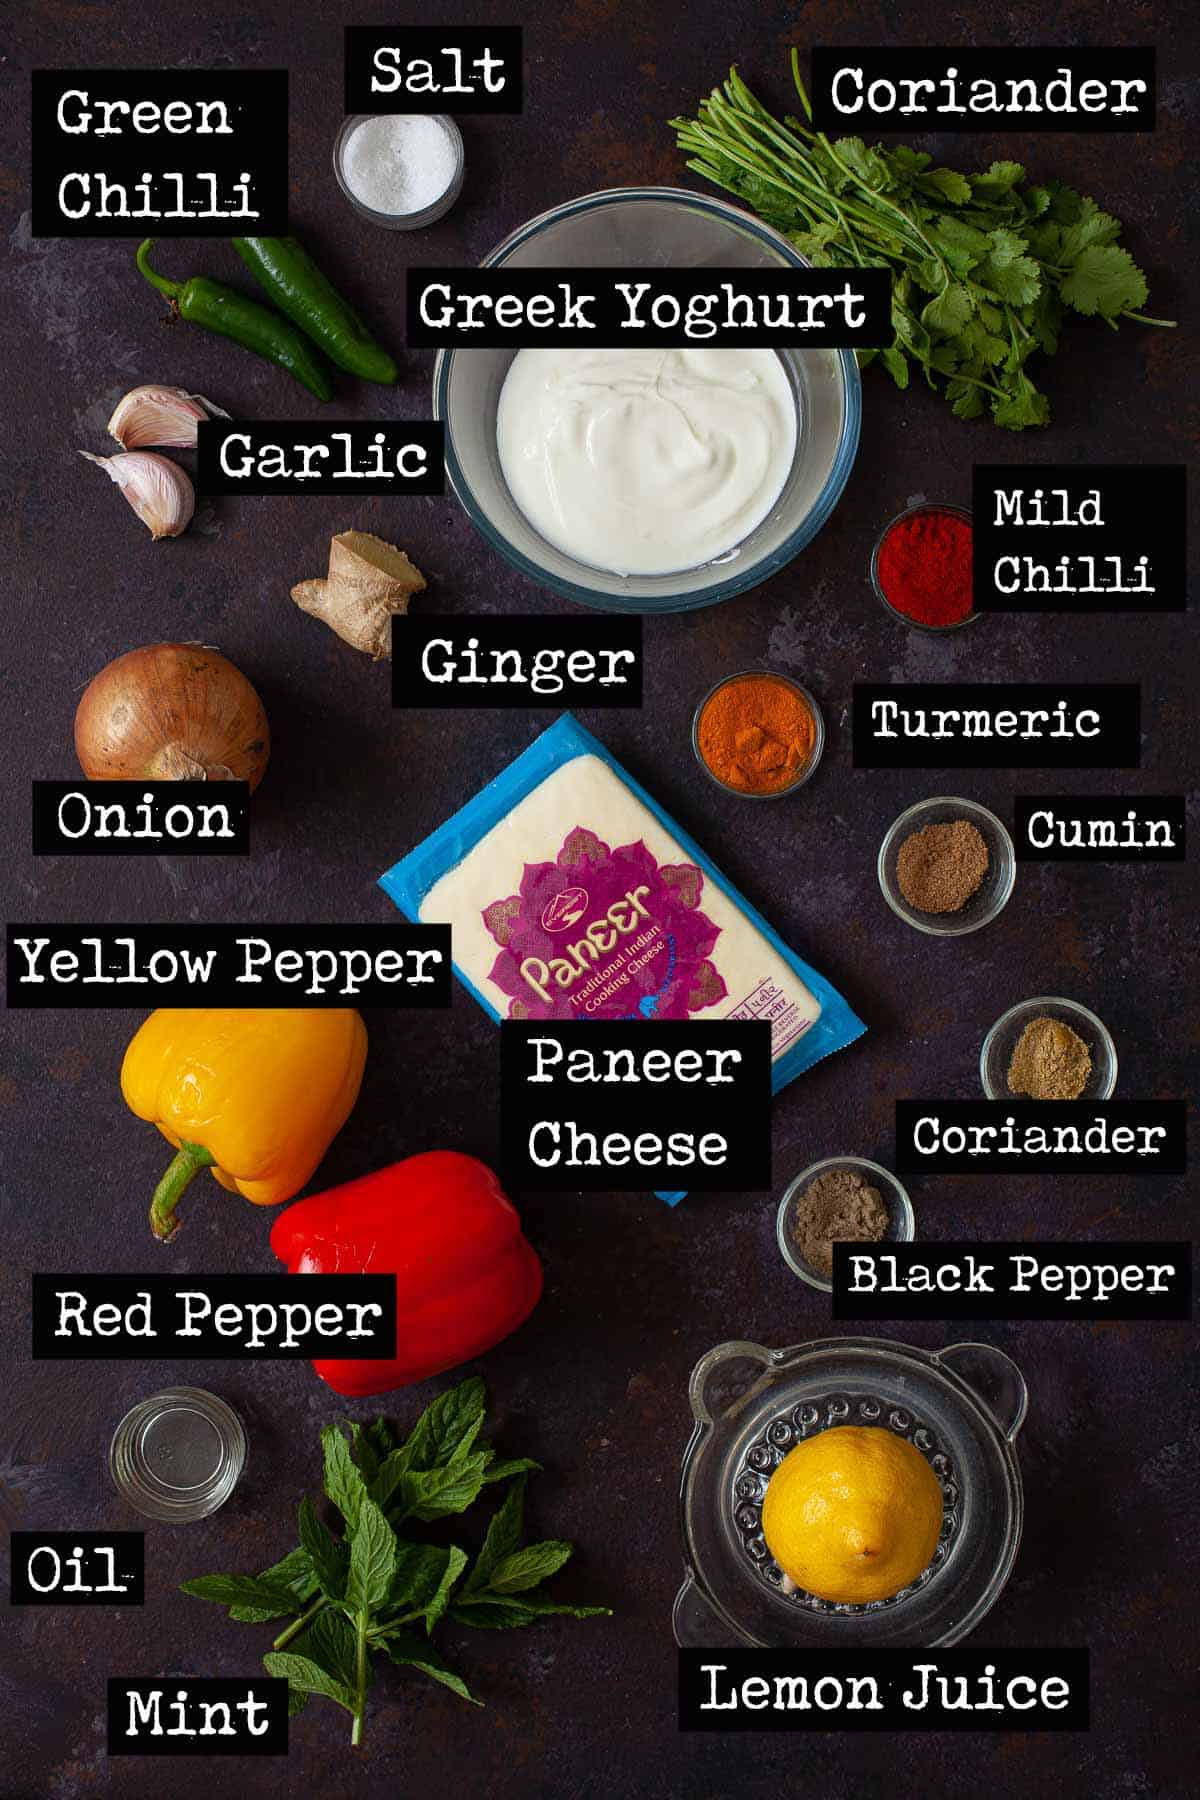
For the best grilled panner tikka sticks use a firm paneer that you trust not to fall apart when threaded onto the skewers for cooking. In truth, I do only recommend store-bought paneer for this recipe as homemade, as lovely as it might be, can be much more prone to crumbling. My brand of choice is Everest. It's always tasty and never breaks up so it's the perfect cheese for this recipe.
I have a deep love for Kashmiri chilli powder as it has a wonderful aromatic mild heat and packs a punch of colour to whatever it is being used in. This chilli powder is stocked in plenty of supermarkets now but is also easy to pick up online. If you cannot get hold of it then basic mild chilli powder is a good substitute.
My grilled paneer tikka recipe includes green chilli to add a burst of heat to the flavour profile, but this can be left out for those favouring a milder version.
Though it's not listed as an essential ingredient in this recipe, feel free to add in a little fenugreek (methi) if you have some to hand. Similarly, a dusting of chaat masala at the point of serving is popular, but by no means mandatory. Try it if you have some in your cupboard.
Step by step instructions
Full instructions and measurements are given in the printable recipe card at the end of this post.
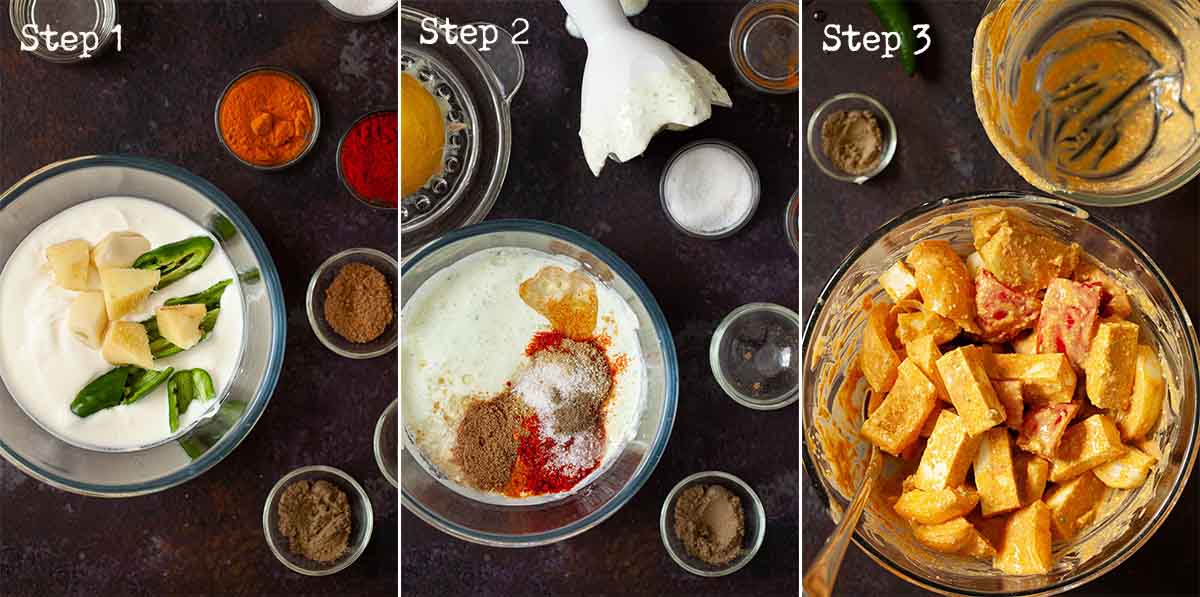
1. To make the marinade begin by peeling the garlic & ginger and de-seeding the chilli. Chop them all roughly.
2. Use a hand-held stick blender to process the garlic, ginger and chilli with the yoghurt. Finish the marinade by stirring through the spices, salt, pepper, oil and lemon juice.
3. Chop the paneer, peppers and onion and stir into the marinade. Chill for at least 1 hour.
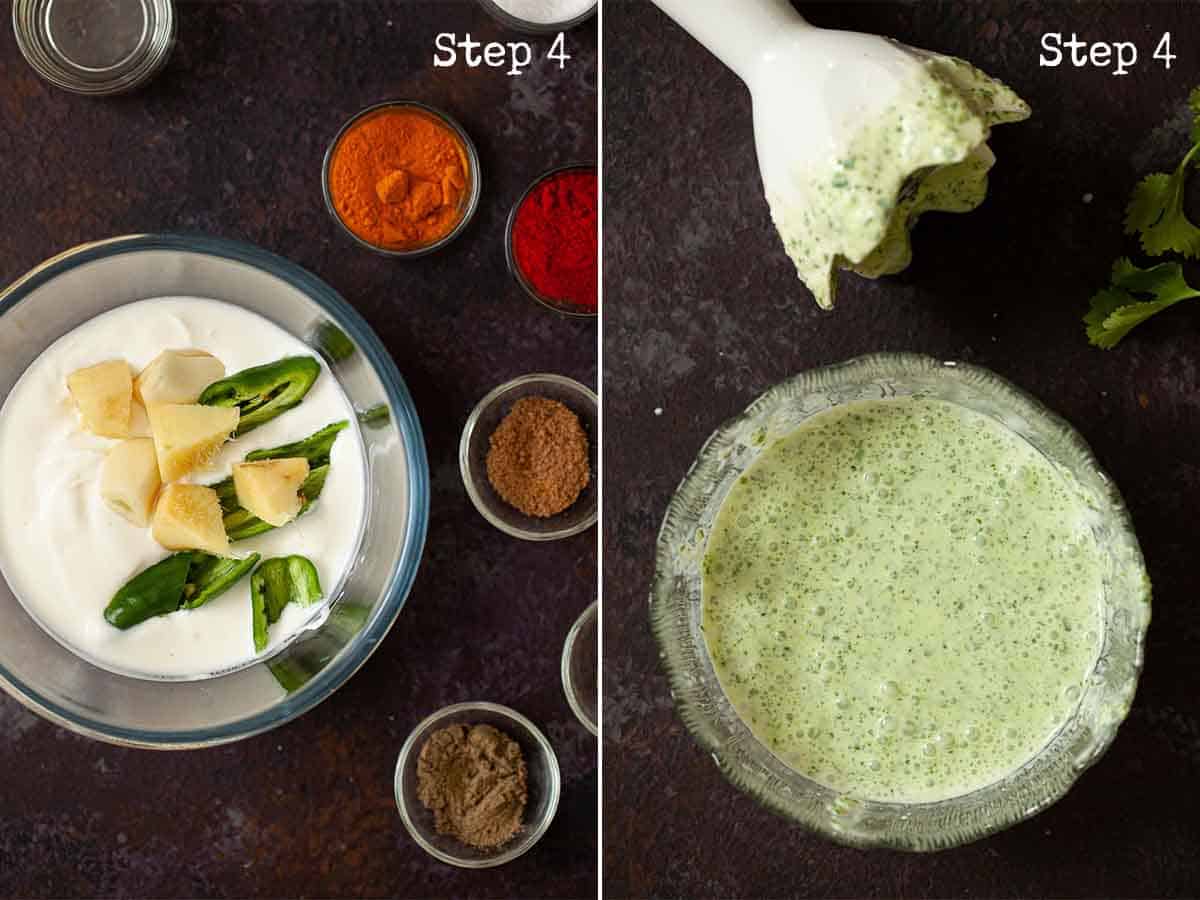
4. Meanwhile, make the dipping sauce: peel the garlic & ginger, de-seed the chilli and chop roughly. Put into a bowl with the rest of the ingredients and process using a stick blender until quite smooth.
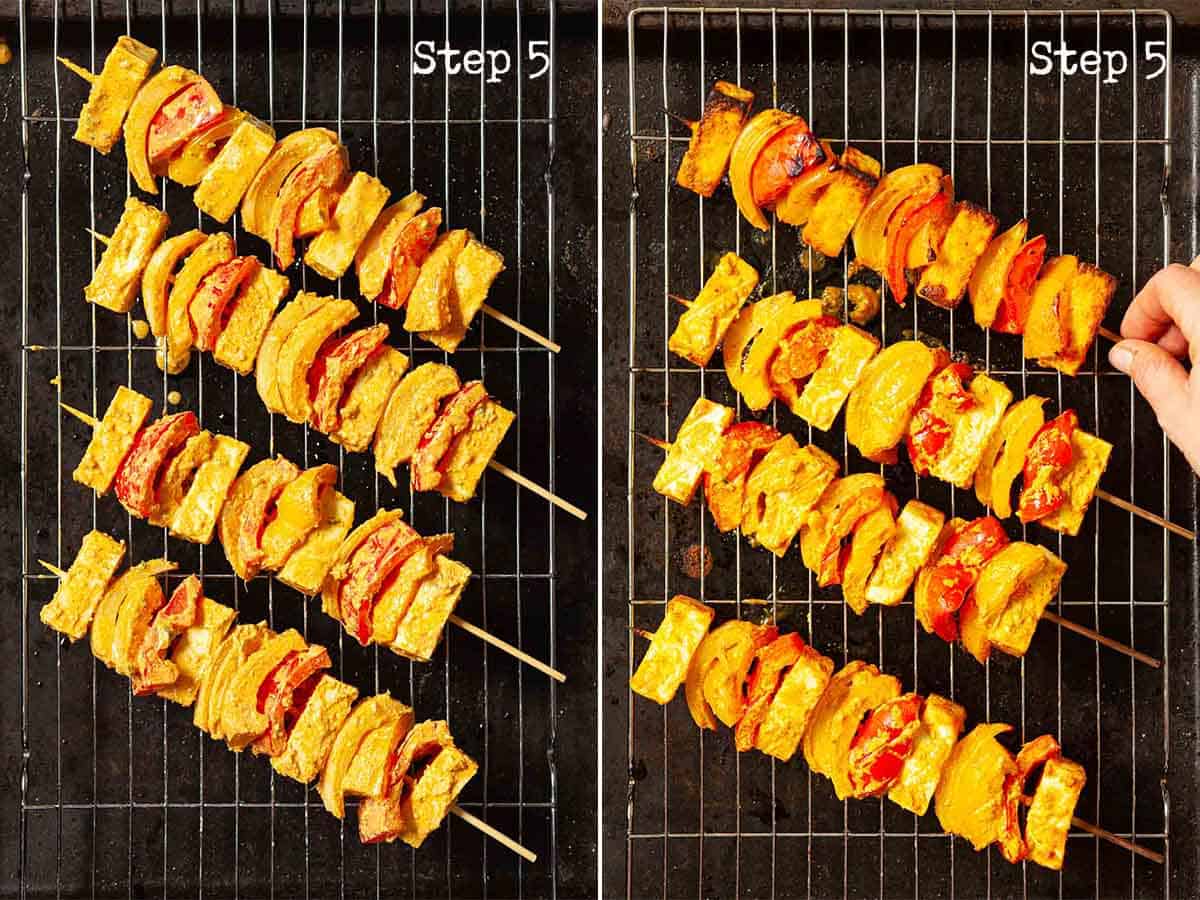
5. Thread the ingredients onto skewers, spray lightly with oil and cook according to one of the following methods.
On the BBQ
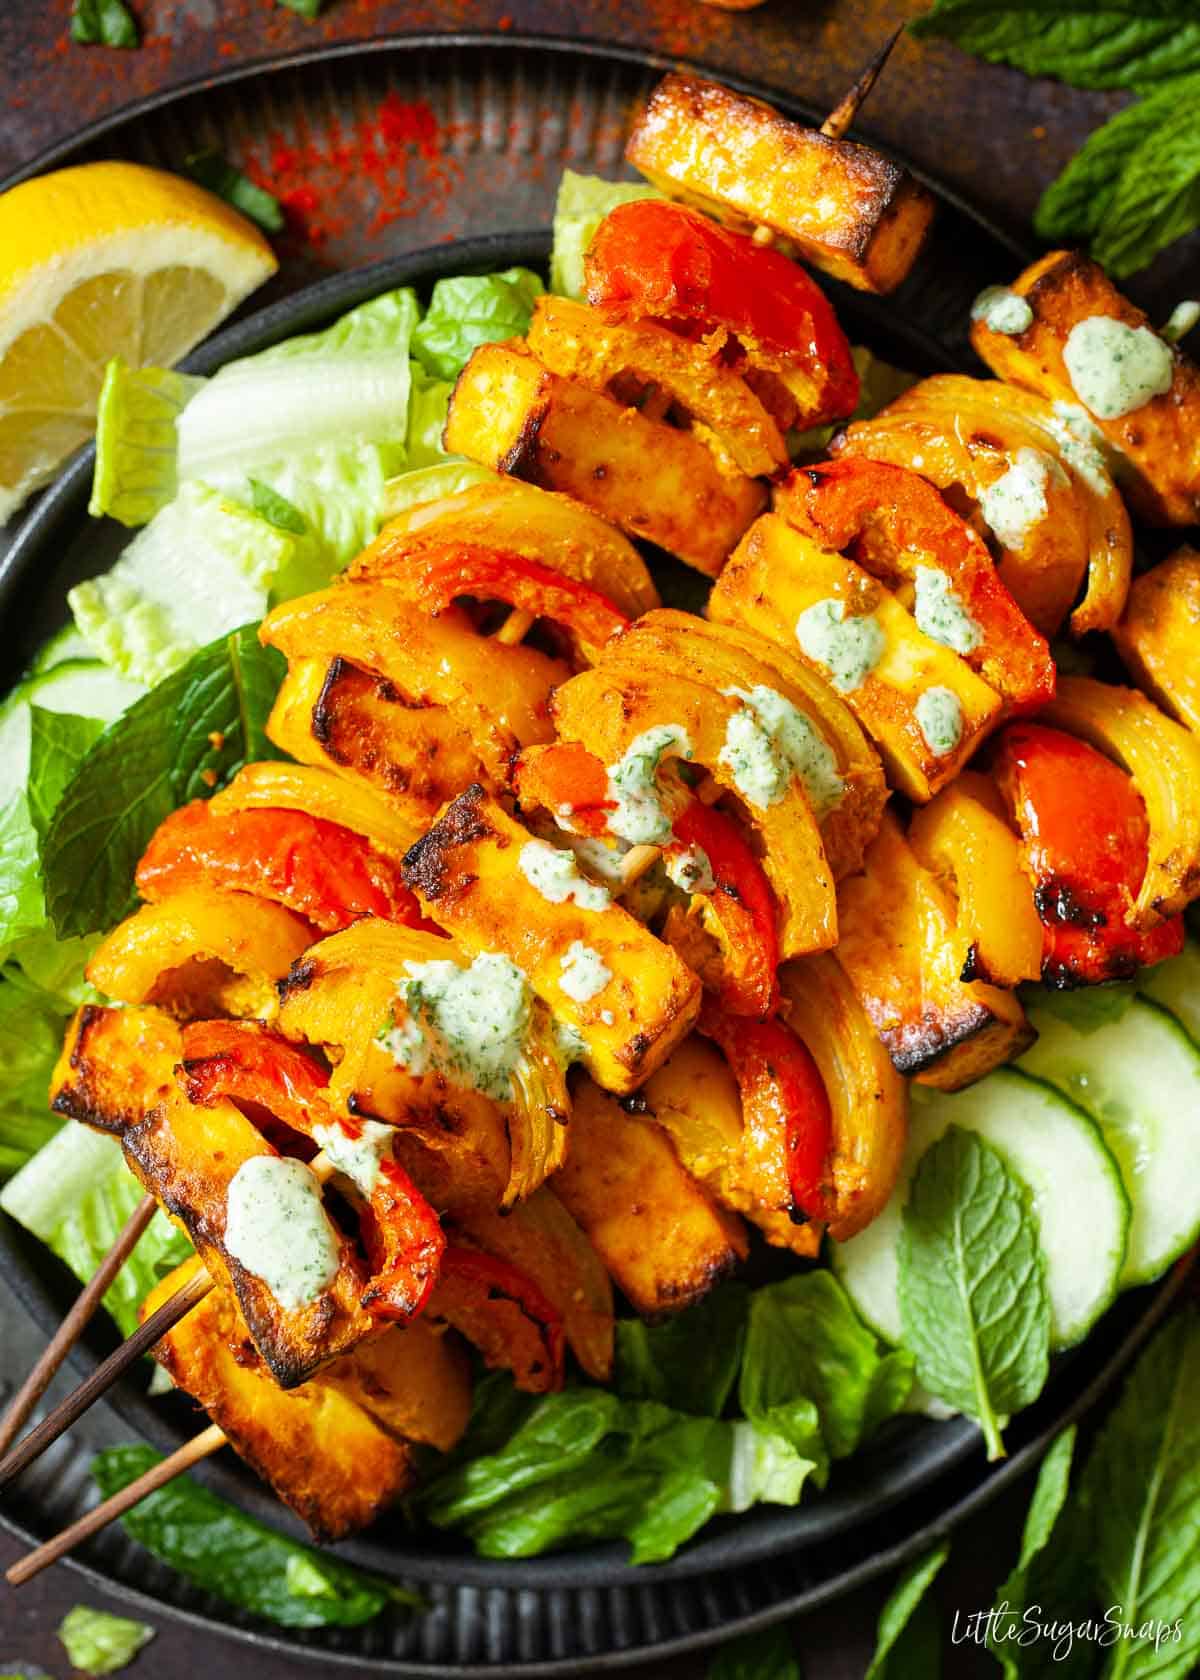
Lay the paneer tikka sticks on the BBQ grill and cook for 3-4 minutes, then turn and cook for 3-4 more minutes or until nicely charred.
Cooking under the Grill
Suspend a wire rack over a roasting tin (as shown in step 5 images - below) and lay the sticks onto the rack. Grill for 4-5 minutes, then turn and grill the other side for another 4-5 minutes or until beginning to char.
Cooking in the Oven
Lay foil onto the base of a roasting tin and brush with a little oil to prevent sticking. Lay the sticks onto the foil and cook in a preheated oven for 10 minutes, turning midway.
If you have a kitchen blowtorch you can use it to char the kebabs once cooked.
Expert tips
- The paneer needs to marinate for at least 1 hour to pick up the wonderful flavour of the spices.
- The recipe listed uses 1 medium-heat green chilli but the spice level can be varied by increasing or decreasing the amount of green chilli used.
- The best way to cook these paneer tikka sticks is on the barbecue to impart a smoky flavour to them.
- Whatever way you choose to cook them, do it quickly (5-10 minutes) to allow the vegetables to soften without drying out the cheese.
- Remember to soak wooden skewers in water for at least an hour before grilling or barbecuing. If they have not been soaked in water they will burn!
- If using metal skewers remember to use oven gloves when handling them during/ after cooking as they will be hot. Also remember to warn diners if the skewers are hot when serving.
- Remember to spray the kebabs with oil before cooking to stop them drying out and sticking.
- If you do not own a wire rack for grilling then lay foil over the base of a roasting tin instead. Lay the kebabs on the foil and proceed to cook as instructed above. When turning the kebabs over midway through cooking try to put them back down onto a clean spot, away from any residual marinade on the foil.
- Similarly, if oven baking, avoid putting the kebabs back down in marinade residue when turning them. Look for a clean space on the foil instead.
- Never use baking parchment under the grill as it will burn.
Frequently asked questions
Normally I'm all for homemade over store-bought anything, but in this instance I only recommend store-bought paneer. It is reliably firm and less likely to break apart when chopped and when skewered.
Any spare paneer tikka should be cooled, covered and stored in the fridge. Though it is fine to eat the kebabs cold, I always prefer to reheat them in the microwave - remember to remove metal skewers beforehand if necessary.
Cooking this paneer tikka over coals is the best way to ensure it cooks quickly whilst also achieving a charred appearance and gaining a smoky flavour.
Variations
It's very easy to adapt this grilled paneer tikka recipe:
- Use a mixture of red, yellow and green peppers.
- Or swap them for cherry tomatoes and button mushrooms.
- Make them vegan by using firm tofu in place of the paneer and a vegan-friendly yoghurt for the marinade and sauce.
- Alternatively, use the same marinade to make chicken tikka to satiate a meat craving. Grill or bake until the chicken is cooked through.
What to serve with grilled paneer tikka
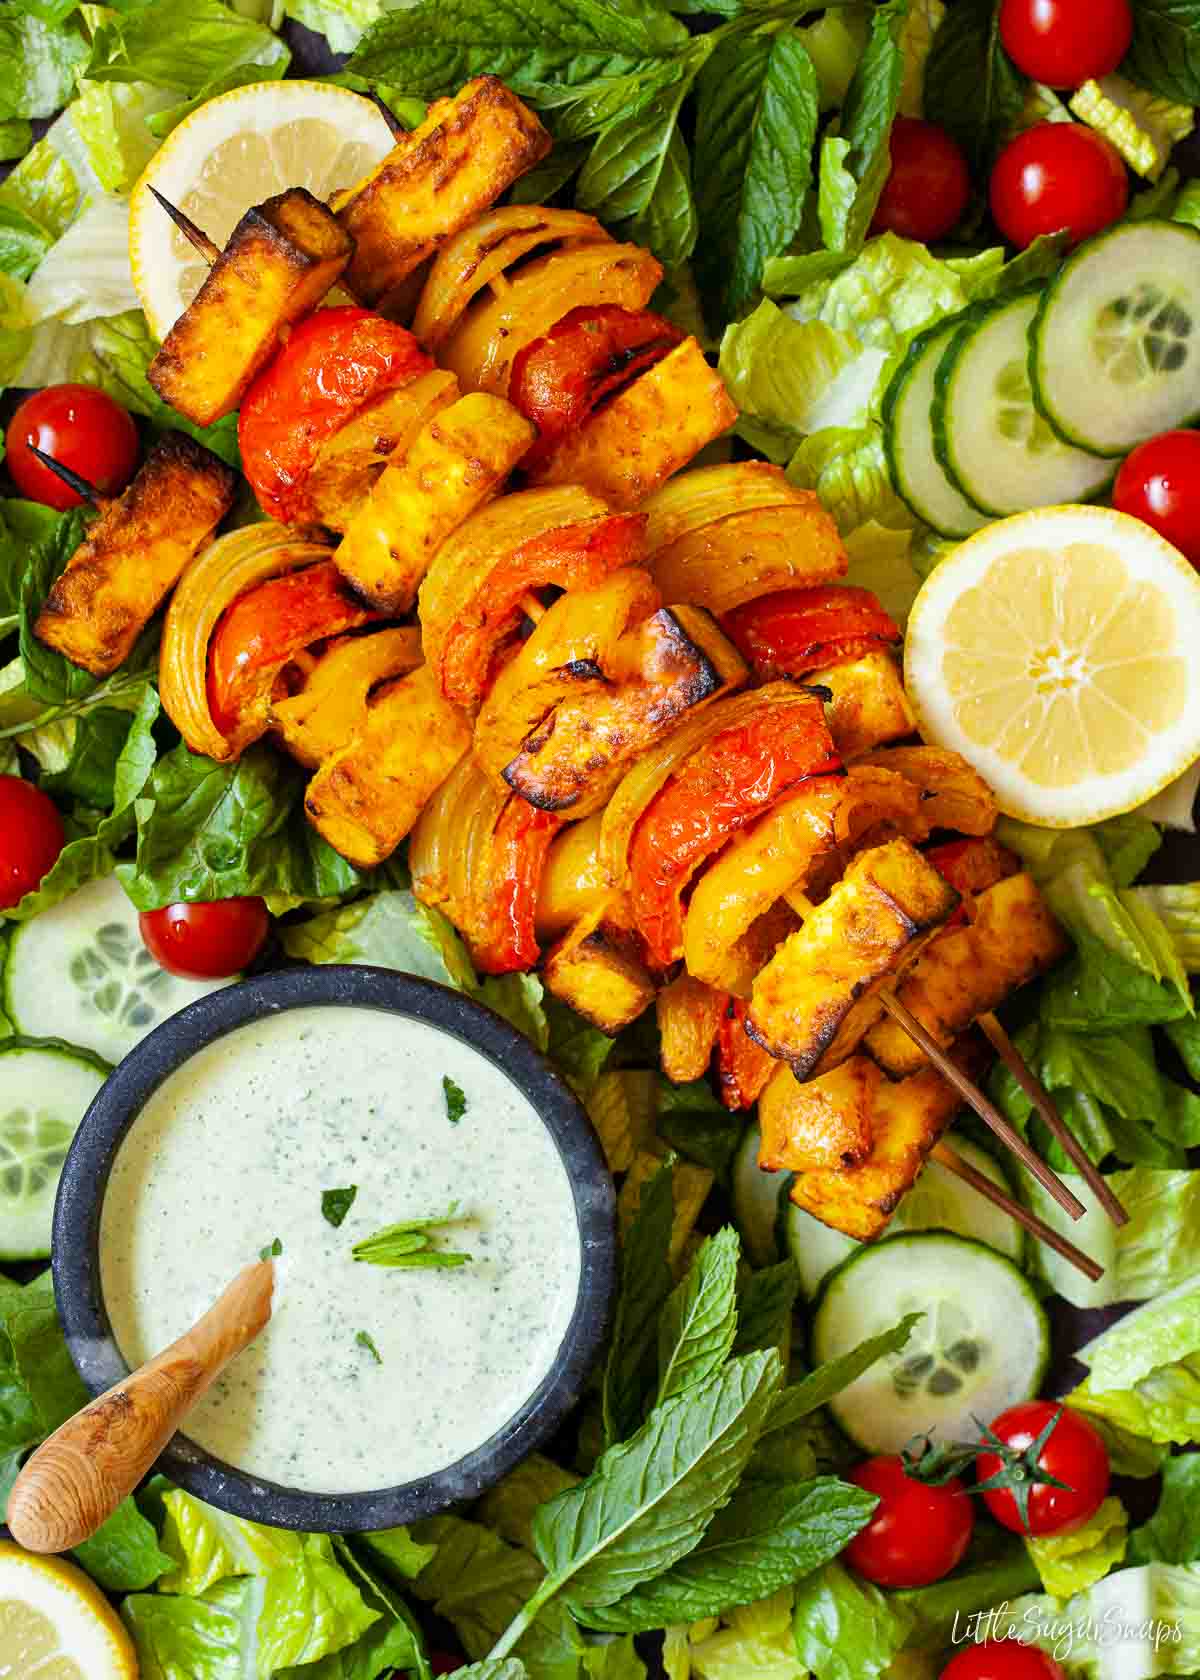
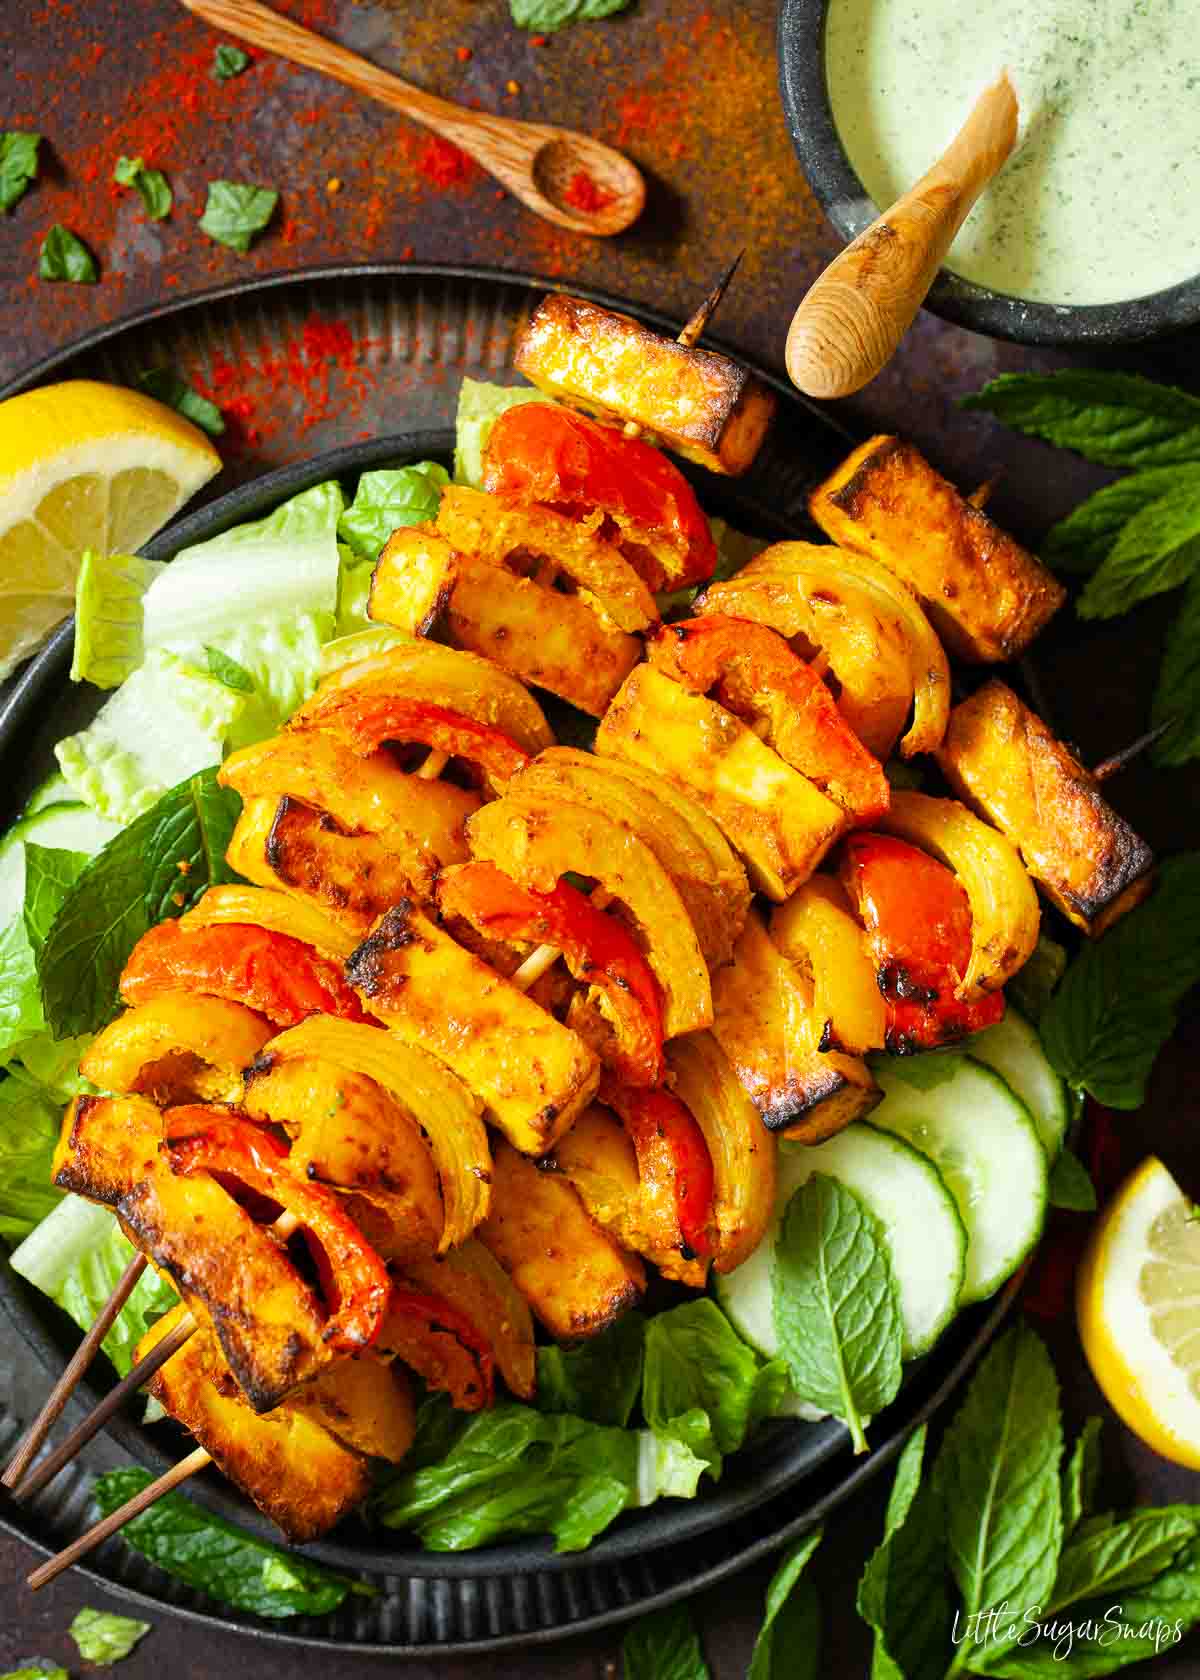
My favourite way to serve these grilled paneer tikka sticks is with a juicy salad of crunchy lettuce, tomato and cucumber. A sprinkle of chaat masala and a squeeze of lemon juice are welcome additions, as is a drizzle of the spicy yoghurt dip also included in this recipe.
For the carbs, try loading everything into naan bread, wraps or pitta bread or serve with an Indian-style potato salad.
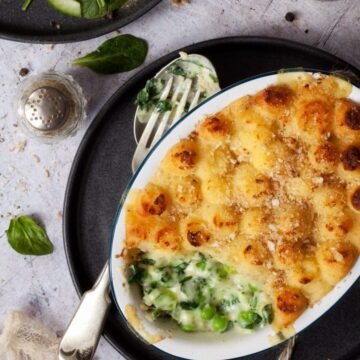
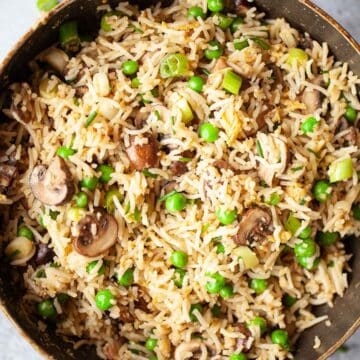
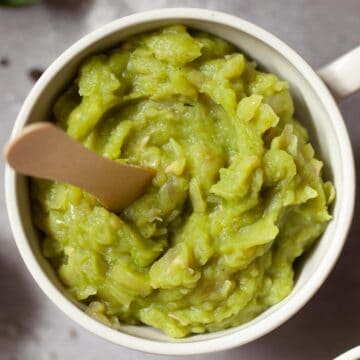
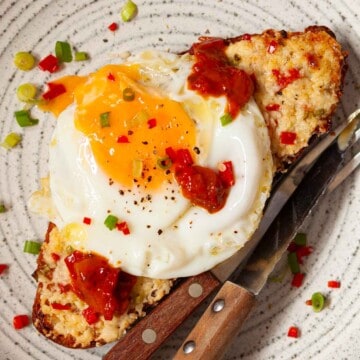
More veggie mains
Here are a few popular main meals from my trove of easy & delicious vegetarian recipes.


If you have tried these grilled paneer tikka sticks please give the recipe a rating or comment. I love to hear how you get along with my creations.
Please add us as a trusted site on Google so that our recipes show up more in your searches!
Stay in touch: sign up to receive LittleSugarSnaps newsletters to hear when new recipes are published. Or follow me on social media:
📖 Recipe

Grilled Paneer Tikka Sticks
Ingredients
For the Marinade
- 150 g Greek yoghurt full fat
- 2 Garlic cloves
- 1 Green chilli
- 2 cm piece Ginger
- 1 teaspoon Kashmiri chilli powder
- 1 teaspoon Turmeric
- ½ teaspoon Ground cumin
- ½ teaspoon Ground coriander
- ½ teaspoon Salt
- ¼ teaspoon Ground black pepper
- 1 tablespoon Lemon juice
- 1 teaspoon Oil Mustard oil or vegetable oil
For the Kebabs
- 225 g Paneer firm - storebought is a good option
- 1 Red pepper
- 1 Yellow pepper
- 1 Onion
For the Dipping Sauce
- 75 g Greek yoghurt full fat
- 1 cm piece Ginger
- 1 Garlic clove small (or ½ a regular sized clove)
- ½ Green chilli or more to taste
- 1 handful Fresh mint
- 1 handful Fresh coriander
- 1 tablespoon Lemon or lime juice
- ¼ teaspoon Salt
Optional extras
- ½ teaspoon Dried fenugreek (methi) add to the marinade
- ½ teaspoon Chaat masala sprinkle over the kebabs when cooked
Instructions
Make the Marinade
- Peel the garlic and ginger and de-seed the chilli. Chop roughly
- Use a hand-held stick blender to process the garlic, ginger and chilli with the yogurt until well broken down and no large pieces remain. Stir through the spices, salt, pepper, oil and lemon juice
Prepare the Kebabs
- Deseed each pepper and cut into 12 pieces
- Peel the onion and slice into wedges
- Slice the paneer into 16 cubes
- Put the vegetables, cheese and marinade into a bowl and stir well, ensuring that everything is covered in the marinade. Cover and chill for at least 1 hour but up to 24 hours
- Meanwhile put 4 wooden skewers (if using) to soak in water for an hour
- When ready to cook thread a cube of cheese onto the skewer, followed by a slice of red pepper, yellow pepper and onion. Repeat twice more then finish the kebab with a final cube of cheese. Make 3 more kebabs in the same way. There will likely be some small pieces of onion left over in the bowl (it's normal for the onion wedges to fall apart when mixed into the marinade)
- Spray each kebab with a little oil then cook using one of the following methods
Cooking on the BBQ
- Lay the kebabs on the BBQ grill and cook for 3-4 minutes, then turn and cook for 3-4 more minutes or until nicely charred
Cooking under the Grill
- Suspend a wire rack over a roasting tin and lay the kebabs onto the rack. Grill for 4-5 minutes, then turn and grill the other side for another 4-5 minutes or until beginning to char
- If you do not own a wire rack for grilling then lay foil over a roasting tin and lay the kebabs on this. Proceed to cook as instructed above. When ready to turn the kebabs over midway through cooking, try to put them back down onto a clean spot, away from any residual marinade on the foil
Cooking in the Oven
- Preheat the oven to 225C/ 450F/ GM 7
- Lay foil onto the base of a roasting tin and brush with a little oil to prevent sticking. Lay the kebabs onto the foil and cook for 10 minutes, turning midway through (when turning the kebabs, put them onto a clean spot on the foil, away from residual marinade)
- Optional: if you have a kitchen blowtorch you can use it to char the kebabs once cooked
Prepare the Dipping Sauce
- Peel the garlic & ginger, de-seed the chilli and chop roughly
- Put into a bowl with the rest of the ingredients and process using a stick blender until quite smooth
How to Serve
- If using chaat masala sprinkle a little over each kebab as soon as they are cooked
- Serve the kebabs either with the sauce in a bowl alongside for dipping or with the sauce drizzled over them
Notes
- Normally I'm all for homemade over store-bought anything, but in this instance I recommend store-bought paneer. It is reliably firm and less likely to break apart when chopped and when skewered
- The paneer needs to marinate for at least 1 hour to pick up the wonderful flavour of the spices
- The best way to cook these paneer kebabs is on the barbecue to impart a smoky flavour to them
- Whatever way you choose to cook them, do it quickly (5-10 minutes) to allow the vegetables to soften without drying out the cheese
- Remember to soak wooden skewers in water for at least an hour before grilling or barbecuing. If they have not been soaked in water they will burn!
- If using metal skewers remember to use oven gloves when handling them during/ after cooking as they will be hot. Also remember to warn diners if the skewers are hot when serving
- Remember to spray the kebabs with oil before cooking to stop them drying out
- If you do not own a wire rack, lay some foil over a baking sheet and brush lightly with oil. Never use baking parchment as it will burn under the grill
- The recipe listed uses 1 medium-heat green chilli but the spice level can be varied by increasing or decreasing the amount of green chilli used
Sarah says
Made these last night and they were delicious. Enjoyed by the teenager too! Thank you Jane
Jane Saunders says
A pleasure - so happy you enjoyed them... and the teenager too!
Jo says
Tried and tested and delicious!
Jane Saunders says
Sooooo pleased you enjoyed them. Thanks for the feedback - much appreciated.