

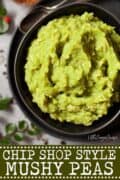
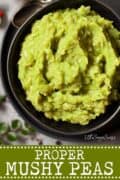
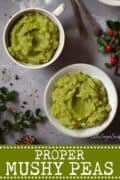

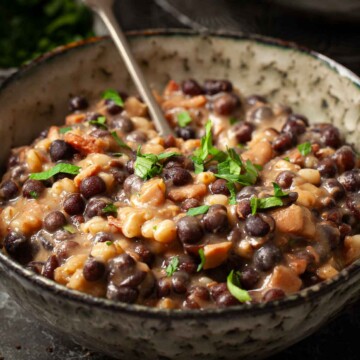
This recipe for mushy peas uses dried marrowfat peas. It's a traditional mushy peas recipe that makes a noteworthy classic British side order for fish and chips. Mashed or pureed fresh peas are no substitute for authentic chip shop-style mushy peas.
Browse my full collection of British recipes and find something savoury or sweet to suit your needs.
Why you'll love this recipe
- You can buy mushy peas in tins, but when catering for more than just 2 people, this is neither a cost-effective, nor a particularly environmentally friendly way to proceed.
- Making your own is very cheap and easy with this mushy peas recipe that can be scaled up to feed a crowd. They can also be frozen, so make a big batch and freeze in suitable portions for up to 3 months.
- Mushy peas are naturally vegan and gluten-free. They are also low in fat and count towards your five-a-day. Loaded with Vitamin A, C, B1, Iron and phosphorous and rich in protein and fibre.
- Tinned mushy peas also typically include added sugar, whereas this recipe does not, so these homemade peas are healthier.
- Homemade mushy peas can be cooked to the consistency that you prefer and seasoned as you see fit. So soft and creamy wholesome pea deliciousness is yours for the taking.
My favourite order from the fish and chip shop has always been a pea mix. That's a portion of chips with a generous serving of mushy peas unceremoniously dolloped on top.
Back in the day, this culinary delight came drenched in salt and vinegar and eaten straight from the newspaper it came wrapped in along with a wooden fork. Humble? Maybe. Total bliss? Oh yes.
Over the years I've noticed that there's some confusion over what proper mushy peas are. They are sometimes mistaken for mashed garden peas. But they are not the same thing at all. So to set the record straight, I've devised this detailed traditional homemade mushy peas recipe. I hope you find it useful.

What are mushy peas?
Mushy peas are dried marrowfat peas that have been soaked in water and bicarbonate of soda and then cooked until they turn soft and creamy.
They are usually on the menu at fish and chip shops throughout the entire of Britain but are particularly popular in Nottinghamshire, Derbyshire, Lincolnshire and Yorkshire (where they are alternatively known as Yorkshire caviar).
Authentic mushy peas cannot be made from fresh or frozen garden peas since they do not break down in the same way that marrowfat peas do.
Be aware that if you come across a so-called recipe for mushy peas that uses garden peas what you will actually end up with is crushed peas or pureed peas. The texture and flavour will be entirely different. Being totally honest, I'm not a huge fan of such recipes as I find that, once mashed, the skin on garden peas can be hard to digest (cough cough).
Marrowfat mushy peas do not need to be blended or mashed. The marrowfat peas break down to a soft and creamy consistency naturally.
Ingredients notes
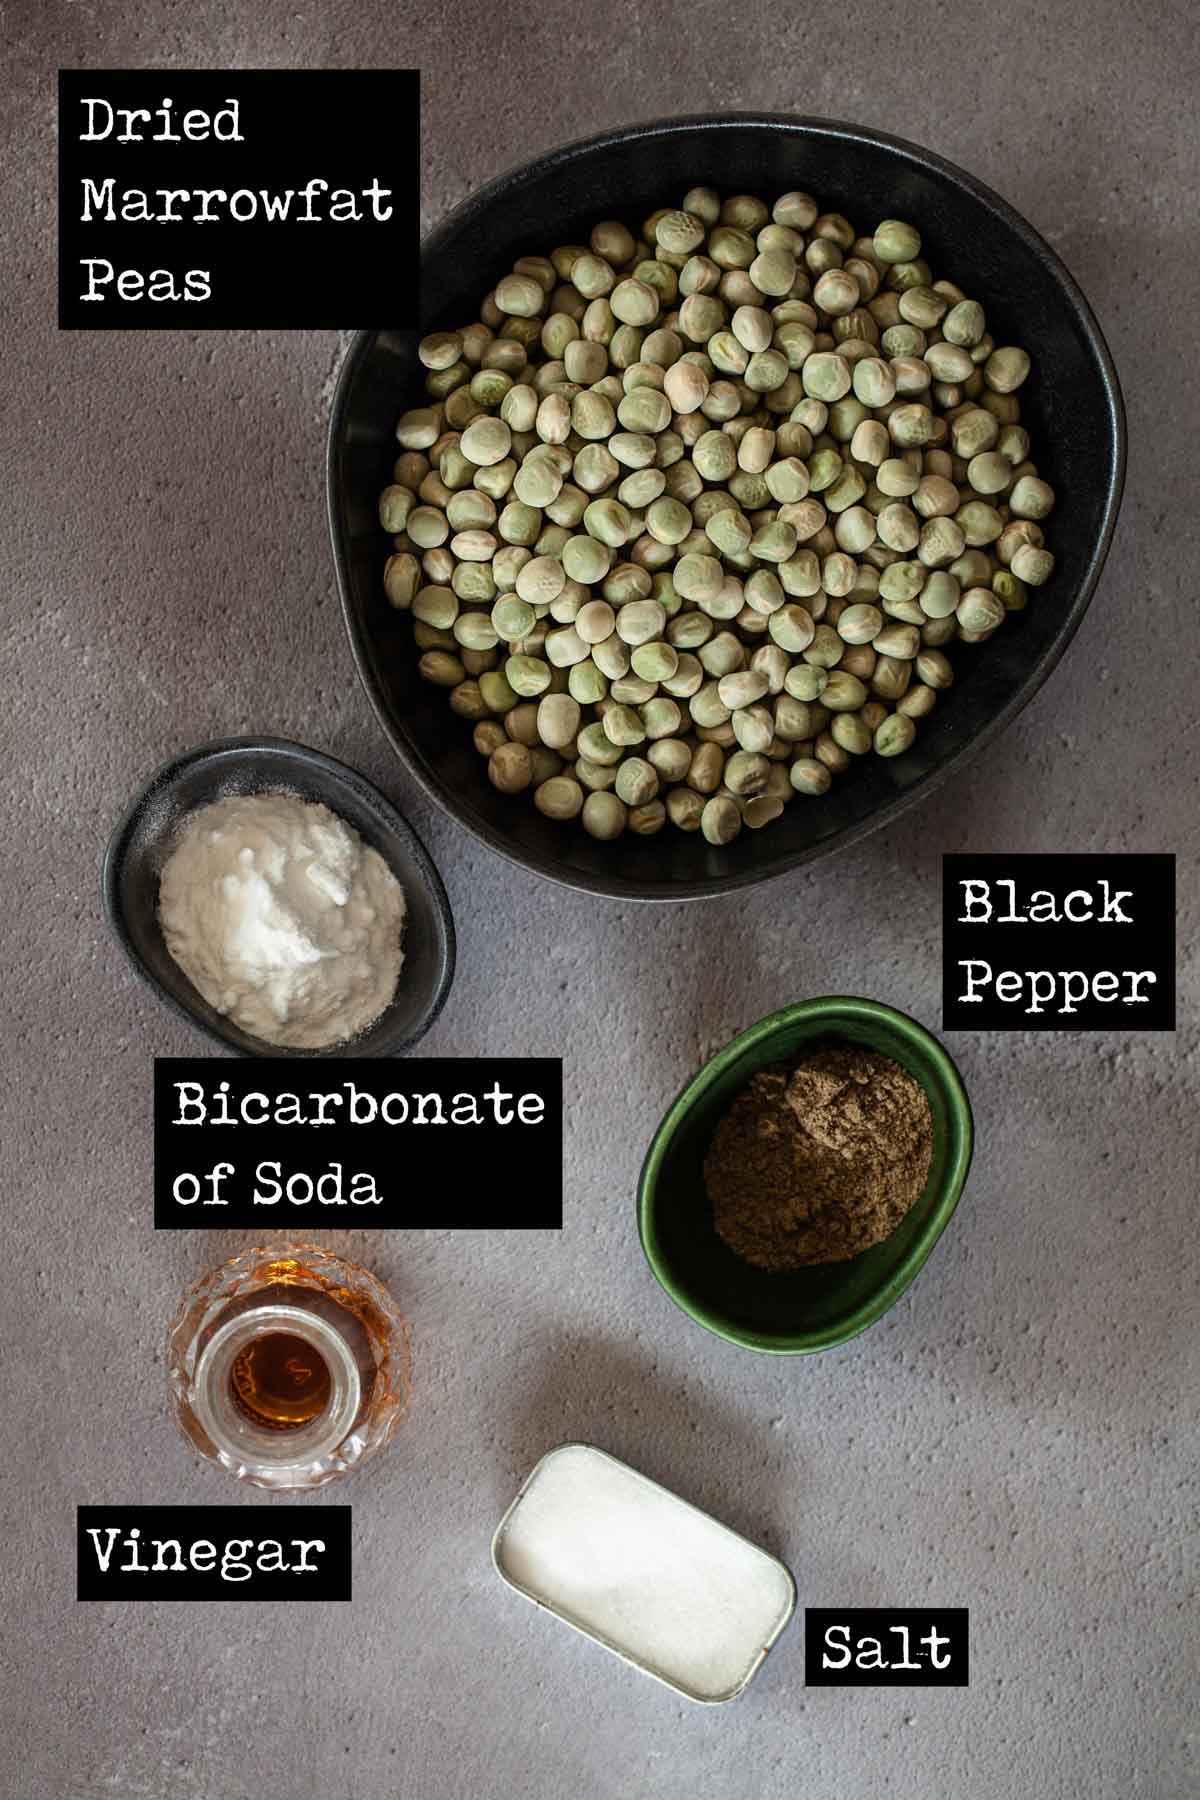
Dried marrowfat peas: It's not very often that I'm strict when it comes to ingredient substitutions for recipes. But there is no substitute for the dried marrowfat peas in any traditional mushy peas recipe.
As previously explained, using fresh or frozen garden peas will not produce real mushy peas, just pea puree or mash. The texture and taste of which bears no resemblance to proper mushy peas at all.
Dried marrowfat peas are normal green peas that have been left to mature and dry out on the vine before they are harvested. They contain a high proportion of starch, which lends itself to the celebrated soft and creamy texture of mushy peas.
For this reason they are an essential ingredient in any authentic mushy peas recipe.
Dried marrowfat peas are readily available in UK supermarkets and online. A quick soak (2 hours) variety is also available - just follow the soaking instructions on the packet and proceed straight to step 3 in the recipe card below.
Bicarbonate of soda (baking soda): this is added to the peas whilst soaking to help the peas retain colour and, more importantly, it helps to soften their skins, allowing them to absorb the soaking water. It is another vital ingredient.
By the way, baking powder cannot be used in place of the bicarb - it does not soften the peas like baking soda does.
Step by step instructions
Step 1: Put the peas into a saucepan, add the bicarbonate of soda and the water then bring to a boil and cook for 10 minutes.
Step 2: Take off the heat and leave to soak for at least 6 hours, but preferably 12. At the end of the soaking time the water will look yellow and the peas will have swelled.
Step 3: Drain the peas and rinse in several changes of cold water to get rid of the bicarbonate of soda.
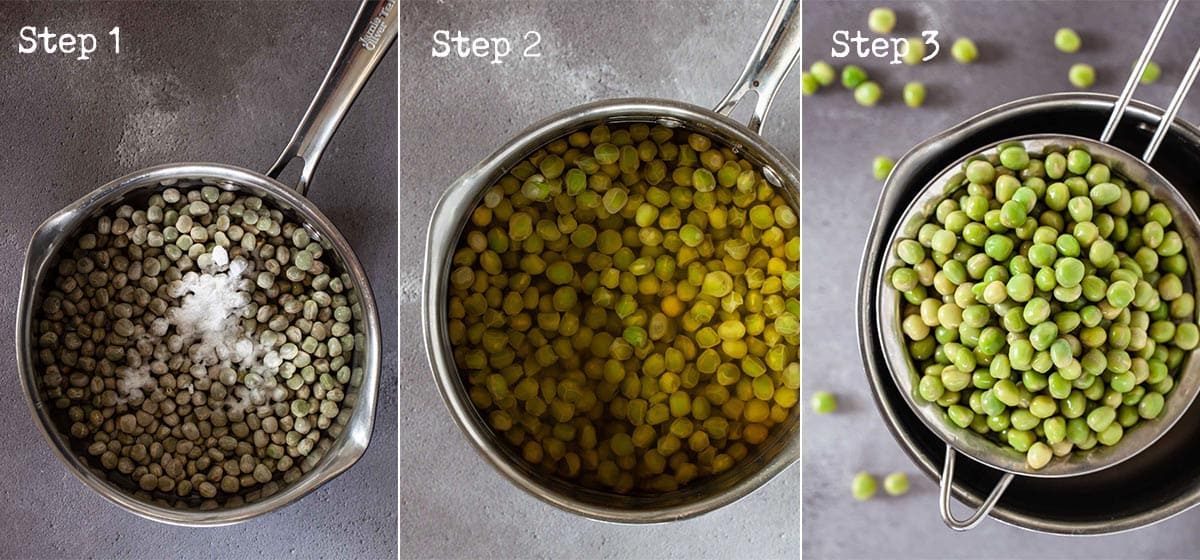
Step 4: Put the peas into a clean pan and add ⅔ of the water. Bring to a gentle boil and cook for approximately 30 minutes, stirring frequently, until the peas are soft and creamy. Add more of the remaining water if necessary to keep the texture loose.
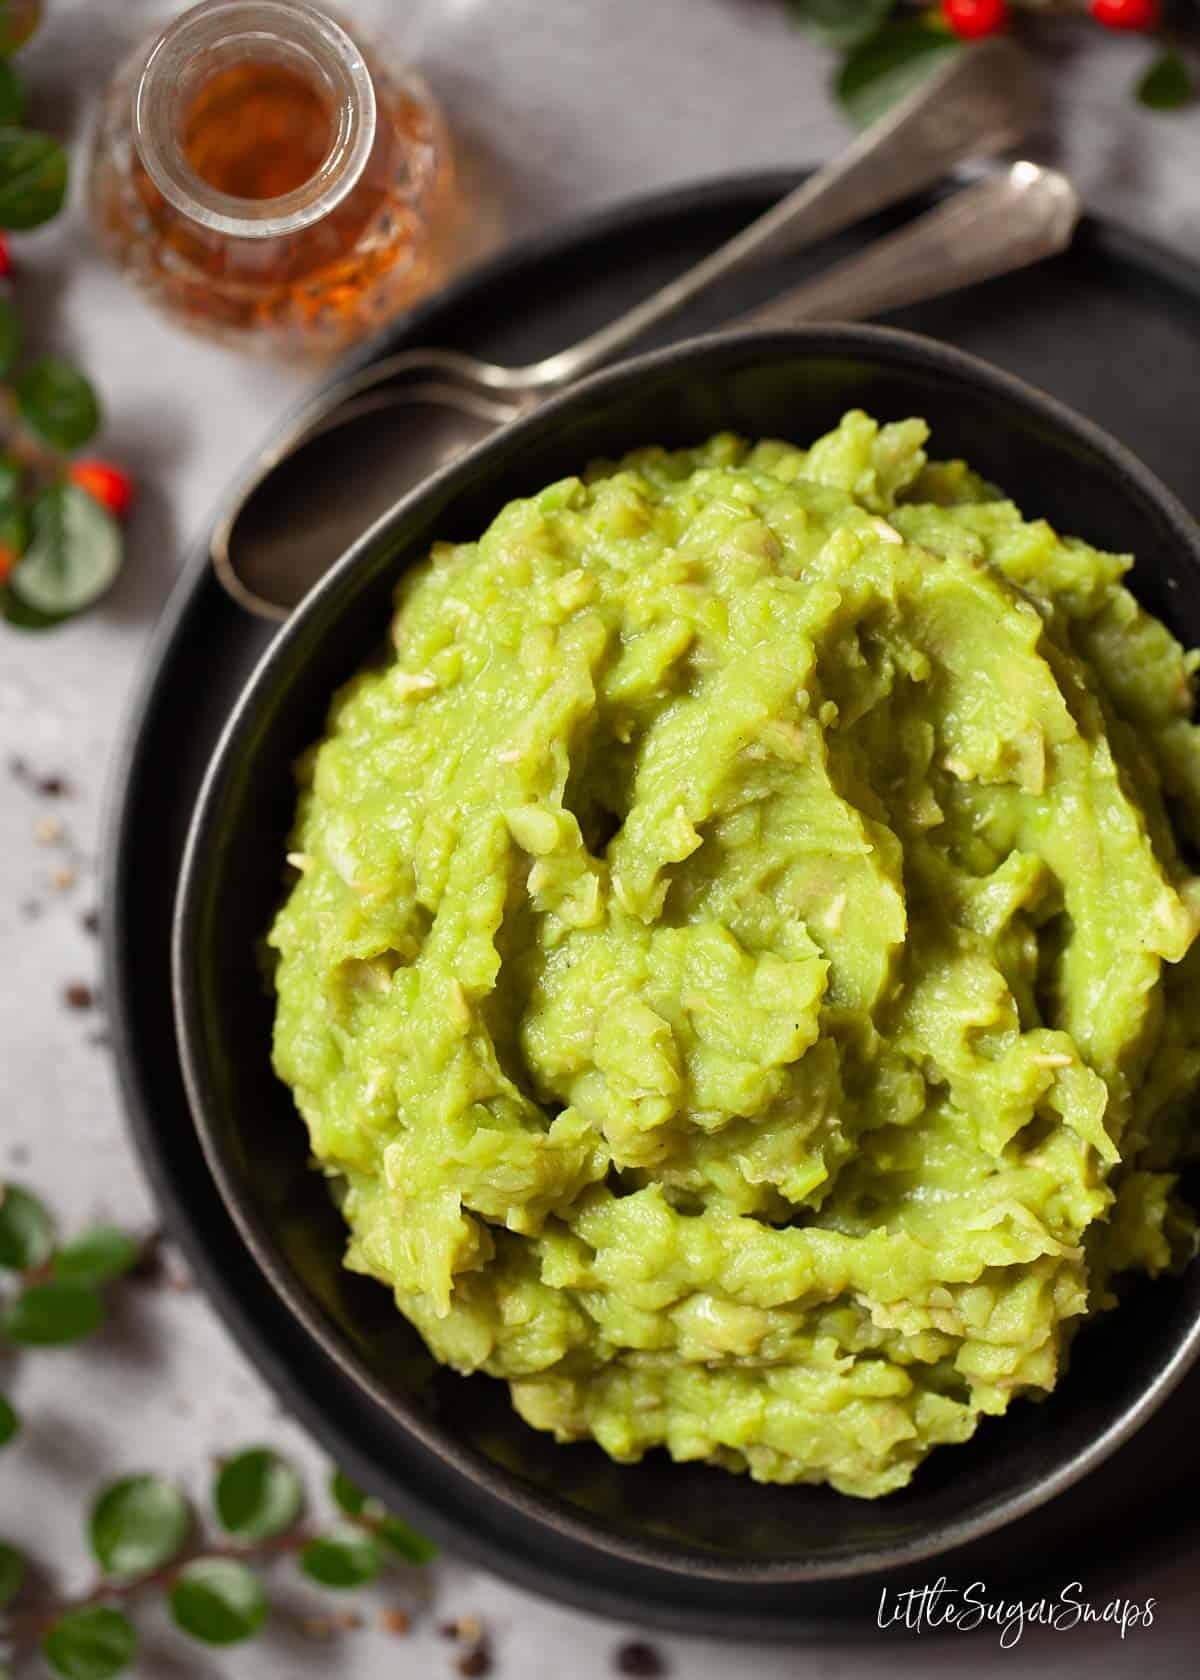
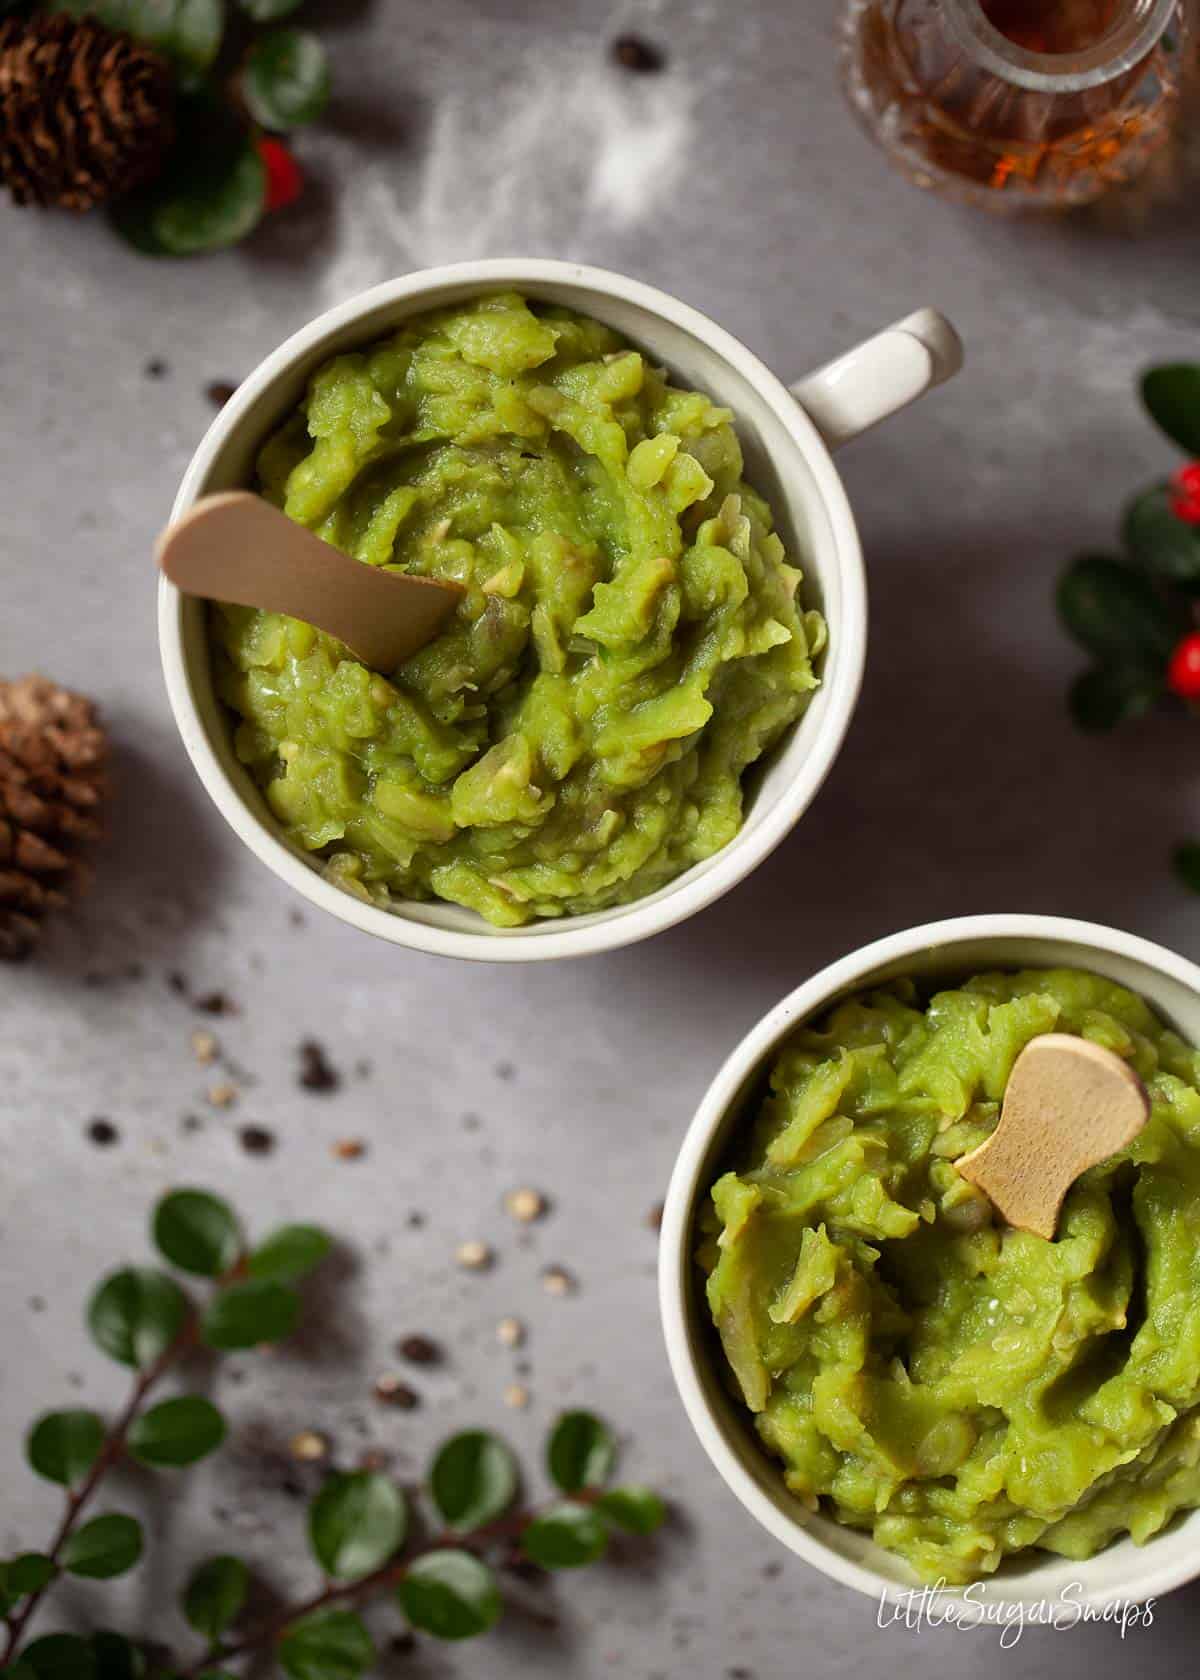
Step 5: The peas are ready when soft, creamy and mushy.

Top tip: Season your chip shop-style mushy peas as desired and serve straight away. I suggest ⅛ teaspoon black pepper, ½ teaspoon malt vinegar and ½ teaspoon of salt. This adds taste without turning the peas vinegary and from this base diners can increase the seasonings as they see fit.
Expert tips
This recipe for mushy peas is straightforward but does take some advance planning since the marrowfat peas need to be soaked for a significant length of time. To ensure success keep in mind the following suggestions:
- The best way to approach this recipe is to prepare the peas for soaking either first thing in the morning or last thing at night so they have plenty of time to absorb the necessary water before you intend to cook them
- Treat mushy peas as you would a risotto. Frequent stirring is essential to stop the mixture from sticking to the bottom of the pan, to ensure they cook evenly and to achieve a creamy consistency
- The cooking time presented is a guide. Your peas may take more or less time to cook depending how long they have soaked for and how much water your peas have managed to absorb
- The mushy peas are ready when they are soft, perhaps with a little texture and bite, but they should certainly not be chewy or hard. If in doubt, cook a little longer
- If they appear too loose, just cook a little longer. If they are too thick, add a little more water
- Without any seasoning these peas are incredibly bland. Some people add a little sugar, but I find the balance of salt, pepper and vinegar presented in the recipe card spot on. Feel free to adjust the seasoning to your personal tastes
- Expect homemade mushy peas to have a slightly murky colour compared to those comercially made. Many manufacturers disguise this natural colour by adding food colouring. I don't advocate adding green colouring to this recipe as it serves no real purpose
- This recipe can be made in advance. The peas will continue to absorb liquid as they stand, so it will be necessary to add a splash of water when reheating to loosen the mixture and bring the peas back to a creamy consistency
Frequently asked questions
Yes, I'm afraid that the marrowfat peas do need to be soaked for quite some time. The bare minimum I recommend is 6 hours, but soaking for longer will reduce the cooking time significantly.
Some recipes suggest leaving out the bicarbonate of soda for fear that it affects the flavour of the peas. Having tested this recipe numerous times, I can confirm that the bicarb does not adversely affect the flavour of the peas, provided they are well-rinsed after soaking.
The bicarb does help soften the peas though, leading to a significantly lower cooking time and a better texture. In fact, the difference was so much that I would not attempt to make a mushy pea recipe without it again.
This is debatable. You can certainly pop them in a pan with some of the liquid from the can they came in and mash them with a fork as they warm up. But I doubt they will be as soft and creamy as mushy peas made the traditional way. To be honest, if you're going down the route of canned peas, you may as well buy a tin of mushy peas. I like Batchelors best.
This recipe for mushy peas can be made in the slow cooker. The marrowfat peas still need to be soaked then drained as instructed in this recipe. After this, they can be placed in a slow cooker, covered with boiling water and left to cook on low for around 5 hours. They will need to be stirred every so often and topped up with a little more water if the pot is getting too dry. Add the salt at the end of cooking to avoid the peas getting tough and stir for 1-2 minutes at the end of cooking to break them down and achieve a good mushy consistency.
Having said this, I wouldn't recommend making slow cooker mushy peas for anything less than 8 servings - that's double the quantity listed in this recipe.
There are a handful of marrowfat peas recipes floating around Britain. Try out traditional pea soup or some crispy pea and spinach cakes.
Yes, mushy peas are healthy. They are low in fat and they provide decent levels of protein and fibre.
Serving suggestions
If you are wondering what to serve with your mushy peas here are a few ideas:
- Join me in my favourite - the pea mix. That's a portion of chips with the peas ladled over the top straight away. Since moving away from Nottingham I've discovered that the pea mix is a very localised delicacy that is popular in Nottinghamshire and Leicestershire but practically unheard of through the rest of the country. I feel I need to fly the flag for it.
- And whilst in the chippy, mushy peas are, of course, the perfect partner to fish and chips too.
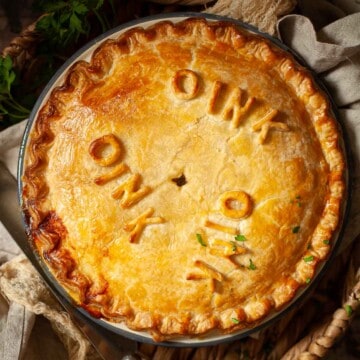
- They are also regularly paired with a meaty pastry pie - another classic chip shop combination.
- Alternatively, serve these homemade mushy peas in a mug or bowl with a splash of salt & vinegar. This is a popular snack throughout much of Northern England and The Midlands at outdoor events such as Bonfire Night and the Nottingham Goose Fair.
- Go for minted mushy peas by adding a little mint sauce.
- Leftover peas can be refrigerated and turned into chip shop style mushy pea fritters
Mushy peas for Bonfire Night
These chip shop-style mushy peas are perfect for Bonfire Night. The recipe can easily be scaled up if you are serving a crowd.
For further ideas, read my guide: Food on Bonfire Night. It's full of useful suggestions and recipe ideas. And be sure to try out a few of my other popular Bonfire Night recipes:
Have you made this recipe for mushy peas? I hope you enjoyed it. Please leave a rating and/ or comment to let me know what you thought.
If you enjoyed this recipe please sign up to receive LittleSugarSnaps newsletters to hear when new recipes are published? You'll get a free welcome e-book with my top baking tips and 5 favourite cake recipes. Or stay in touch on Facebook, Instagram or Pinterest.
📖 Recipe
Traditional Mushy Peas Recipe
Ingredients
- 300 g Dried Marrowfat peas
- 2 teaspoon Bicarbonate of soda (baking soda)
- 750 ml/ 3 cup Water for soaking
- 750 ml/ 3 cups Water for cooking
- ⅛ teaspoon Black pepper
- ½ teaspoon Salt
- ½ teaspoon Malt vinegar (note malt vinegar contains gluten, so swap to an alternative, gutlen-free vinegar if necessary for your dietary needs)
Instructions
- Put the peas into a saucepan add the bicarbonate of soda and the water then bring to a boil and cook for 10 minutes
- Take off the heat and leave to soak for at least 6 hours, but preferably 12. At the end of the soaking time the water will look yellow and the peas will have swelled
- Drain the peas and rinse in several changes of cold water to get rid of the bicarbonate of soda
- Put the peas into a clean pan and add ⅔ of the water. Bring to a gentle boil and cook for approximately 30 minutes, stirring frequently, until the peas are soft and mushy. Add more of the remaining water if necessary to keep the texture loose and creamy
- The peas are ready when soft, creamy and mushy. No firm or chewy peas should remain. When ready, take off the heat and season as desired (I recommend salt, pepper and vinegar) and serve straight away.
Notes
- Prepare the peas for soaking either first thing in the morning or last thing at night so they have plenty of time to absorb the necessary water before you intend to cook them. Allow to soak for at least 6 hours, but preferably 12
- Frequent stirring is essential to stop the mix sticking to the bottom of the pan, to ensure they cook evenly and to achieve a creamy consistency
- Your peas may take more or less time to cook than the recipe specifies depending how long they have soaked for and how much water your peas have managed to absorb
- The mushy peas are ready when they are soft, perhaps with a little texture and bite, but they should certainly not be chewy or hard. If in doubt, cook a little longer
- If they appear too loose, just cook a little longer. If they are too thick, add a little more water
- Without any seasoning these peas are incredibly bland. Some people add a little sugar, but I find the balance of salt, pepper and vinegar presented in the recipe card spot on. Feel free to adjust the seasoning to your personal tastes
- These mushy peas can be made in advance and reheated. They will continue to absorb liquid as they stand, so it will be necessary to add a splash of water when reheating to loosen the mixture and bring the peas back to a creamy consistency
Alan says
Not having Marrowfat to hand (never seen them in my local grocery store but they are grown in Canada) I just went with split dried peas and the result was marvellous. cooking time is less due to the smaller size but it still ends up as Mushy peas and was awesome with my vegan Tourtière and Fries. I suspect a no-soak would be possible with split peas but not sure what amount of baking soda would be needed (1/4 tsp?)
Jane Coupland says
Hi Alan, I'm pleased to hear you found a work around in the absence of marrowfat peas. The baking soda healps break down the marrowfats during the soaking tiem and it is then rinsed away, so if you are going for no-soak on the split pease it might not be necessary to include it at all (??). I've not tried this recipe using split peas so play around with the baking powder and see what works - I'd be interested to hear... Thanks for the lovely review - Jane
Tina says
Best recipe for real mushy peas!
Jane Coupland says
Thanks so much Tina!
Stephen Branley says
Thank goodness we have someone who says garden peas don't make mushy peas, too many online cooks take shortcuts. Great recipe...😊
Jane Coupland says
Hah yes - it frustrates me beyond believe when I'm served 'mashed' peas instead of the advertised mushy peas with my fish and chips in a pub
Dave Big Chief says
Yorkshire Guacamole
Jane Coupland says
I'll take that as a compliment 🙂