


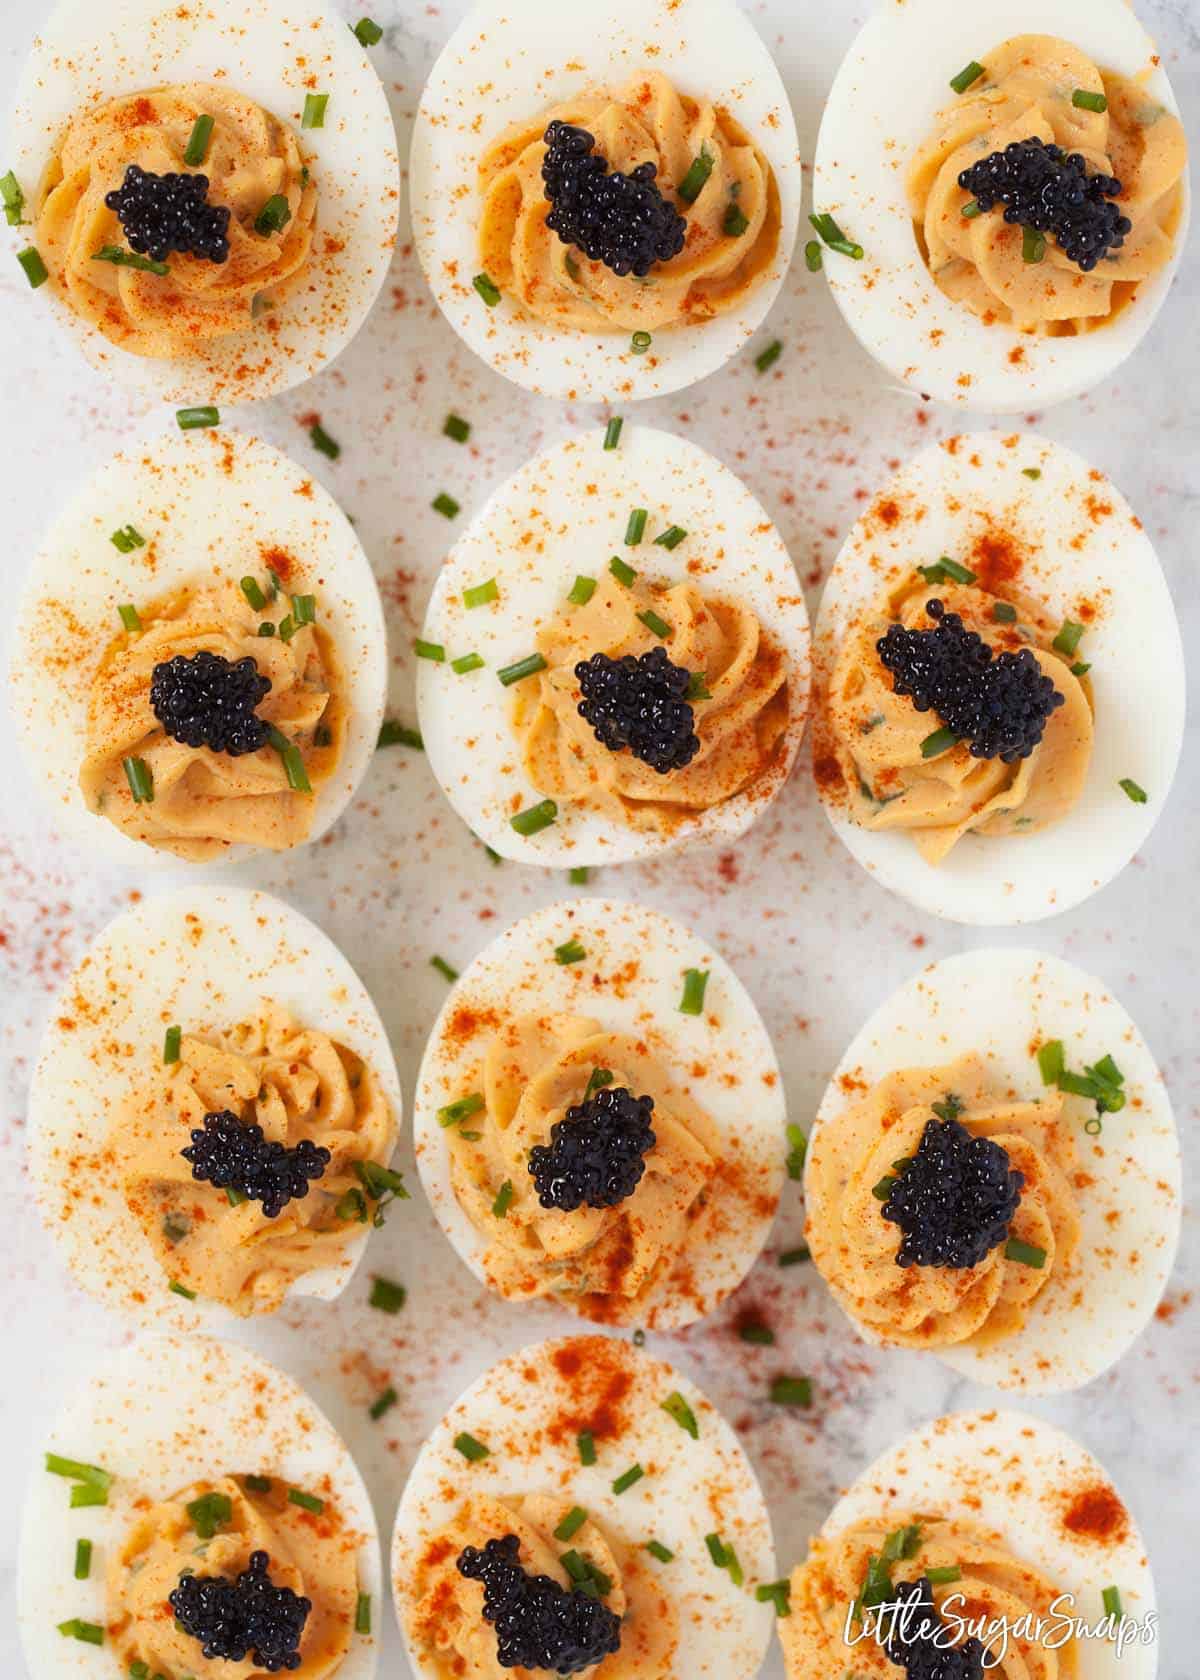
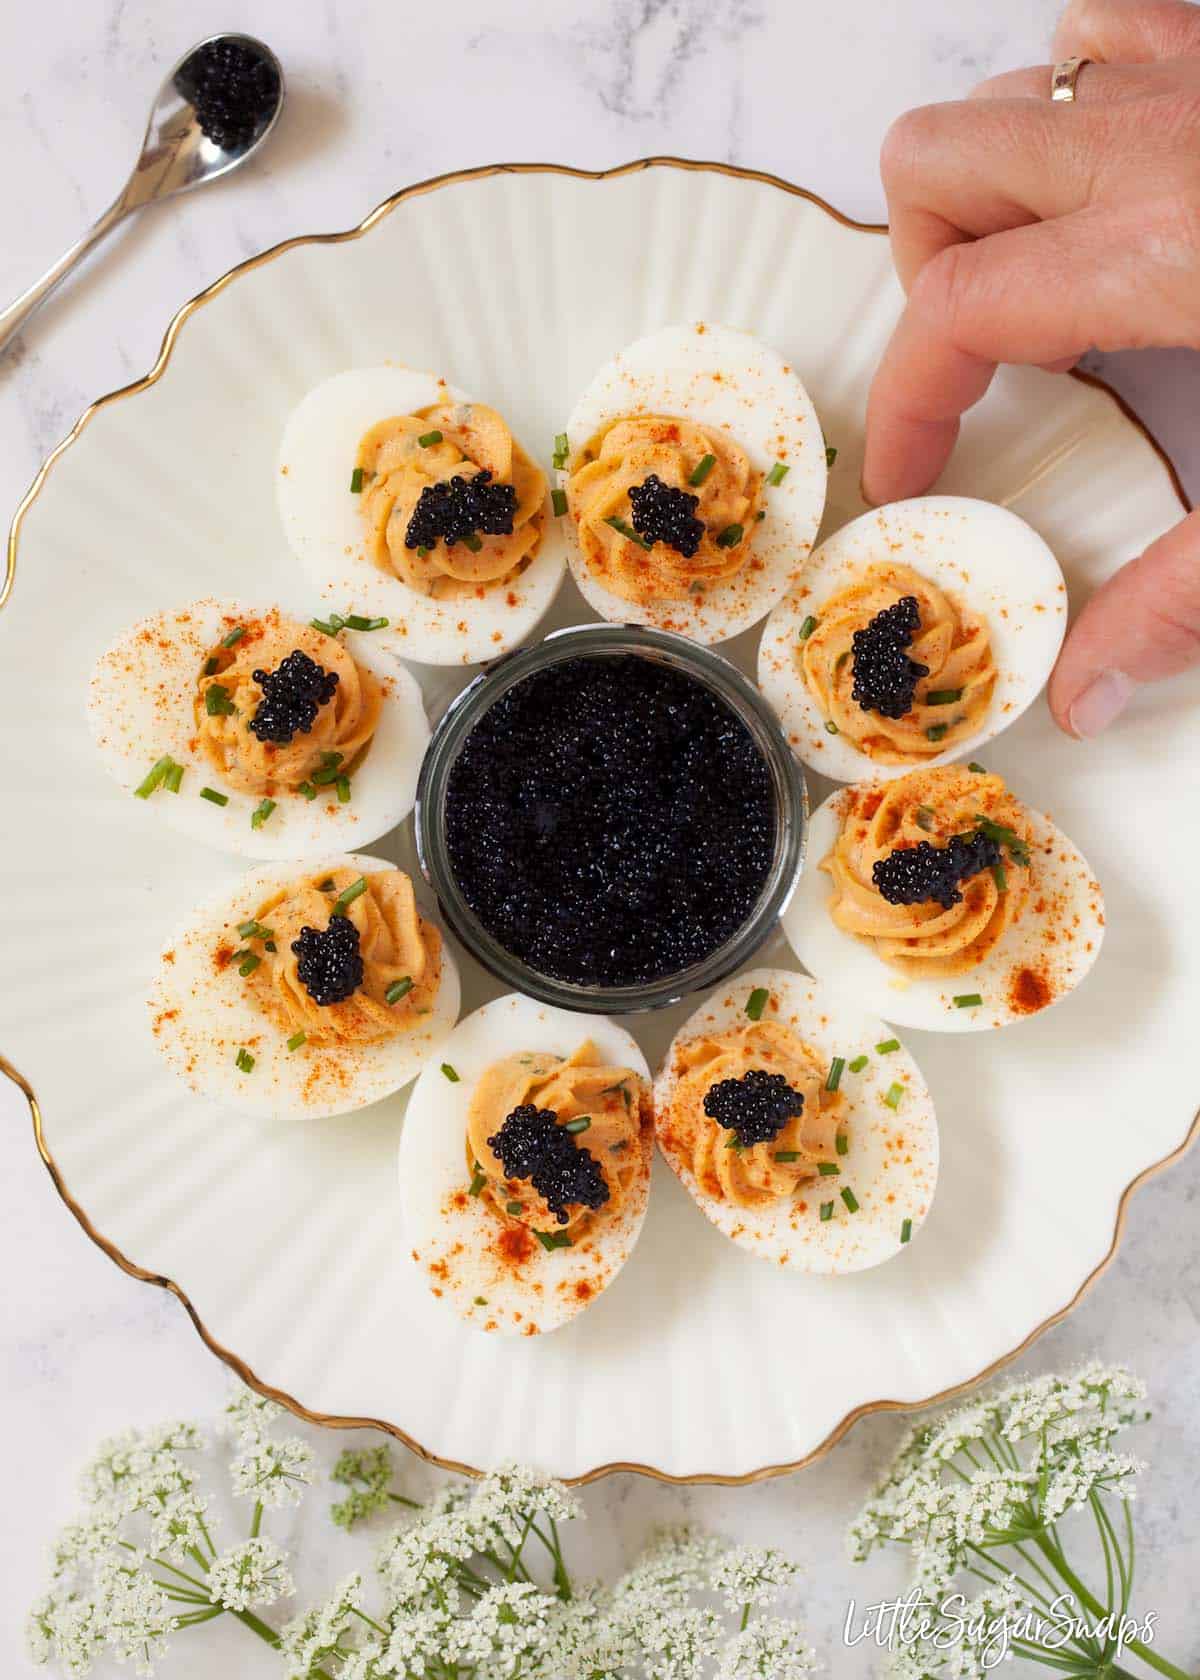
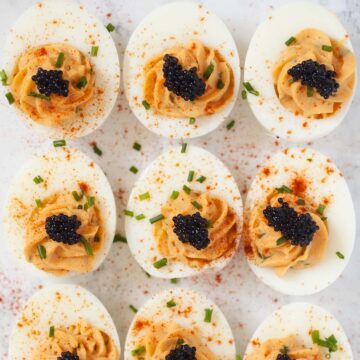
Devilled eggs with caviar make a fine luxury appetiser or party nibble. This recipe is easy to make and the caviar adds a burst of visual excitement and an extra pop of texture and flavour to this classic dish.
Browse all my easy & delicious party nibbles recipes to plan your next occasion.
This post has been sponsored by Elsinore. All thoughts and opinions are my own.
Jump to:
Devilled eggs have been something of a mystery to me until the last few years. I'd occasionally come across a recipe for this retro snack, but I somehow never got around to making them, despite loving both eggs and party nibbles in equal quantities.
If this sounds like a familiar story for you, then I hope my recipe for devilled eggs with caviar inspires you to give them a go sooner rather than later.
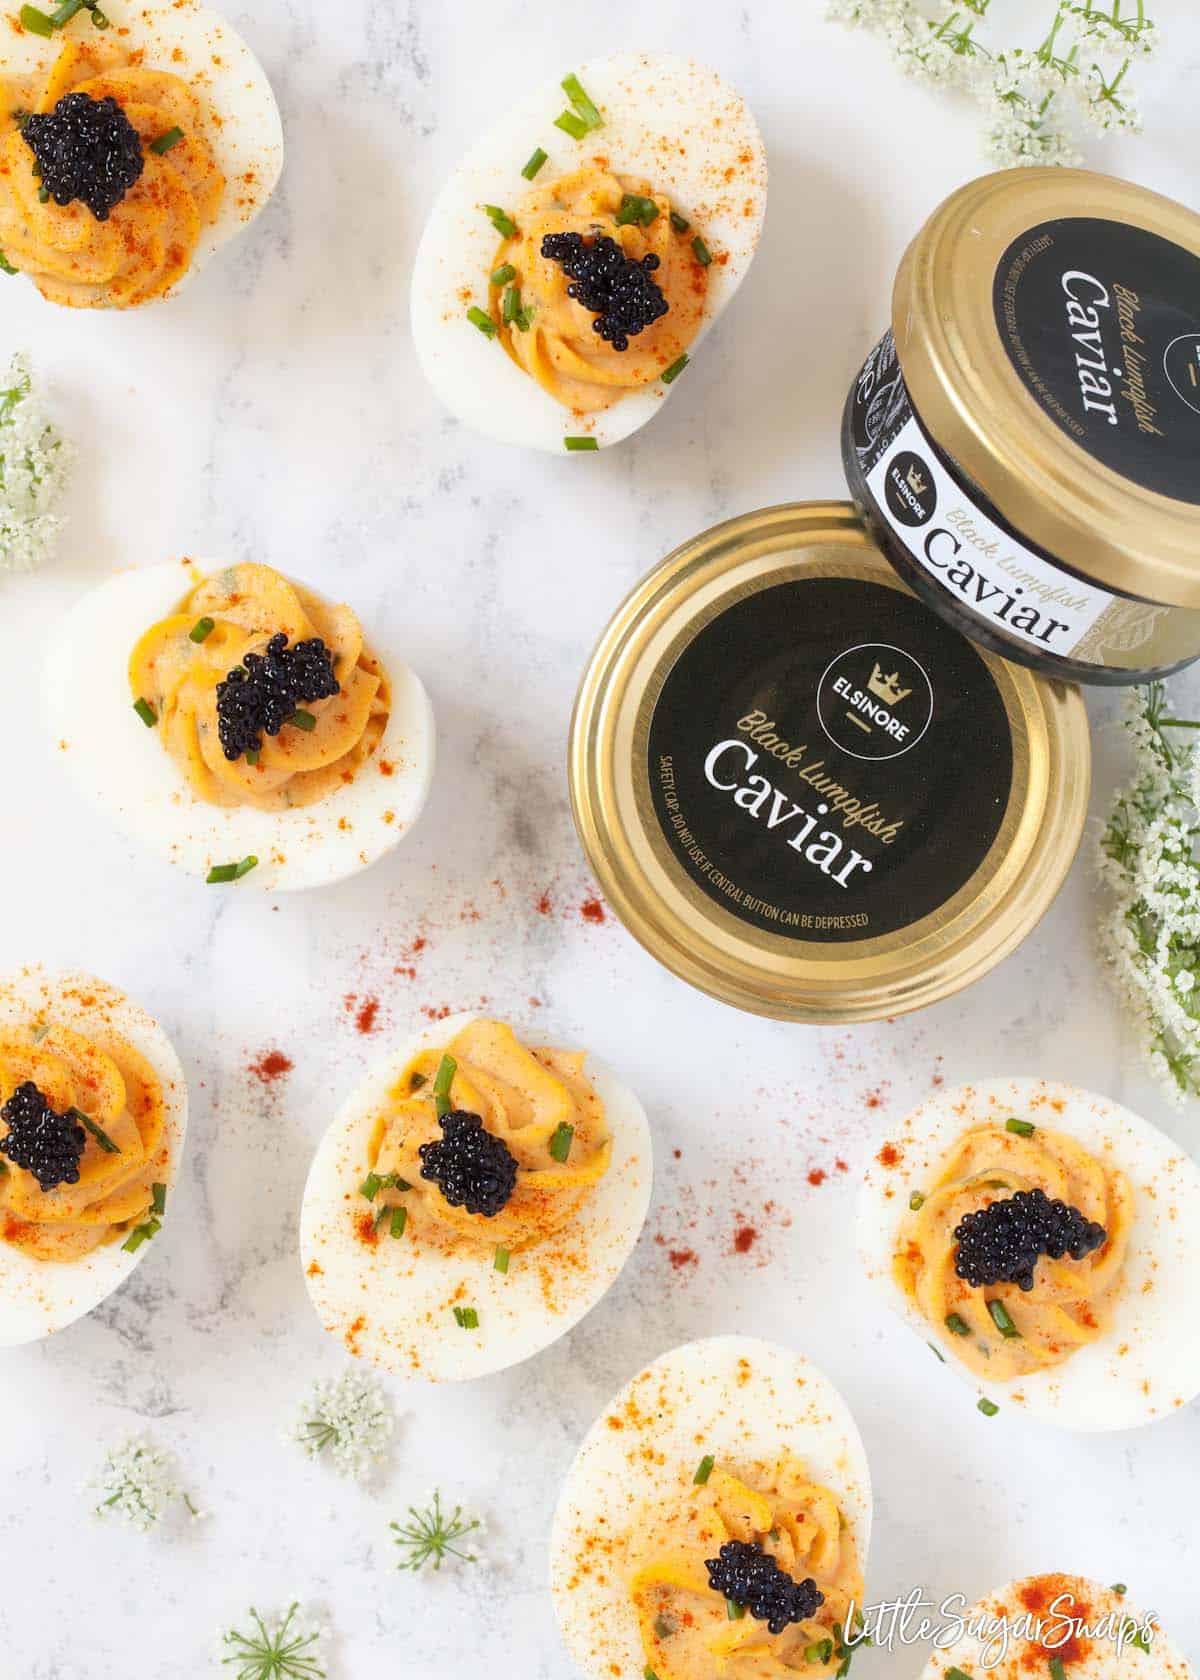
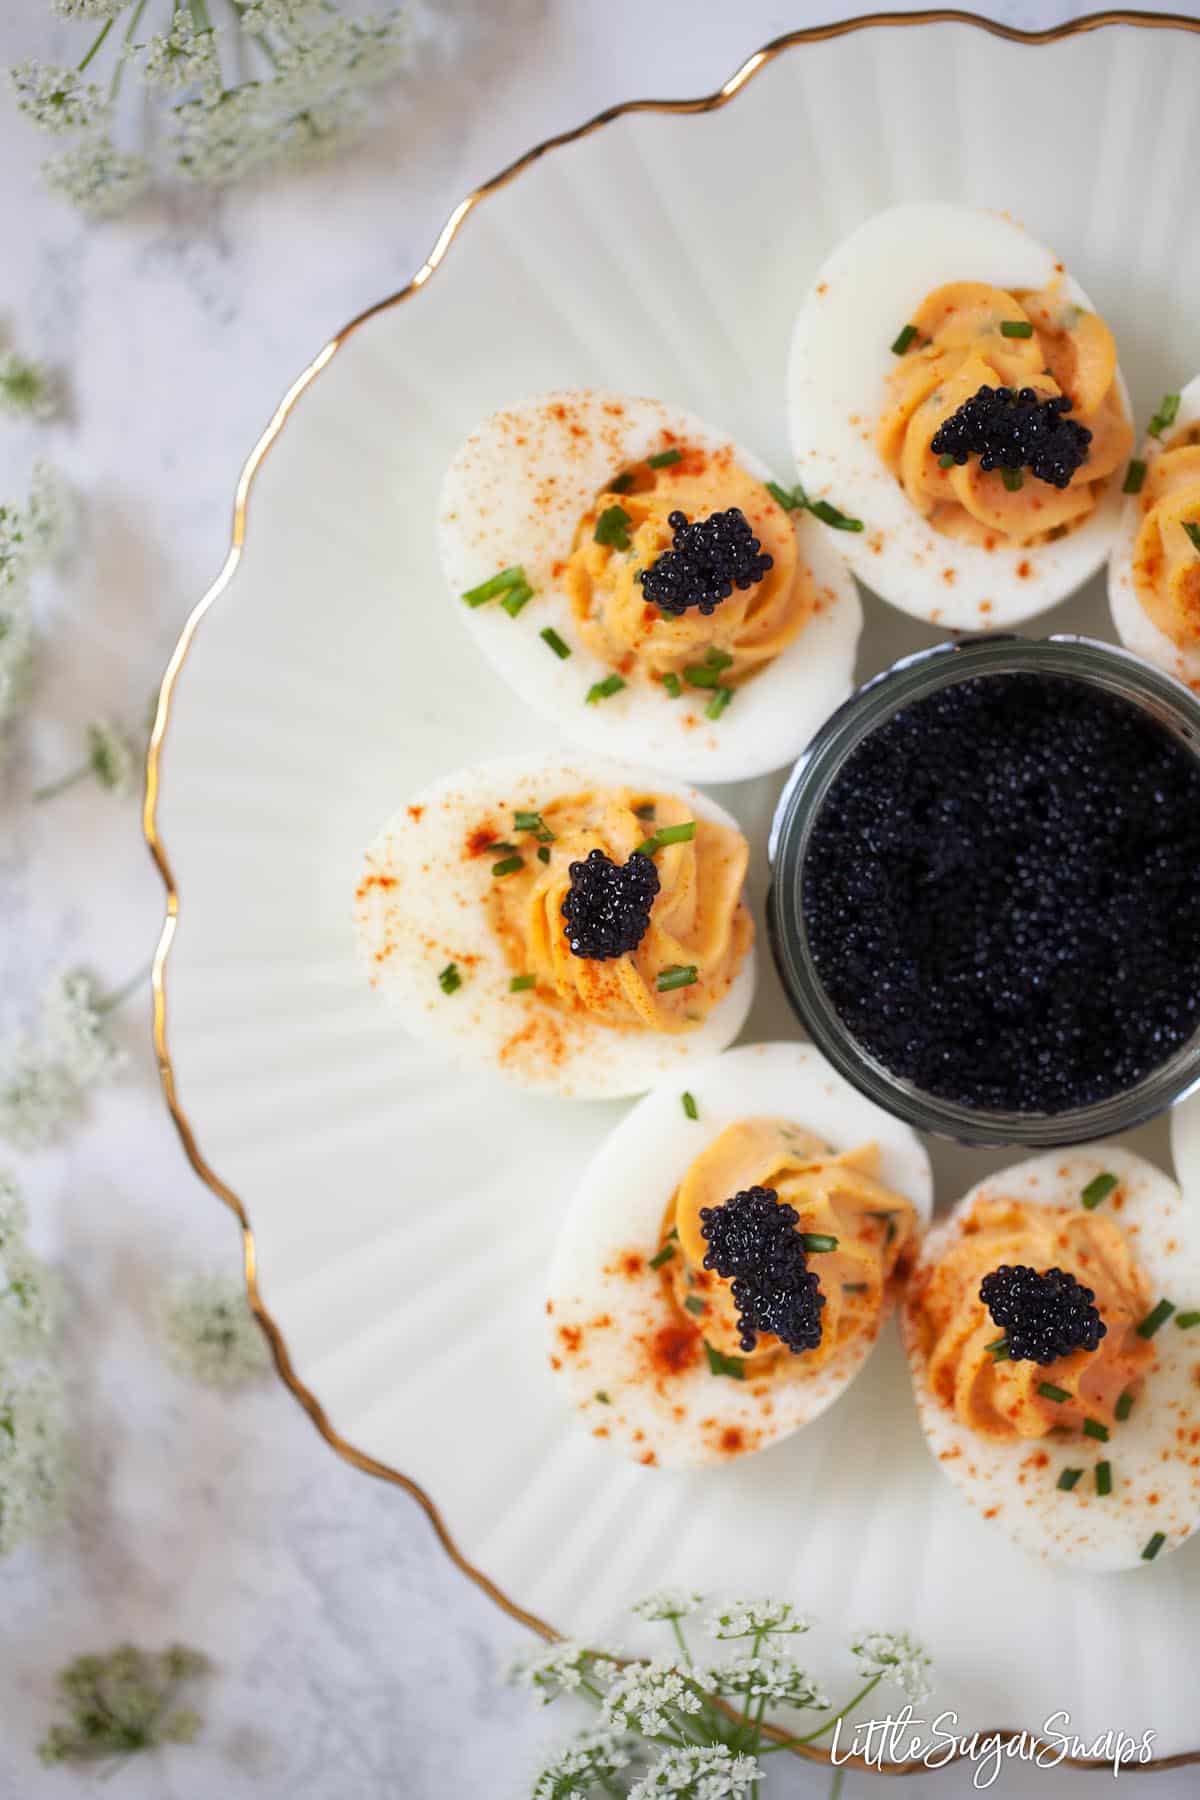
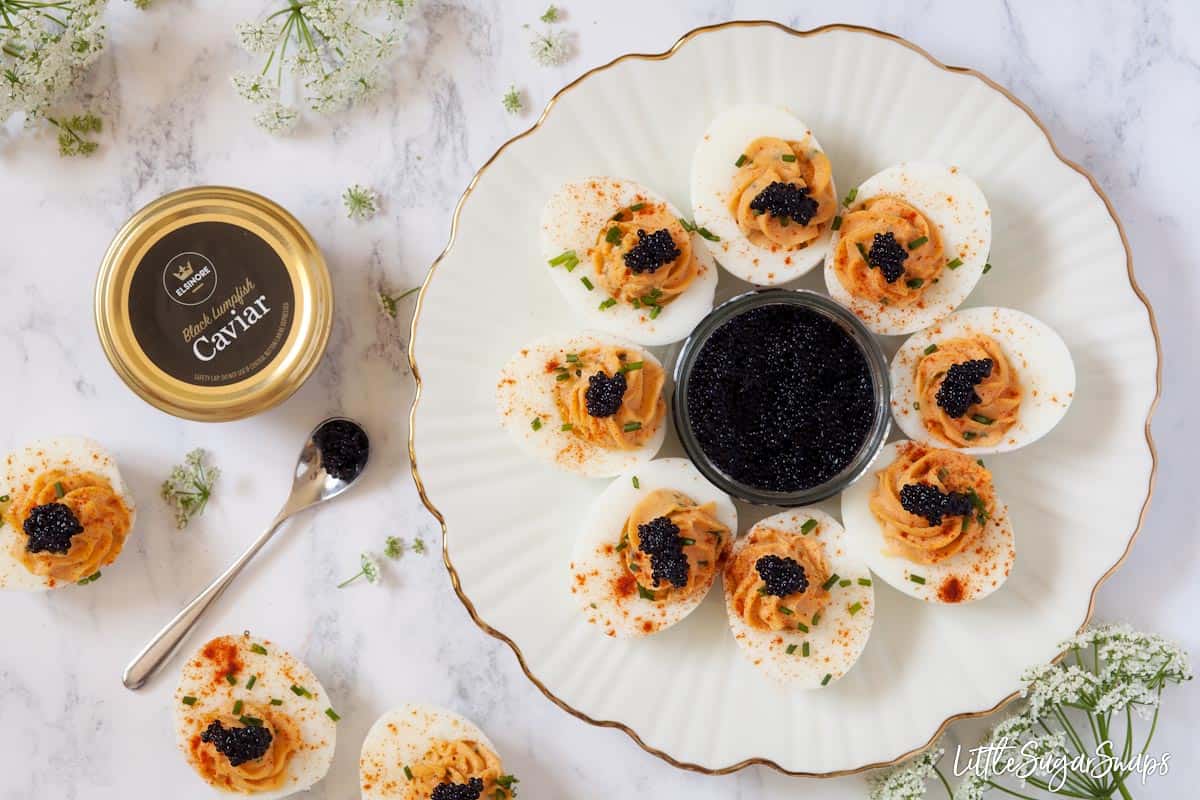
Filled with piquant & creamy dressed egg yolk and topped with a scattering of Elsinore Black Lumpfish caviar, these bites are deserving of showstopper status.
The caviar adds an air of luxury and indulgence to an already hugely popular party snack. Just the name sounds fancy, doesn't it? And yes, these easy to put together devilled eggs with caviar delight on the flavour front too.
A brief history of devilled eggs
Devilled eggs (deviled eggs in American-English) date back to 13th century Rome when they were boiled, seasoned with a spicy sauce and served as an appetiser.
The progression of time has seen this recipe adapted and the modern-day version now typically takes the shelled hard-boiled egg in the following direction:
- it is cut in half and the yolk scooped out
- the yolk is blended with a creamy ingredient such as mayonaise, plus various other flavour enhancers such as mustard, paprika, vinegar and chives
- this filling is piled back into the yolk cavity and the eggs are served
- garnishes are optional but commonly include a dusting of paprika
Devilled eggs are also known as stuffed eggs, Russian eggs and dressed eggs. They are immensely popular in the US, especially around Kentucky Derby time.
Ingredients notes
Devilled eggs have been around for a long time and ingredients can vary considerably from recipe to recipe. Here are the goodies included in mine:
- Hard-boiled eggs - use fresh, large eggs, preferably free-range
- Mayonnaise - store-bought is perfectly fine, but homemade mayo would truly make these eggs your own. As we are aiming for a rich and creamy filling for these devilled eggs, I recommend sticking with traditional mayonnaise rather that light versions
- Dijon mustard - this is the magical and non-negotiable ingredient as far as devilled eggs go. Dijon mustard has a distinct taste. It is tangy, sharp and strong, so forms the ideal base on which to build flavours in the filling
- Paprika - I'm a huge fan of sweet, mild paprika. It gives dishes a wonderful hint of smokiness and a great colour boost
- Chives - this herb adds a subtle hint of onion to the mix and a tiny blast of colour. Be sure to mince it finely to avoid it clogging up the piping nozzle
- Salt & Pepper - as ever, these two enable us to season to perfection - use my measures as a guide only and add more/ less to suit your own palate
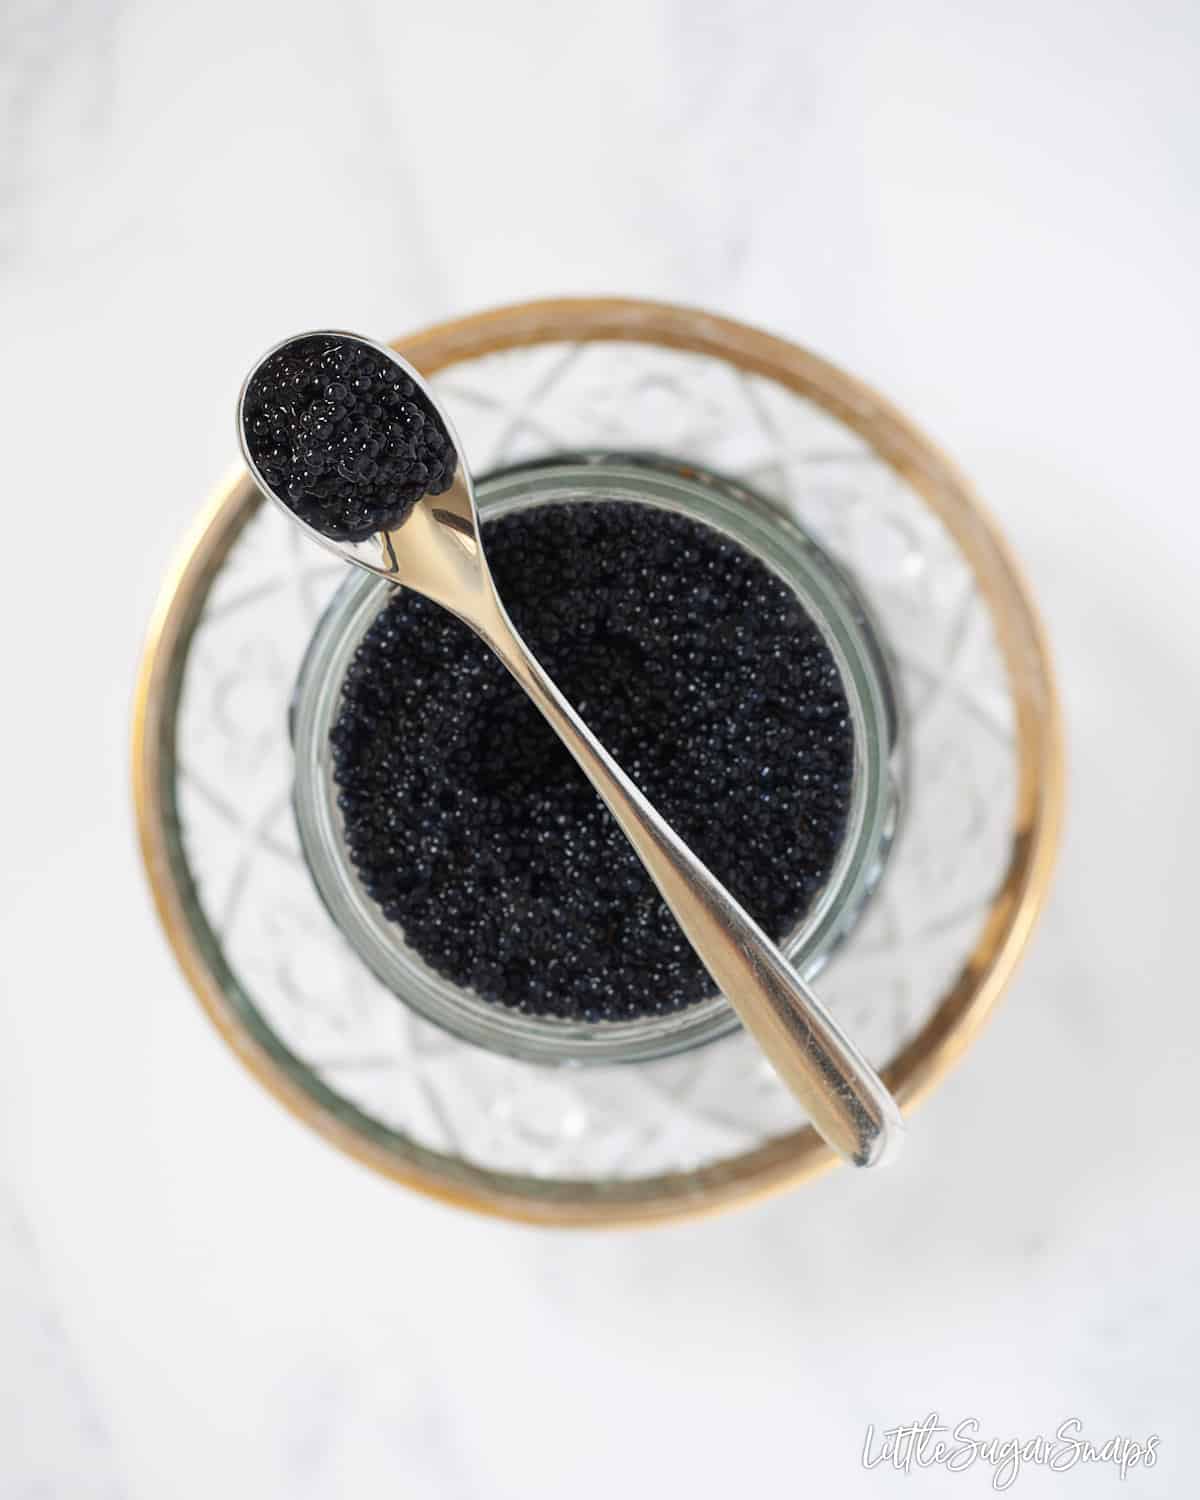
- Caviar - last but not least. It is the star of the show in this recipe, serving to add visual interest, texture and a hint of extra flavour. I've used Elsinore Black Lumpfish Caviar since it is affordable and ideal for using as a garnish in recipes like this
What is caviar?
Caviar is salt-cured roe (fish eggs). Traditionally, the term caviar refers only to roe from wild sturgeon in the Caspian Sea and the Black Sea.
But, depending on the country, these days caviar may also be used to describe the roe of other species of sturgeon or other fish, including salmon, trout and lumpfish.
Is caviar expensive?
It's fair to say that caviar is a highly regarded delicacy. In fact, until very recently I had only eaten caviar once - on my wedding day.
I've always been under the assumption that all caviar is extremely expensive and that it could only be found in high-end stores. But, I'm happy to report that I was wrong.
Recently I spotted Elsinore Caviar on the supermarket shelves and noted the pleasantly acceptable price tag, so felt game to give it a try and see where inspiration would lead me.
This affordable black lumpfish caviar delivers quite a punch on the texture front. Expect firm little beads of roe that pop as they are eaten. Fun.
Flavourwise, they deliver a gentle and pleasing taste that is both slightly salty and slightly fishy.
All of these qualities make this caviar an impressive garnish for devilled eggs and many more recipes - try adding a spoonful to my salmon breakfast platter.
Elsinore Black Lumpfish caviar can be purchased from Waitrose and Ocado.
With Elsinore caviar easily available, our home kitchen can become our own playground for turning everyday dishes into something much more luxurious and indulgent. Caviar is no longer something we can only enjoy in restaurants.
Step by step instructions
Making this recipe for devilled eggs with caviar is a relatively easy process but it does involve four distinct steps, some of which can easily be completed ahead of time:
- Hard-boil the eggs
- Slice the eggs and and remove the yolks
- Turn the yolks into a creamy filling
- Assemble and garnish the eggs
Step 1: Hard-Boil the Eggs
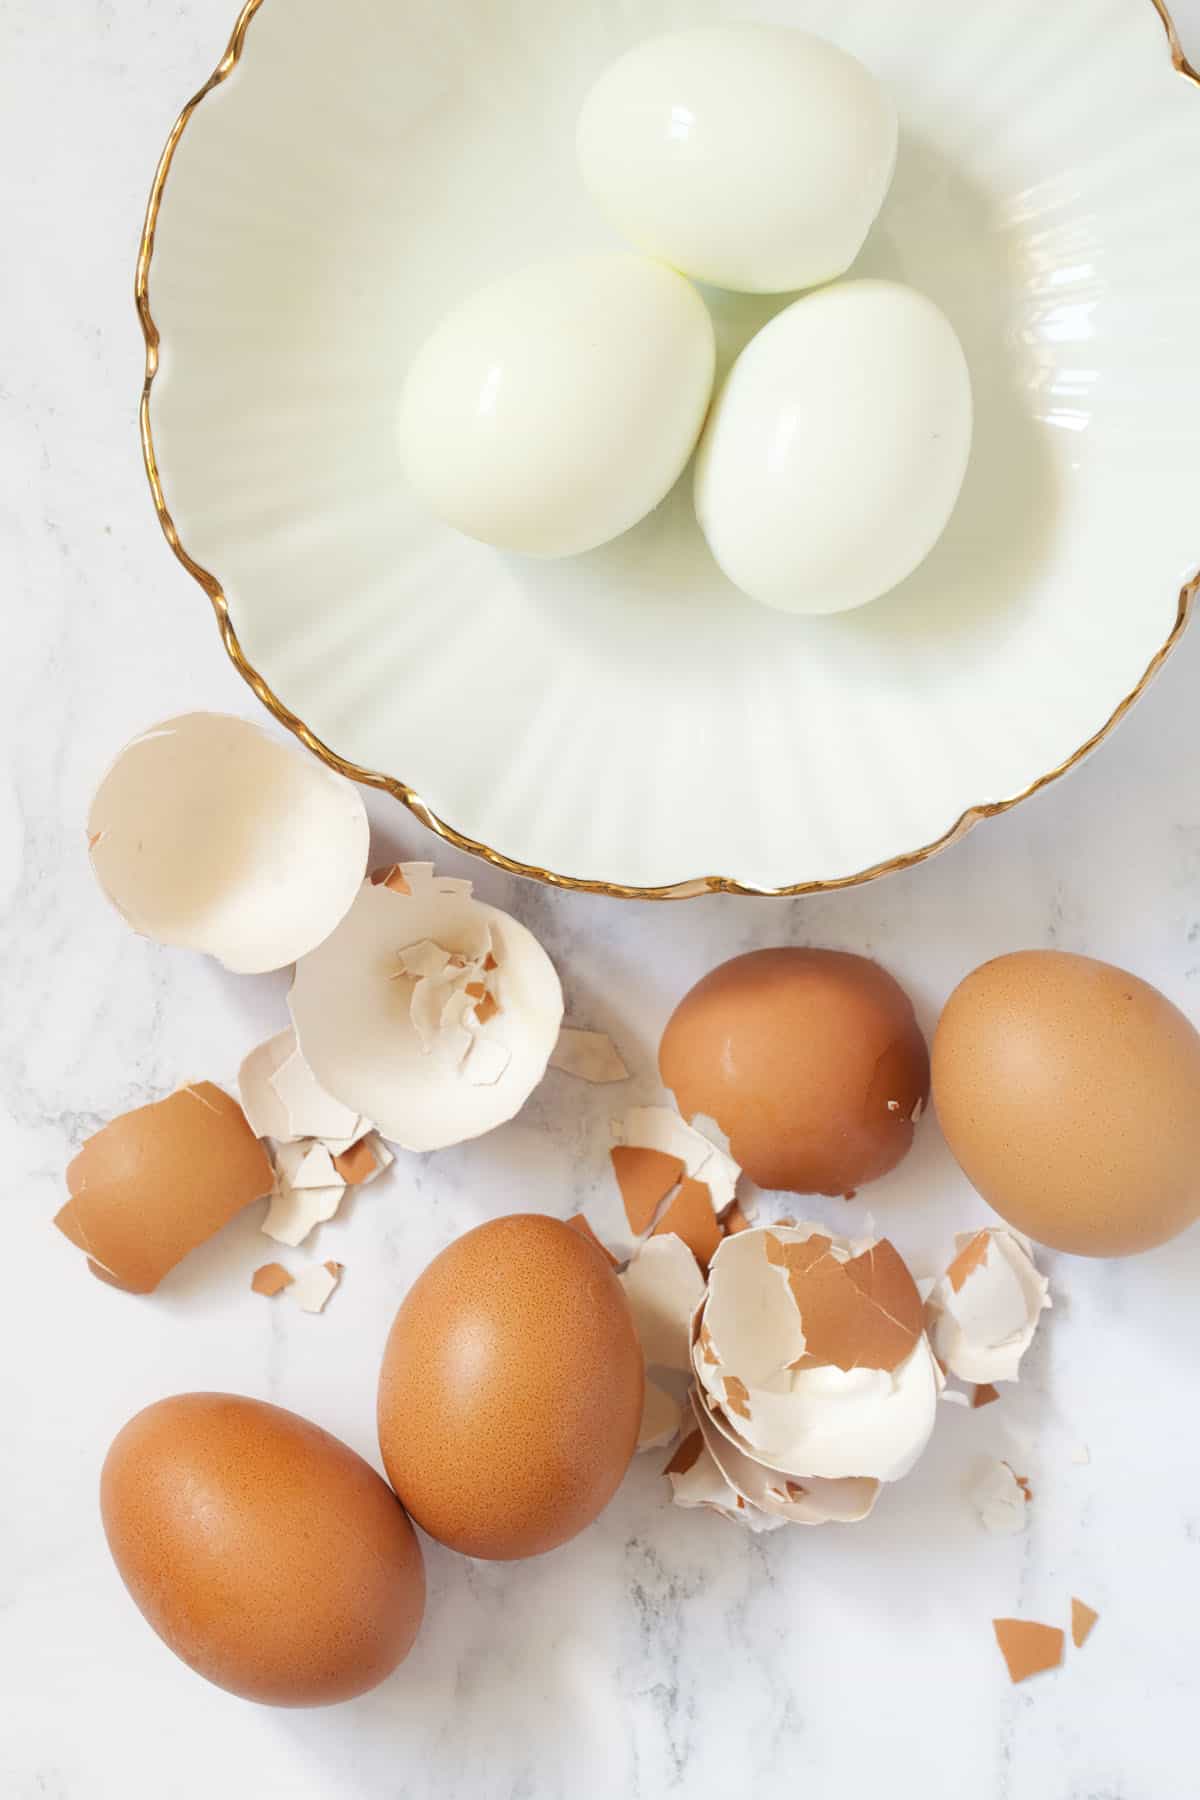
- Begin by placing 6 large eggs in a pan just big enough to hold them (too much room and the eggs will move around, crash into each other and run the risk of splitting)
- Cover entirely with cold water and pop a lid on the pan
- Bring the pan up to the boil, then continue to cook the eggs for 7 minutes (use a timer as it is easy to forget about them)
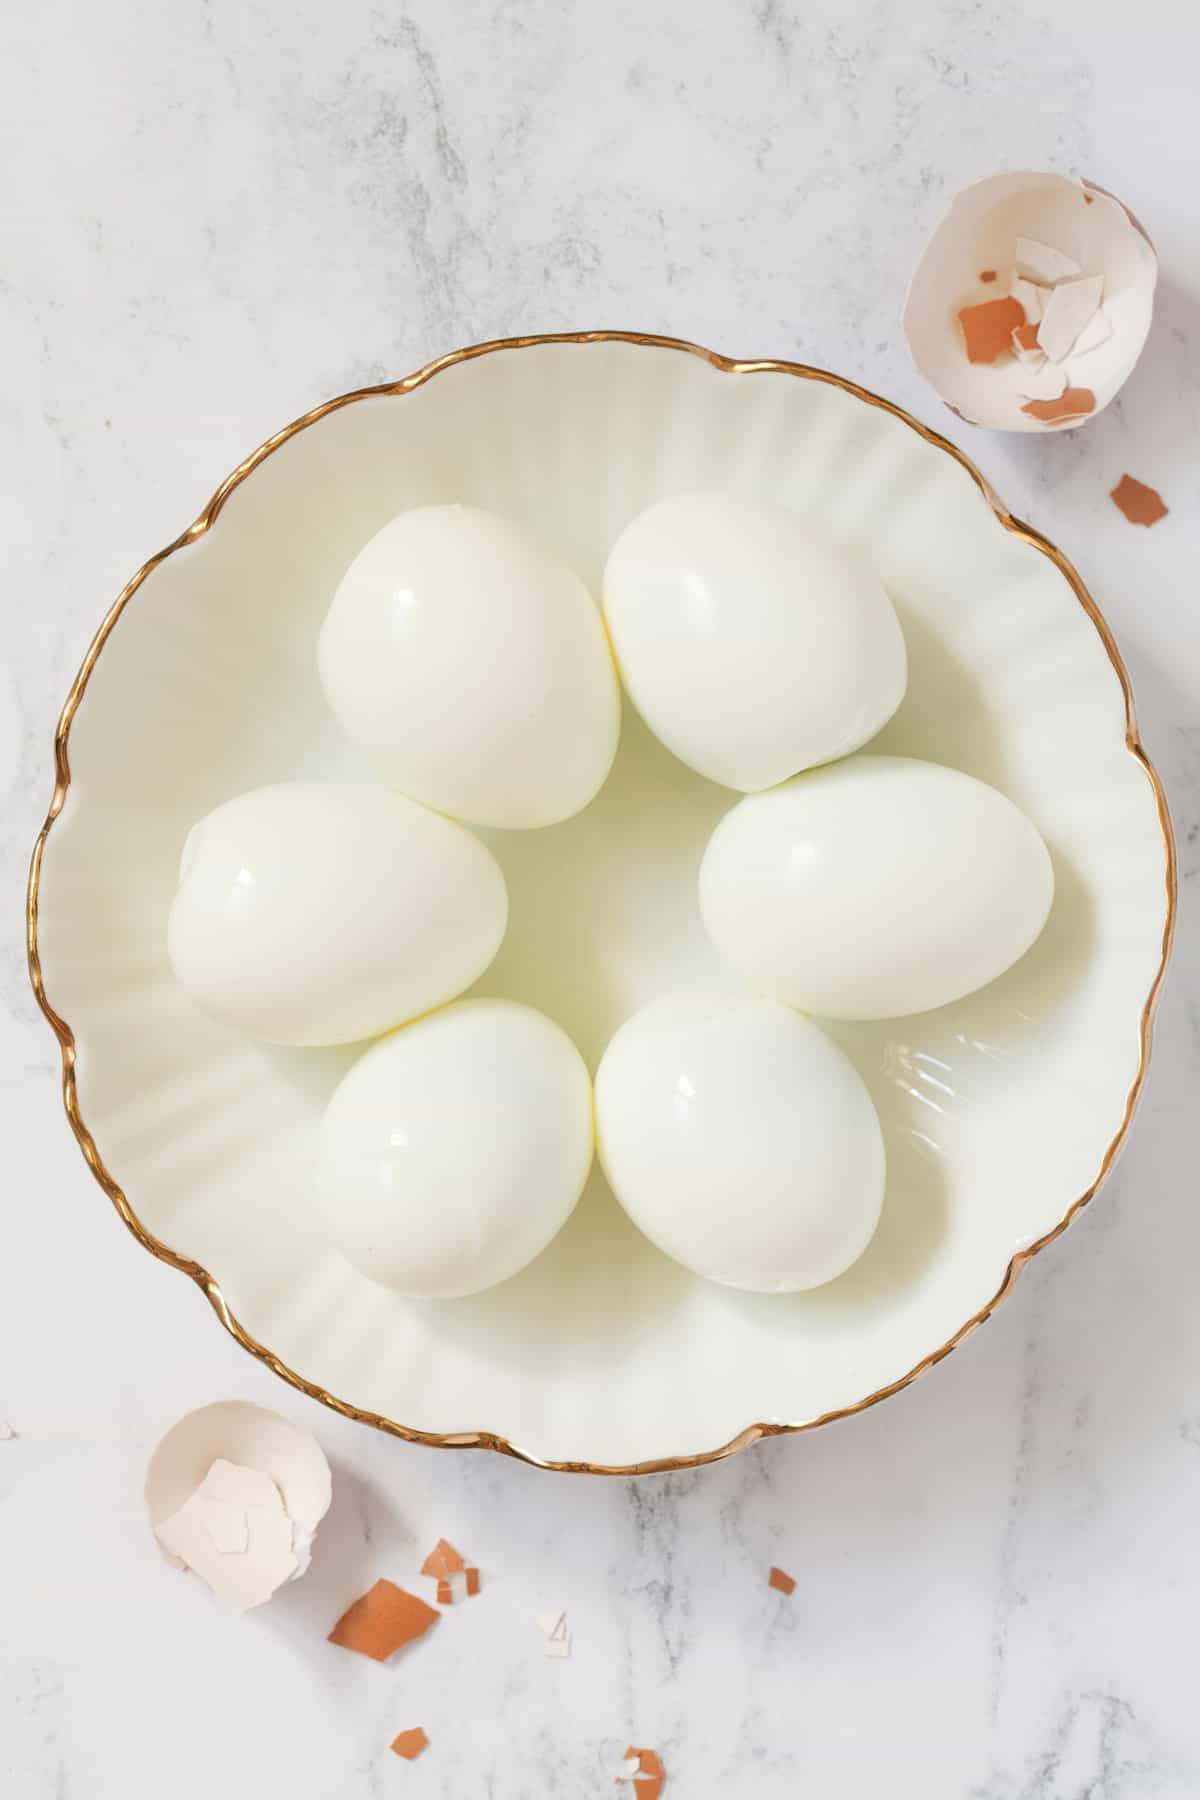
- Meanwhile, fill a large bowl with very cold water
- Once the time is up, drain the water from the pan and transfer the eggs into the bowl of cold water
- Leave to cool completely
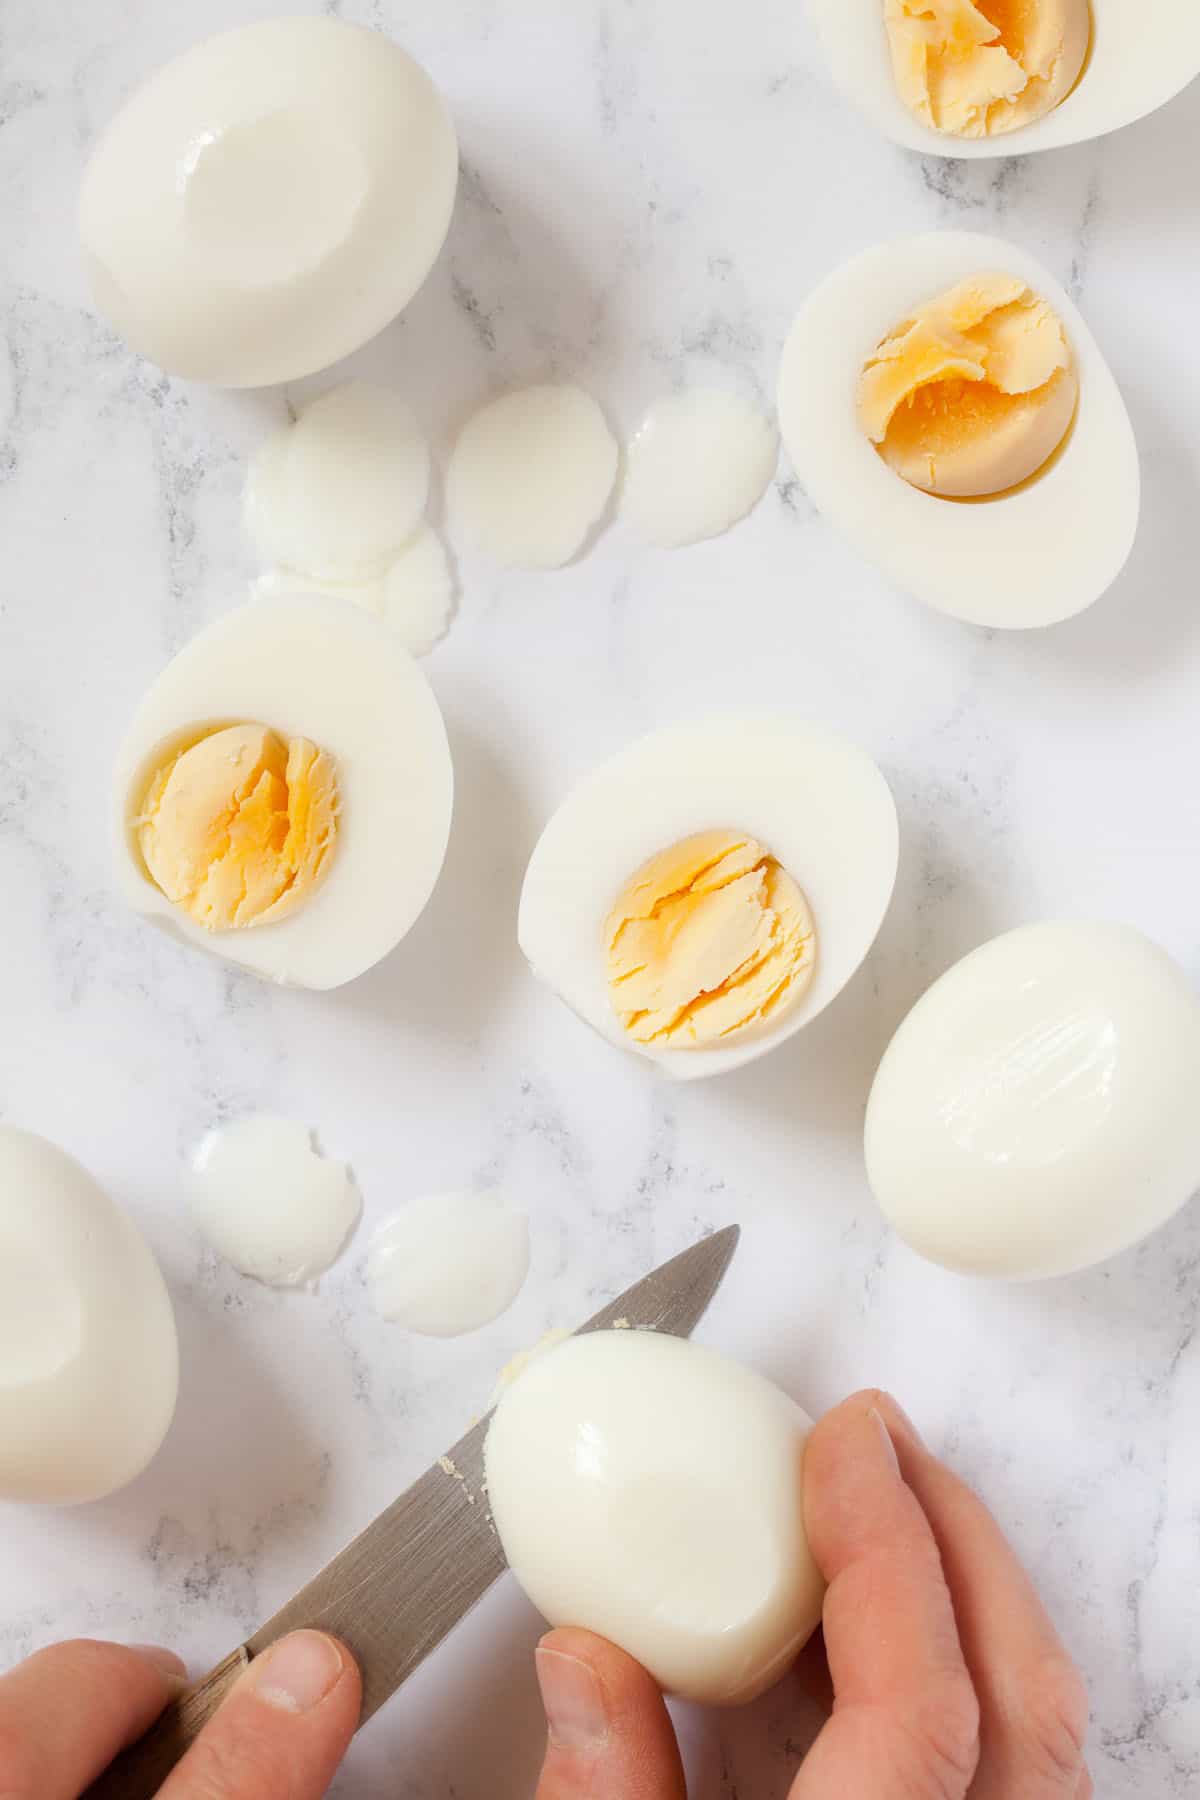
- To crack them, tap them all over on a hard surface and peel off the shell. Rinse if necessary to remove any lingering pieces
Step 2: Slice the Eggs & Remove the Yolks
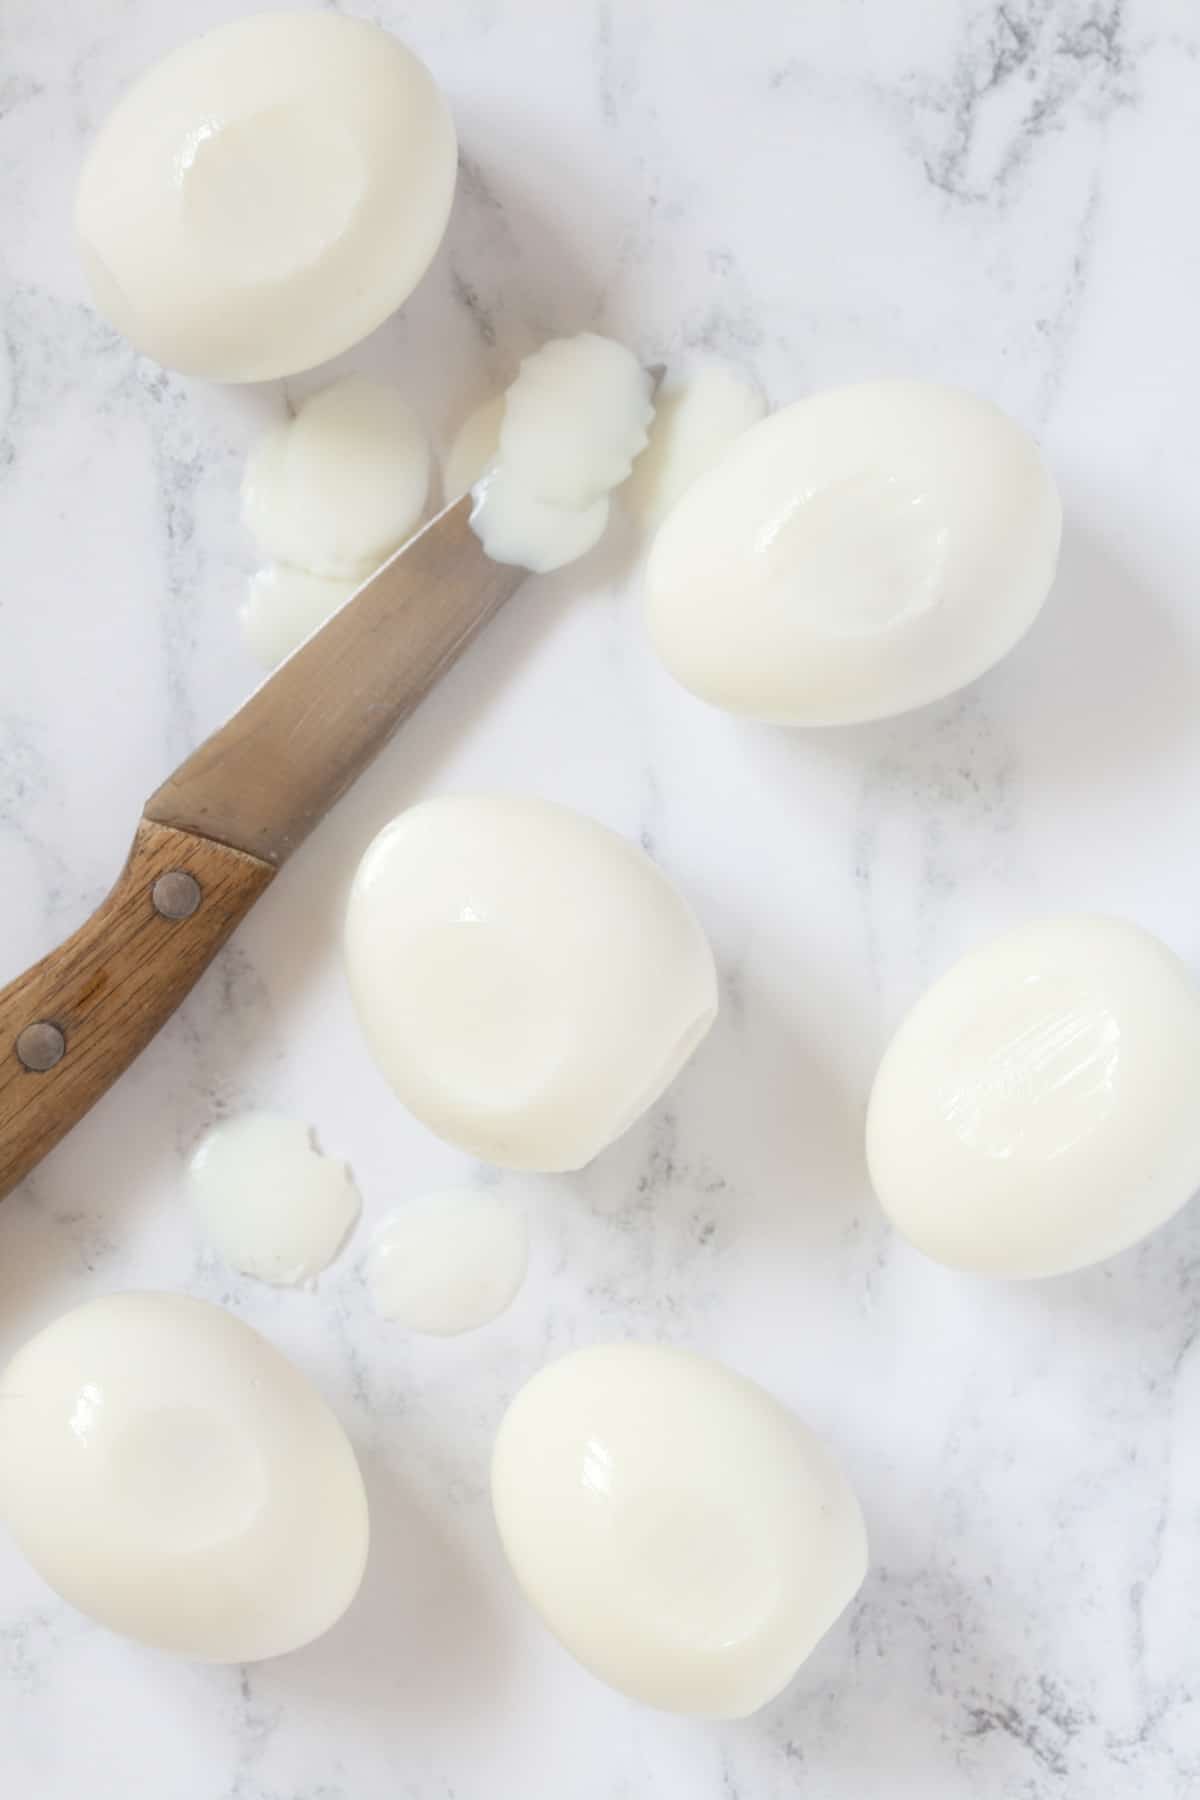
Have you noticed that shelled eggs have a tendancy to be mobile? Especially on smooth surfaces such as plates? Mobile devilled eggs landing on the floor are not exactly what we want.
To get around this issue, I have a little trick to share: take each egg and slice a tiny amount off of both sides (lengthways). This creates a flat base for each half that will prevent them from sliding around an platters.
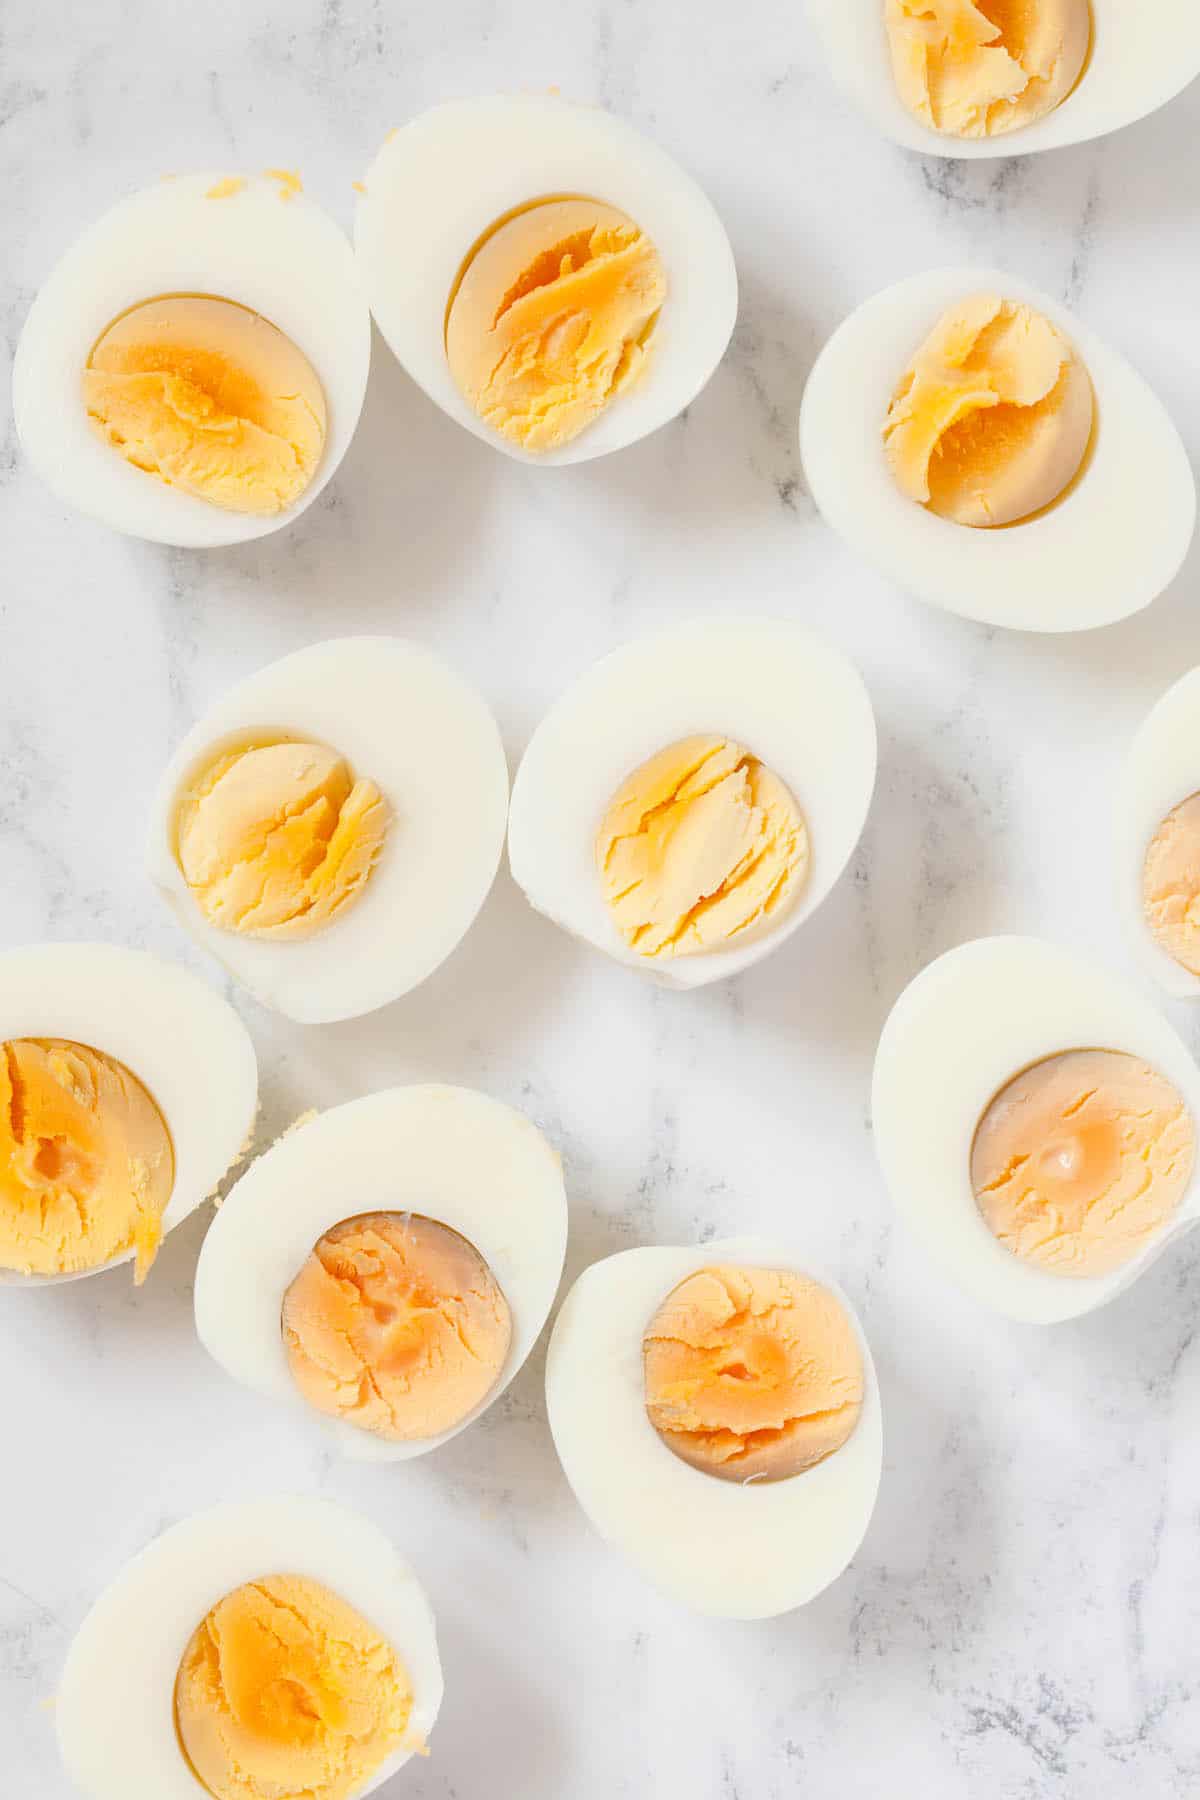
Next, slice each egg in half, again lengthways, so that you are left with 12 halves.
Step3: Prepare the Creamy Filling
Once the eggs are sliced, we can get on with turning those lovely yellow yolks into a gloriously creamy and flavoursome filling:
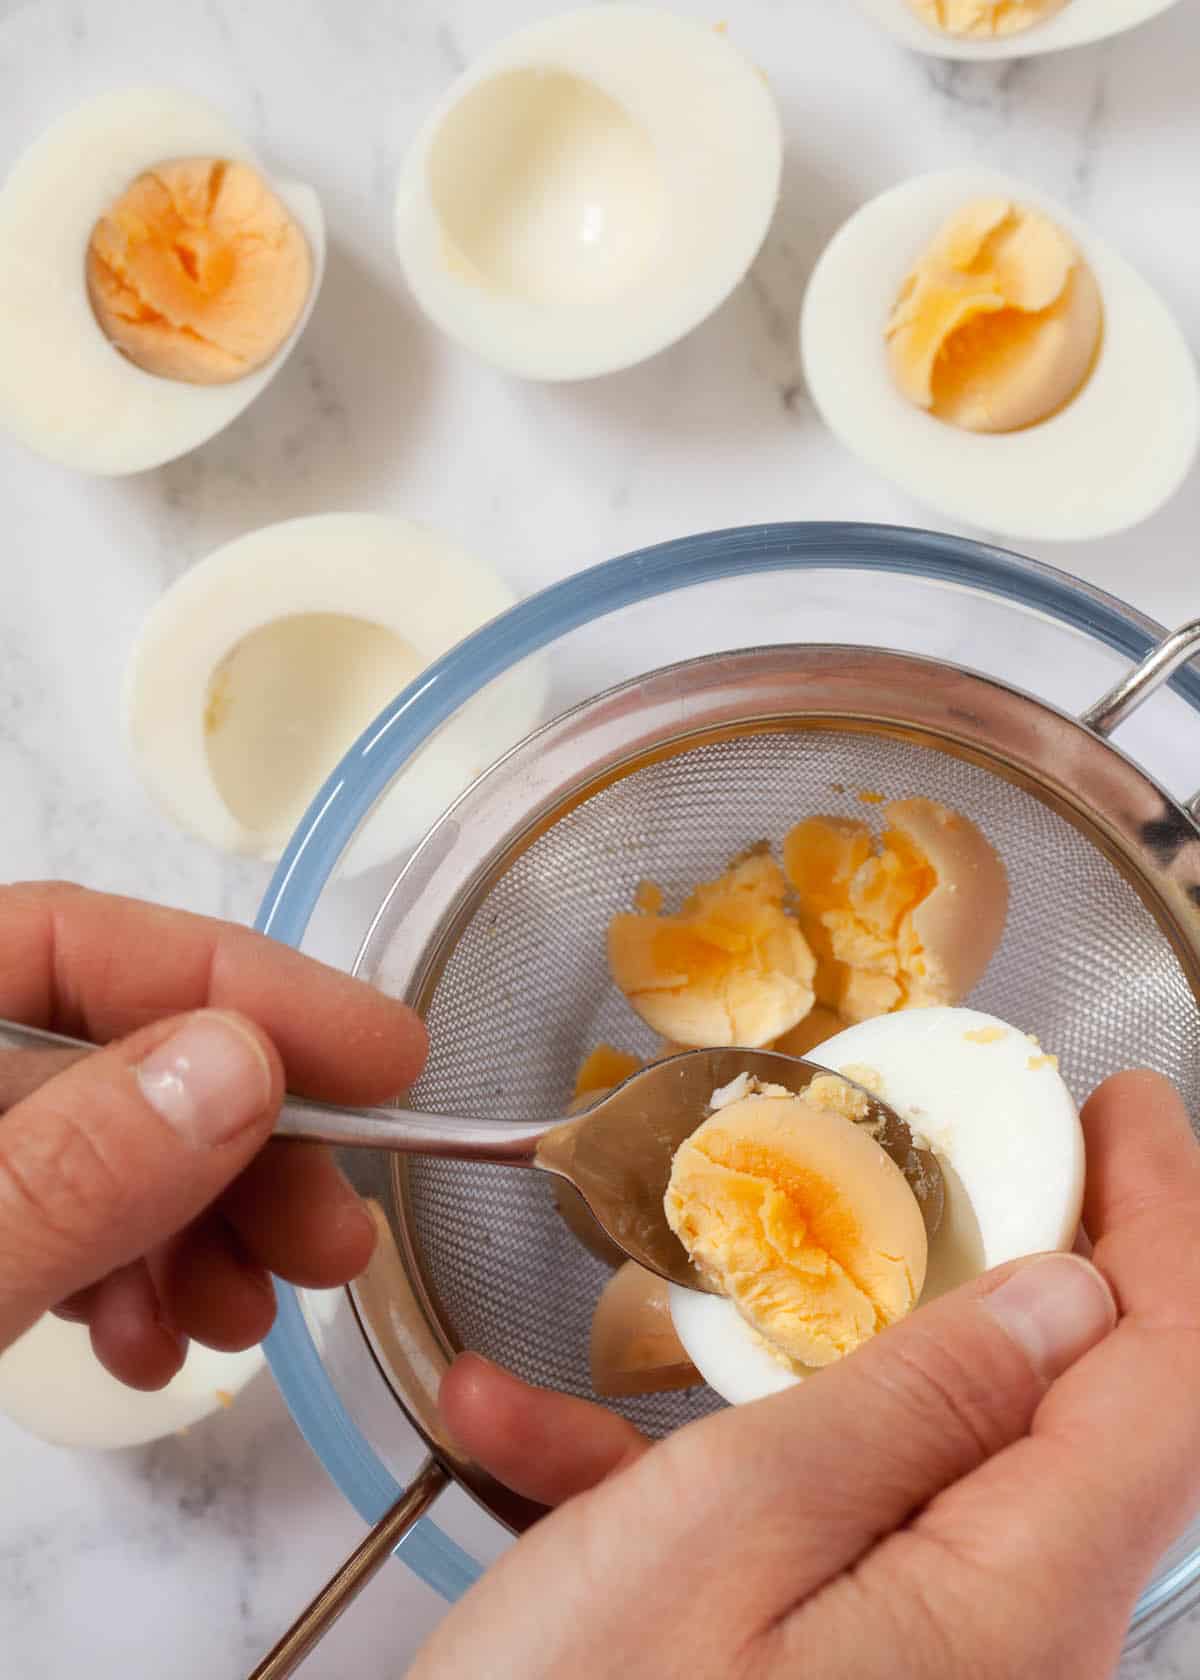
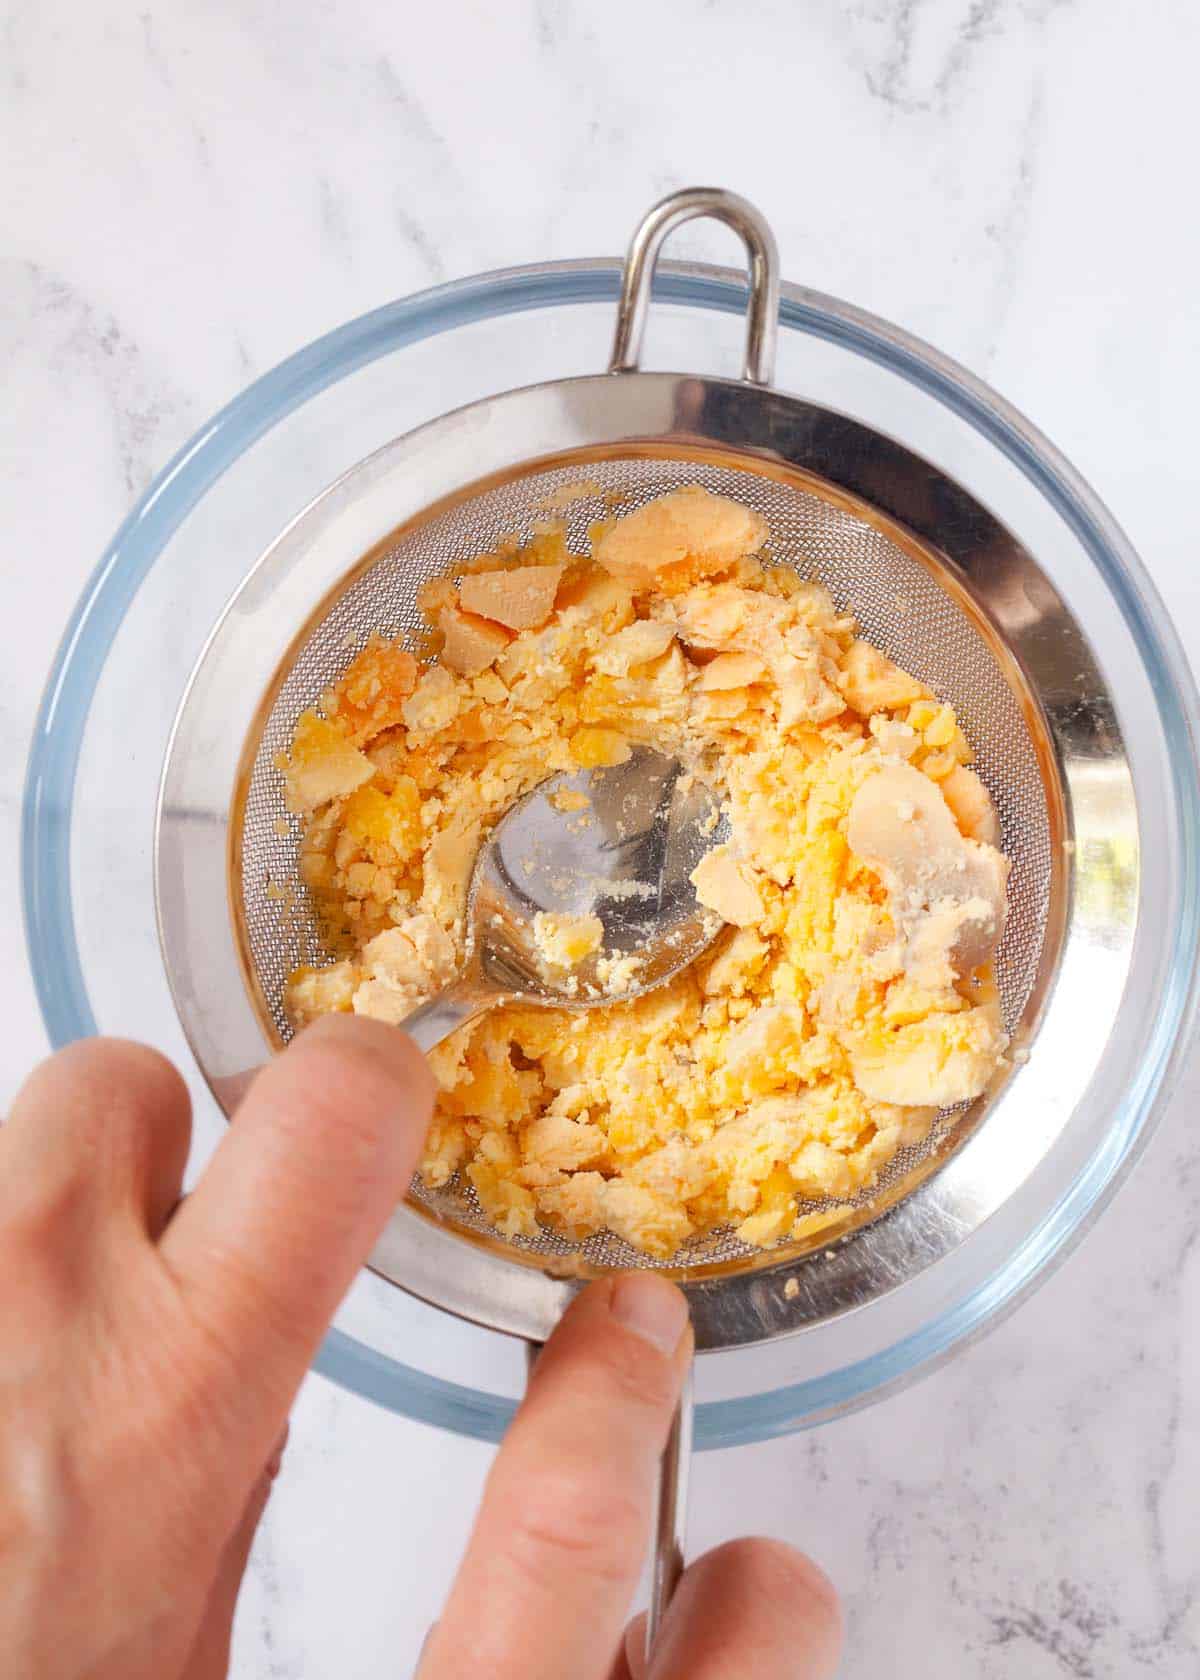
- Use a teaspoon to carefully pop the yolks out of their cavities. They come out easily
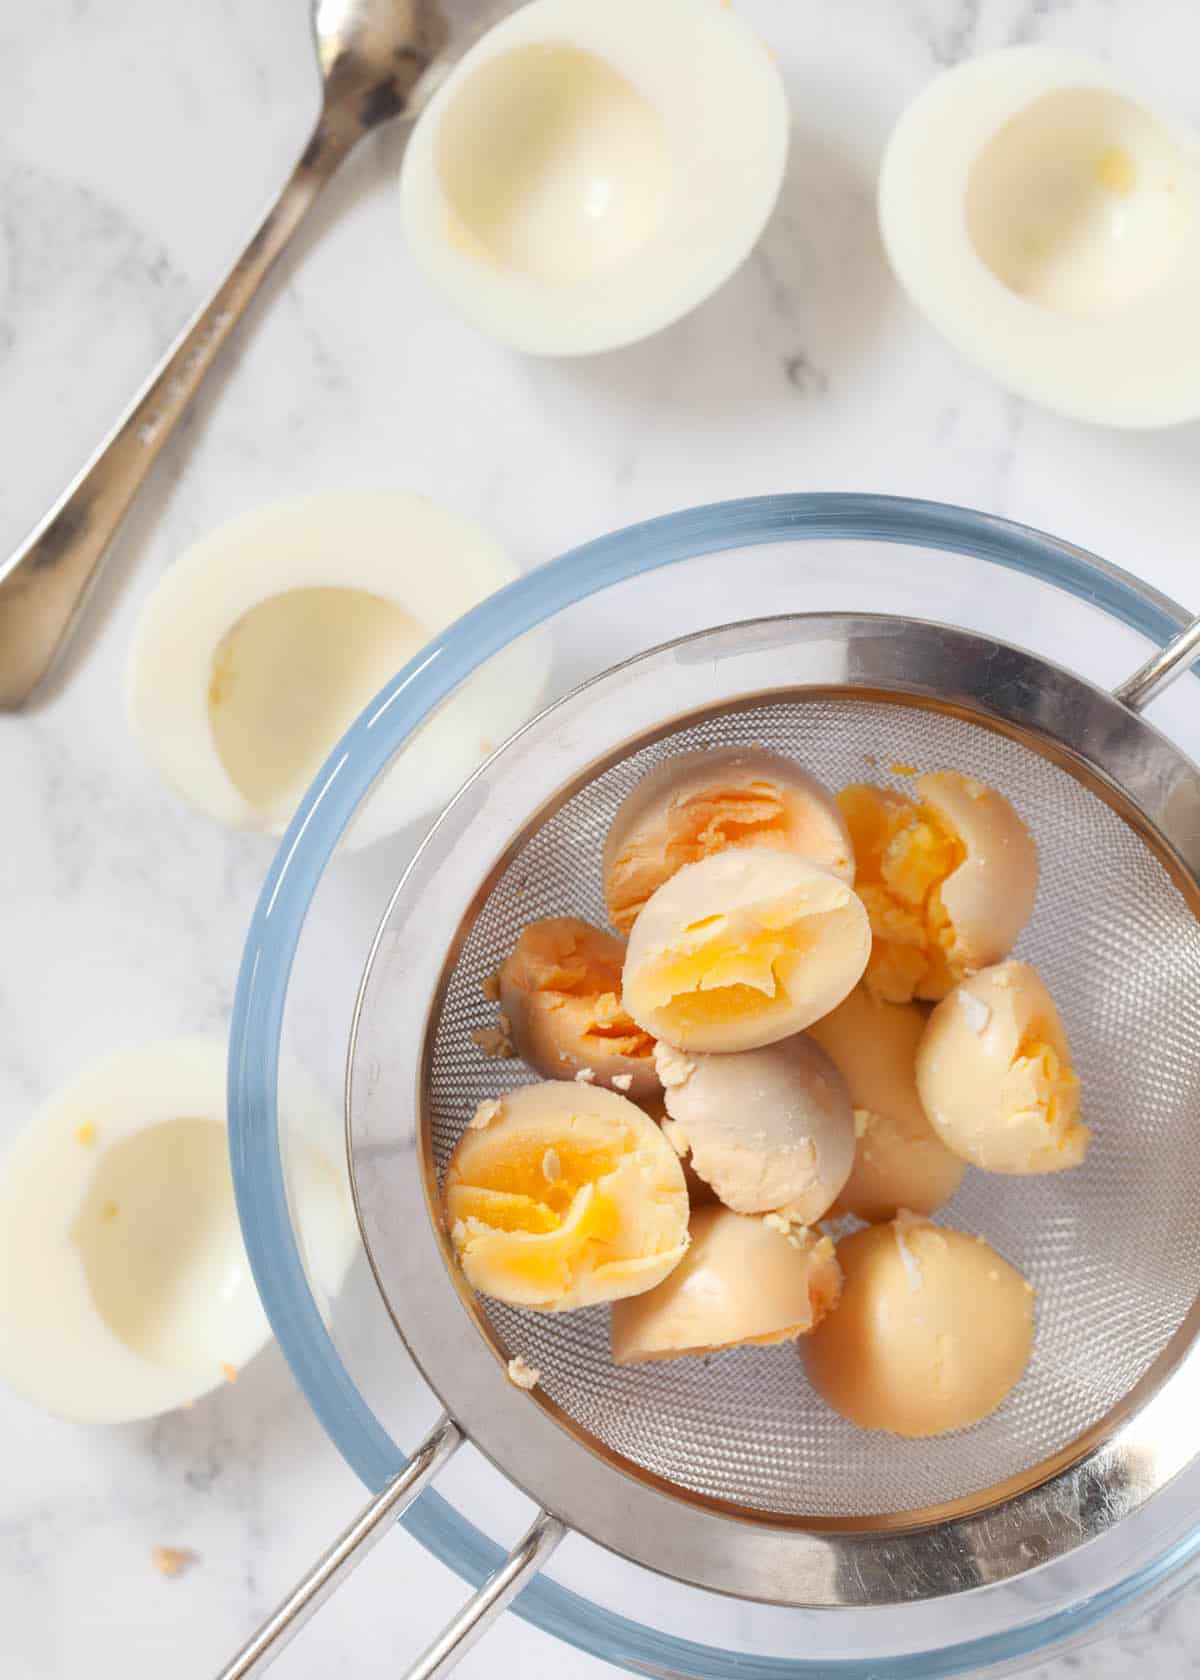
- Suspend a sieve over a small mixing bowl and push the yolks through the sieve using the back of a small spoon
- Don't forget to scrape the back of the sieve once finished
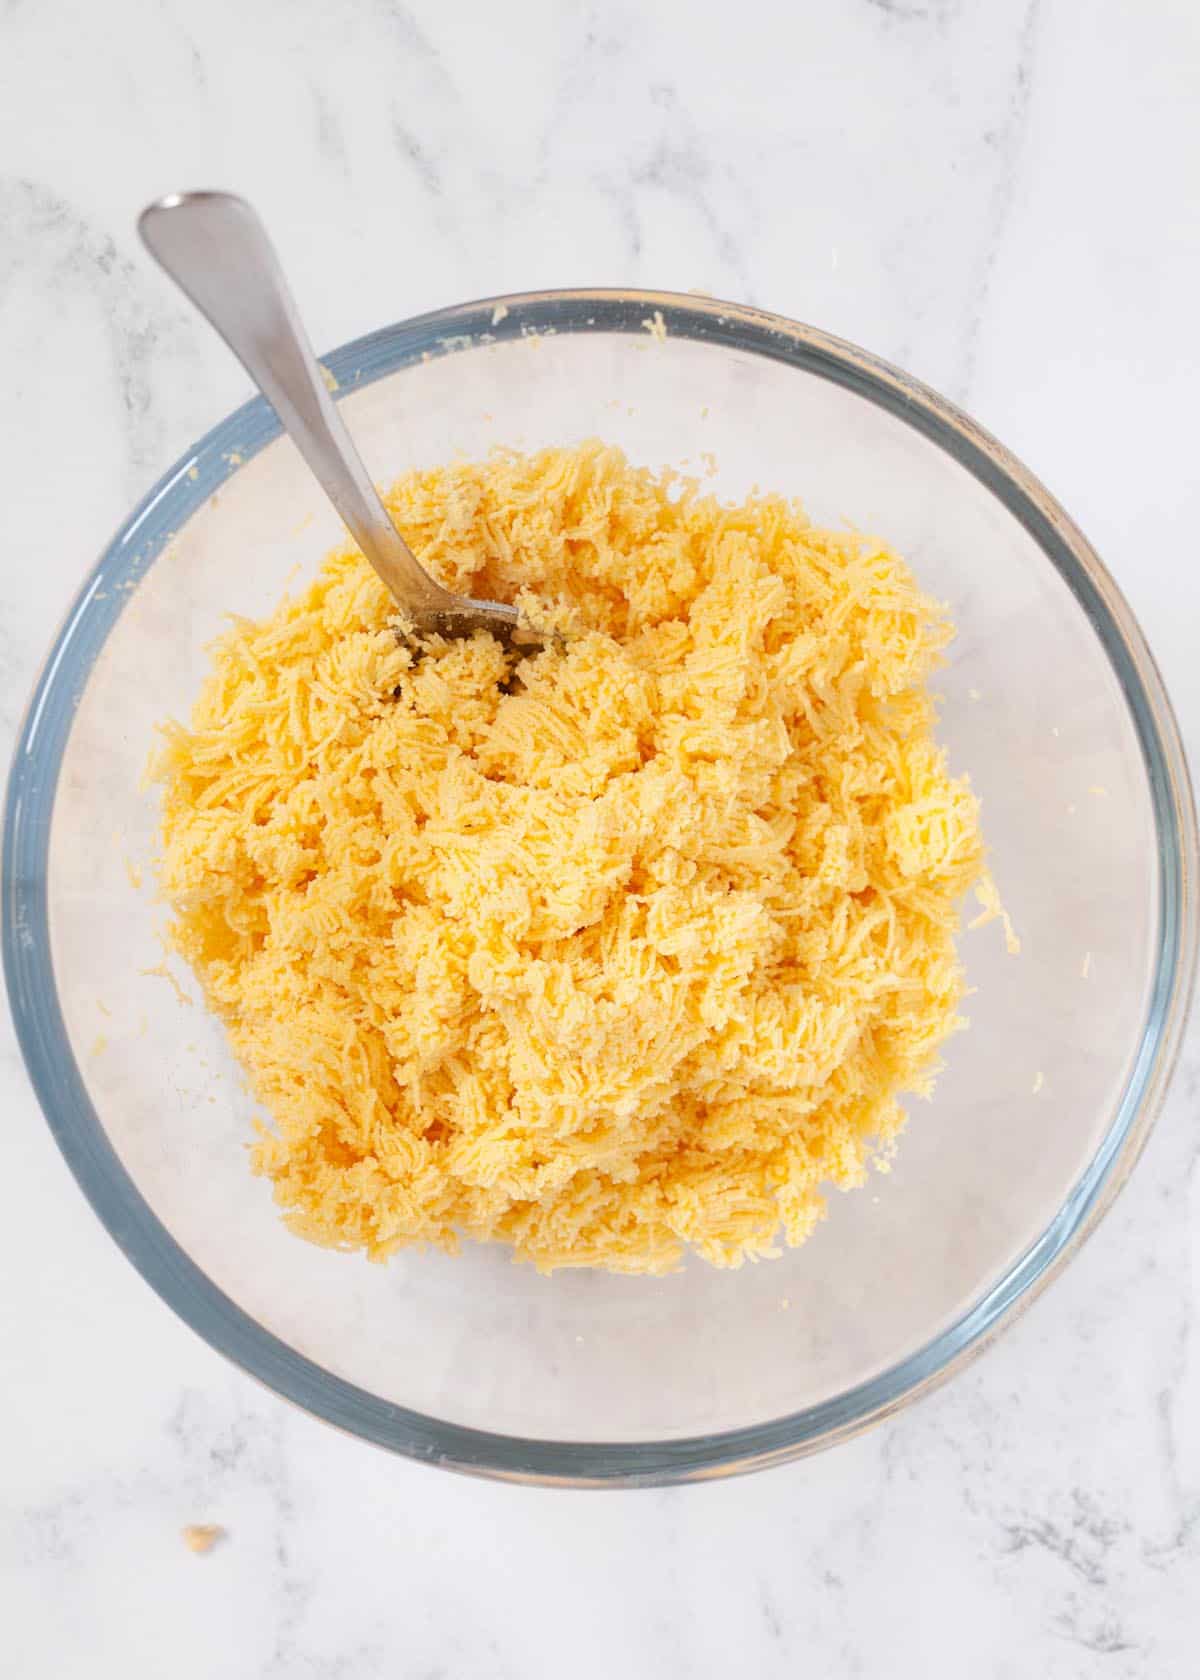
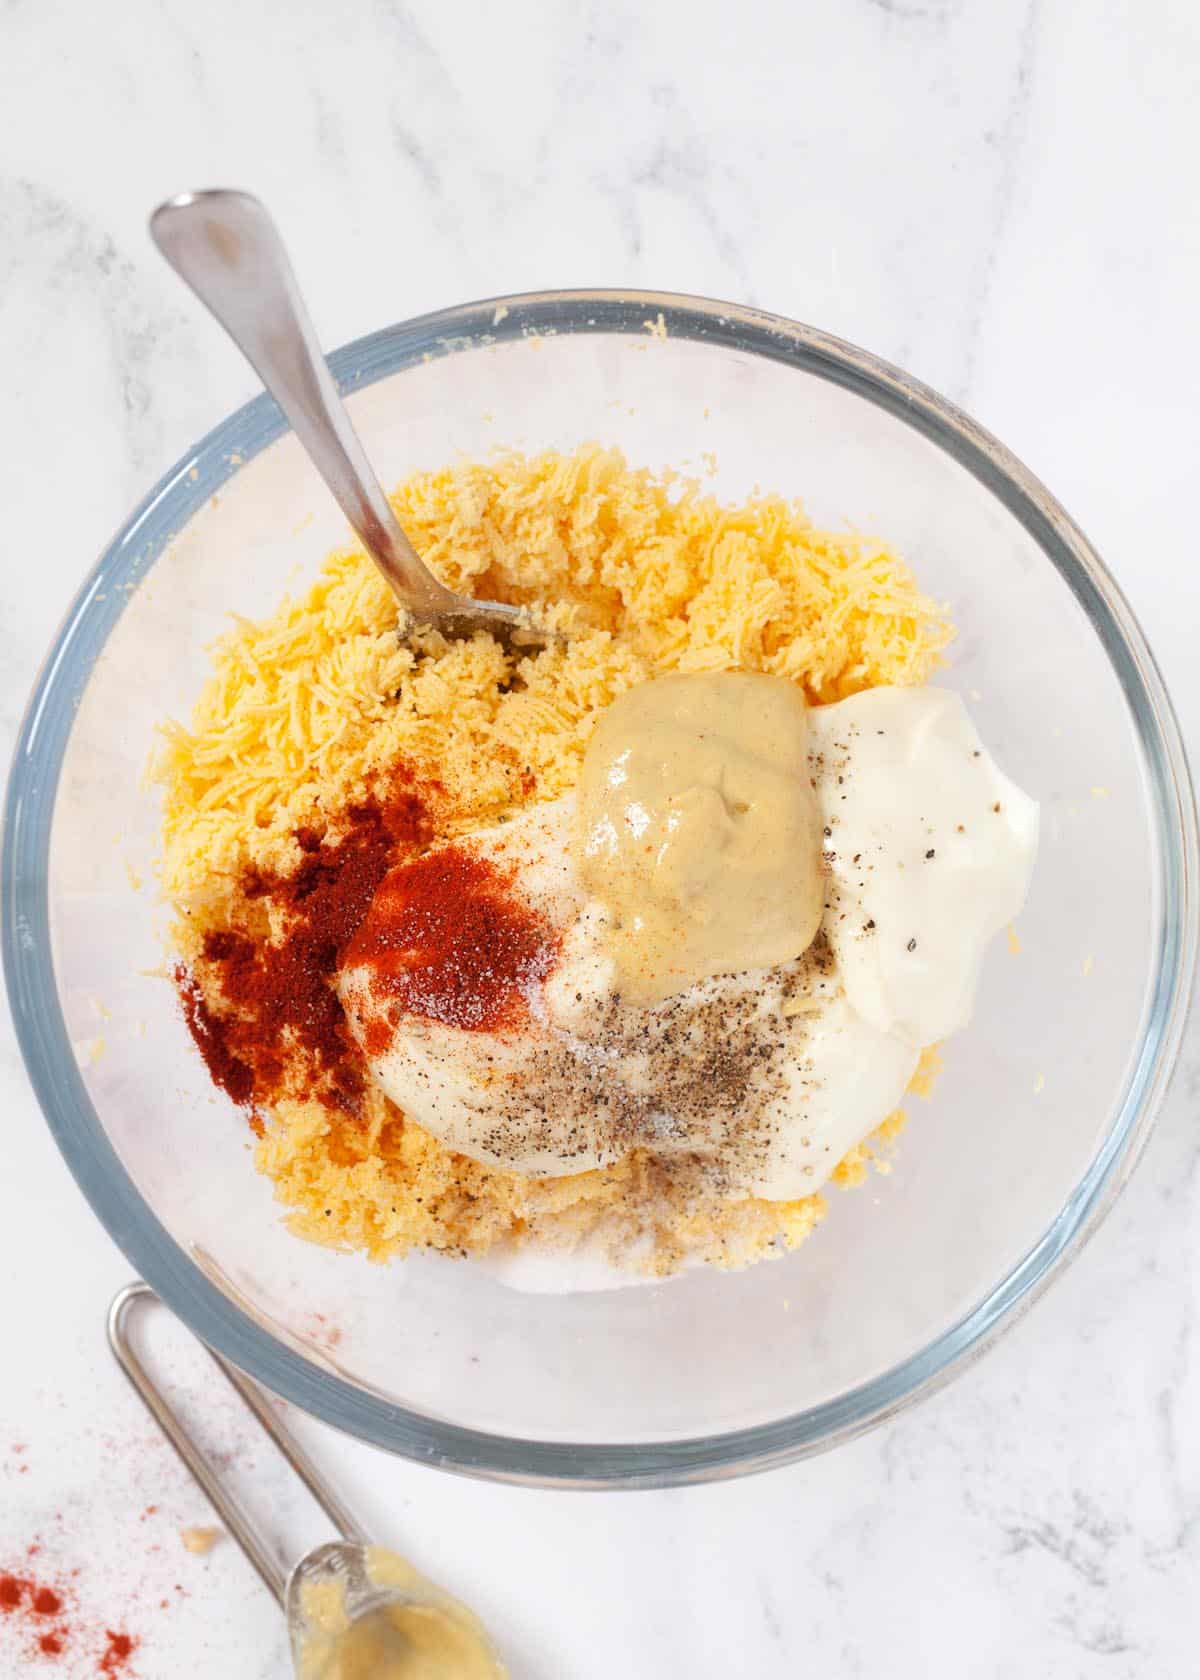
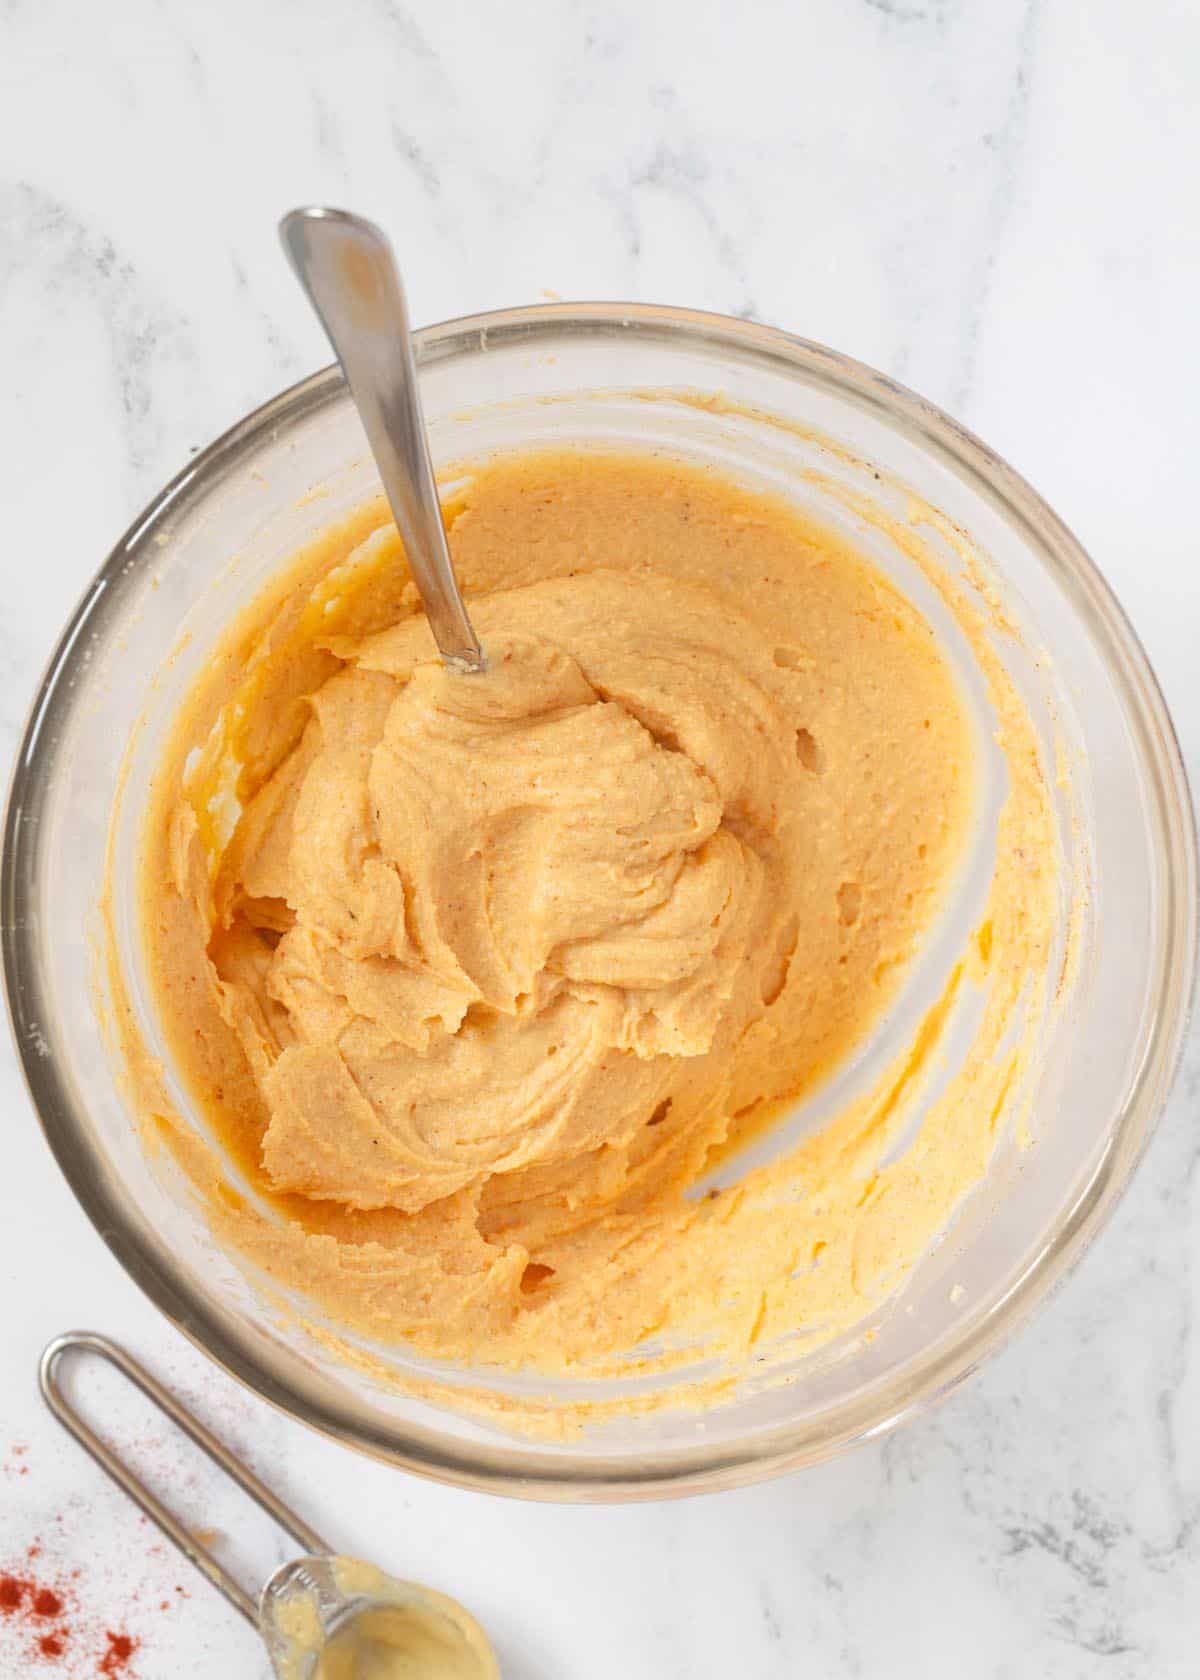
- Next add mayonnaise, dijon mustard, paprika, white wine vinegar, salt and pepper to the yolks
- Mix well, then tumble in some finely chopped chives and stir through
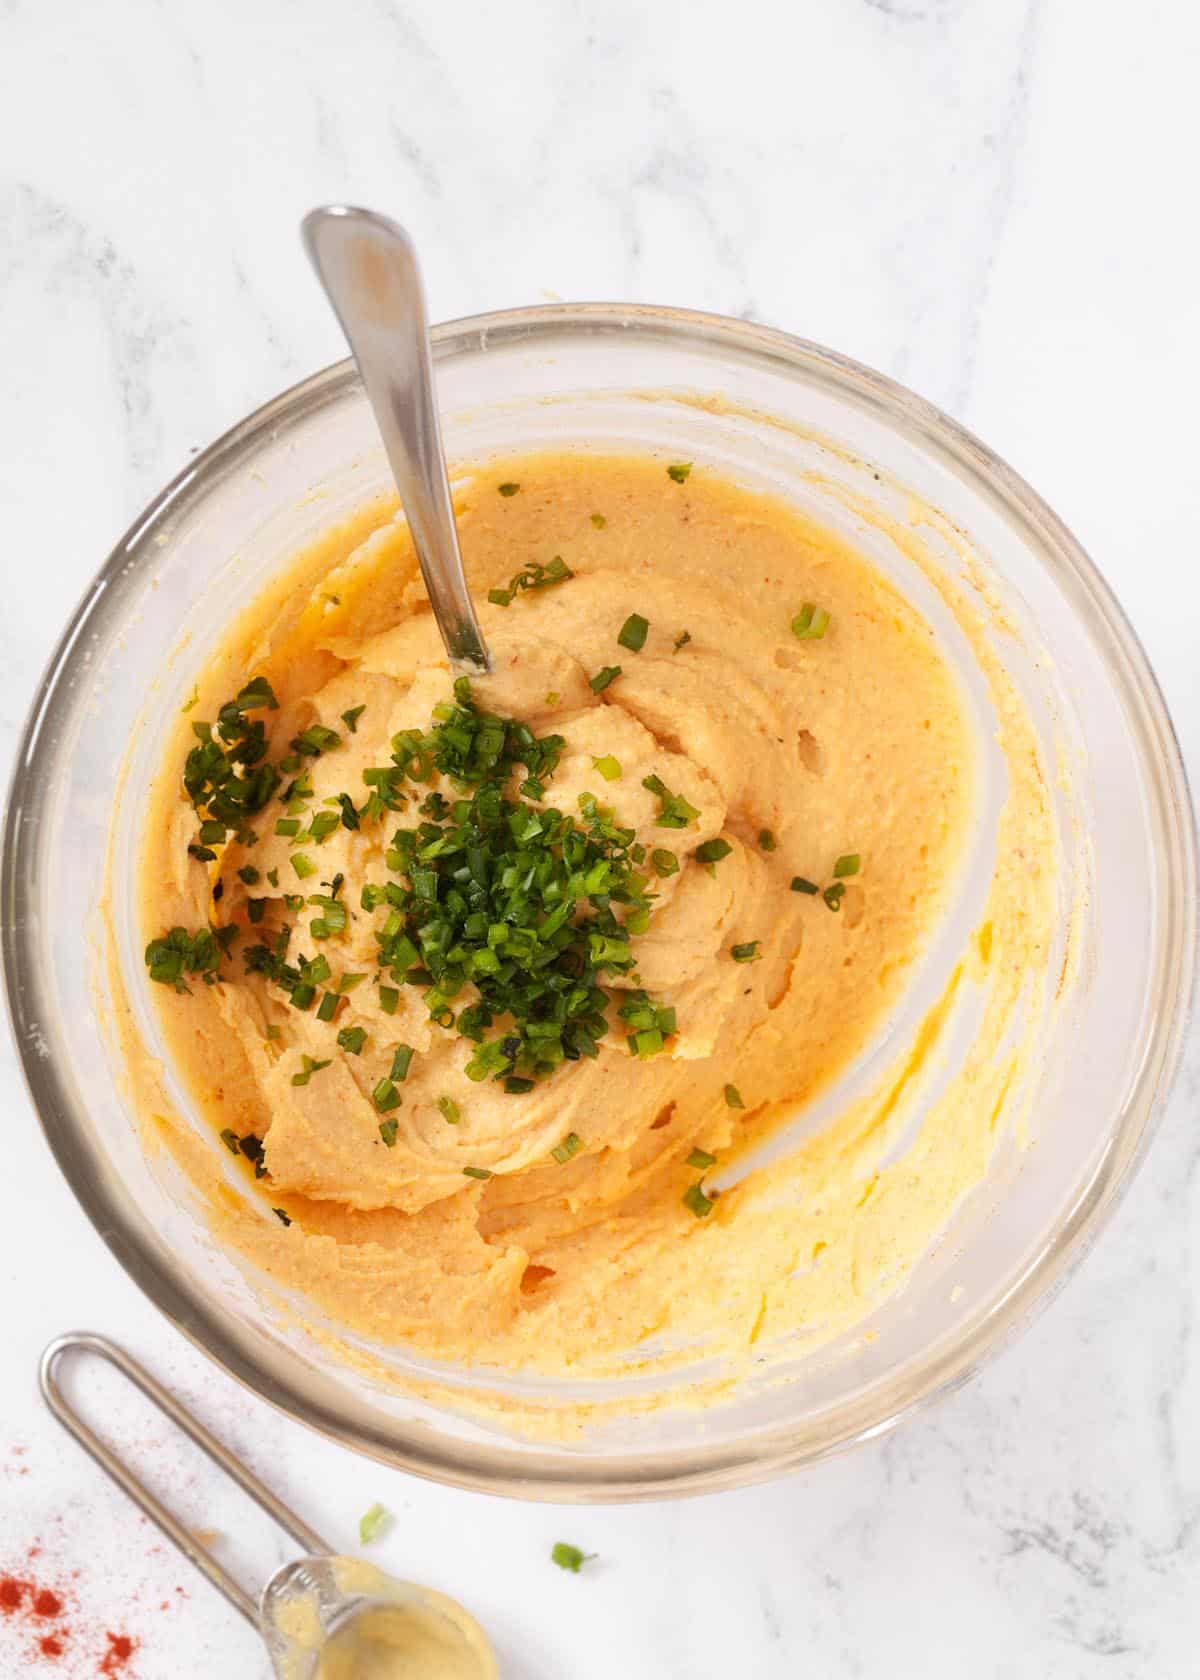
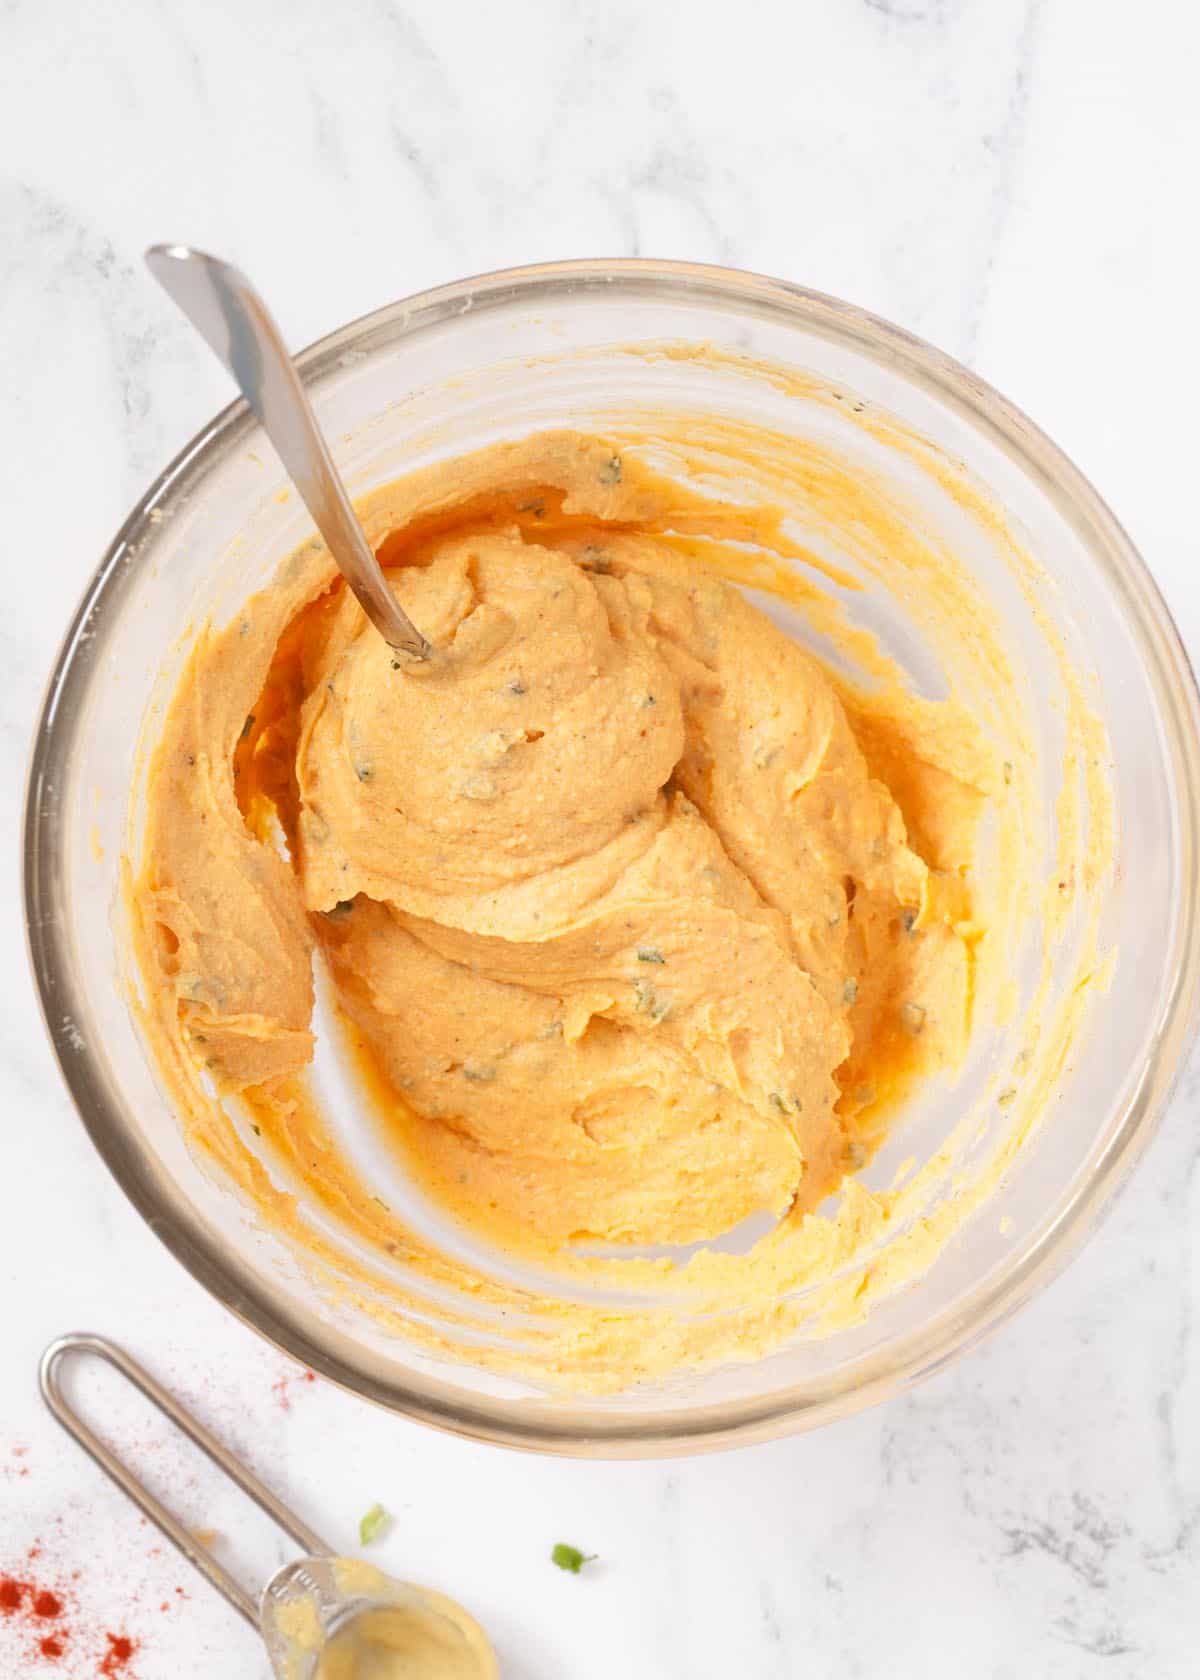
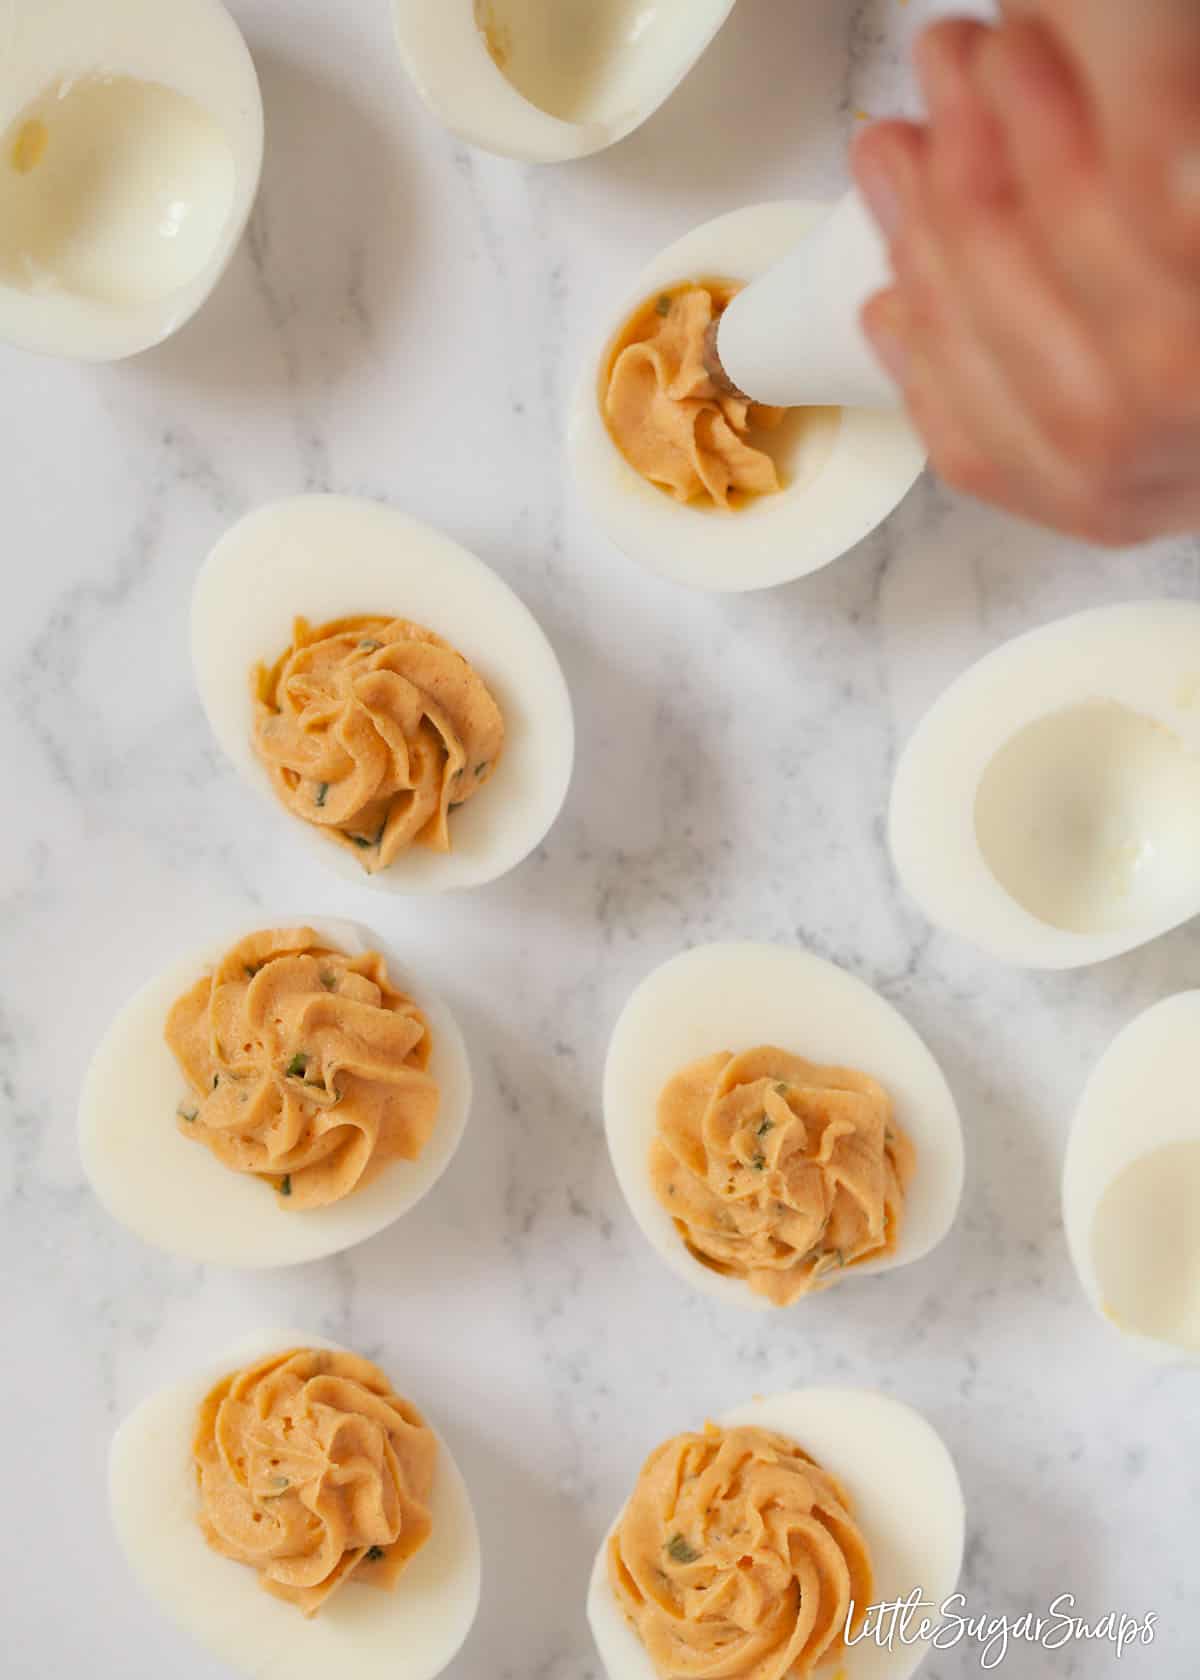
Step 4: Assemble & Garnish the Eggs
Assembly is very easy and should take no more than 5 minutes:
- Spoon the creamy filling into a piping bag fitted with a wide star nozzle and pipe the mixture into the egg whites to fill the yolk cavities
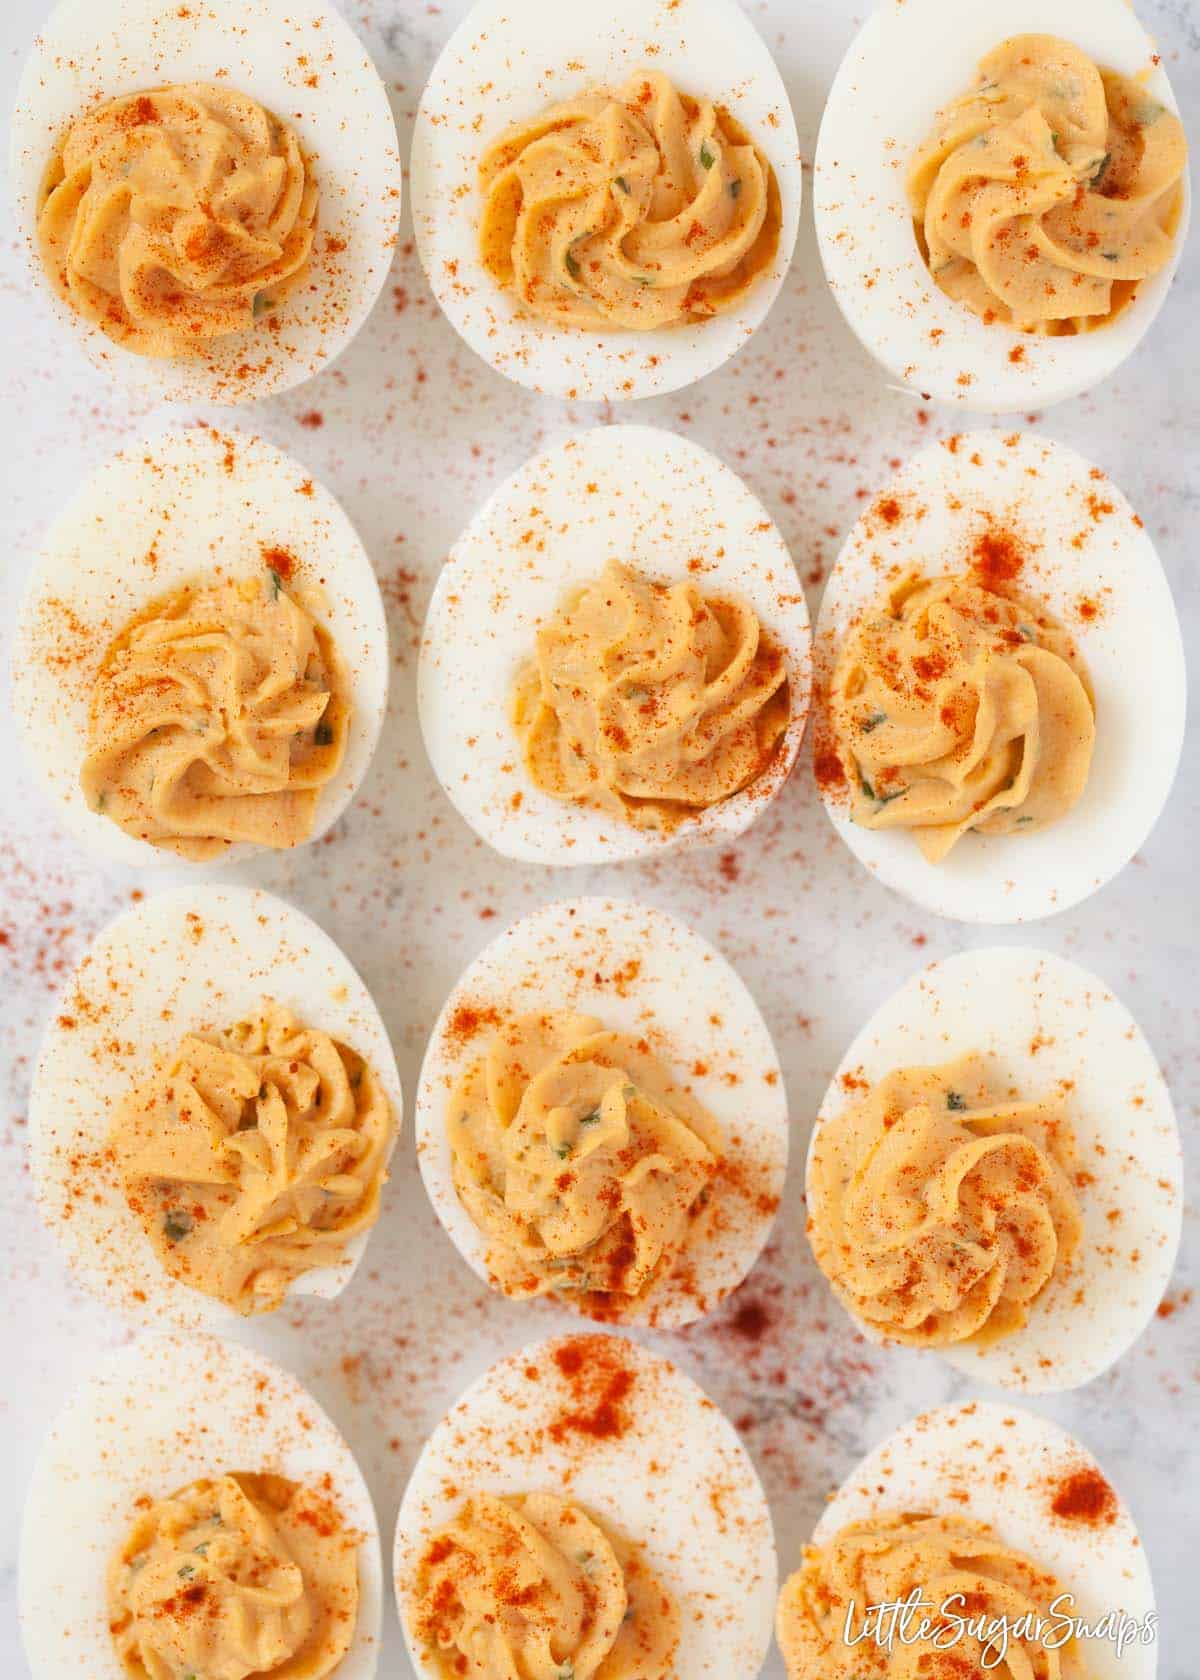
- Sprinkle some paprika over the eggs, then scatter with chopped chives
- Finish by spooning ¼ - ½ teaspoon caviar onto the top of each egg

If the egg whites are boiled and cooled in advance, these devilled eggs with caviar can be made in around 30 minutes. That's not bad going for such an elegant and fun party nibble.
Frequently asked questions
Sadly not. This is one recipe that does not respond well to freezing.
Yes and no. There are some things you can do in advance and some you cannot:
- you can boil the eggs up to 3 days in advance. Once cooked, cool completely, wrap in clingfilm and then store in the fridge
- you can also prepare the egg yolk filling up to 24 hours in advance. Be sure to tightly wrap the prepared whites and closely cover the filling before refrigerating
Technically, you could even pipe the filling into the yolk cavities up to 24 hours in advance, provided you are able to cover them loosely and keep them chilled. However, in my experience, the filling can dry out unless covered very closely with clingfilm. This will of course spoil the lovely piping of the filling, so it really is best to pipe it into the cavities as close to serving time as possible to avoid having to cover and refrigerate.
And it is certainly best to add the garnishes in the moments before taking these caviar devilled eggs to the table.
For maximum freshness with minimum last-minute effort, preparation is everything. Try scooping the filling into the piping bag ahead of time, then keep it refrigerated. When serving time is close, it should take you no more than 5 minutes to assemble, decorate and present these devilled eggs with caviar to your appreciative guests.
There are quite a few options when it comes to topping devilled eggs. For a start, you could just go with paprika and chives, just omitting the caviar completely. Alternatively, how about a strip of smoked salmon or Parma ham, some crsipy bacon or some caperberries?
More party food recipes


Have you made these devilled eggs with caviar? Please let me know if you enjoyed the recipe by leaving a review.
Please add us as a trusted site on Google so that our recipes show up more in your searches!
Stay in touch: sign up to receive LittleSugarSnaps newsletters to hear when new recipes are published. Or follow me on social media:
📖 Recipe
Devilled Eggs with Caviar
Ingredients
- 6 Eggs Large, free range
- 3 tablespoon mayonnaise
- 2 teaspoon Dijon mustard
- ½ teaspoon Paprika sweet & mild rather than hot
- ½ teaspoon White wine vinegar
- ⅛ teaspoon Salt
- ⅛ teaspoon Ground black pepper
- 1 tablespoon Chives finely chopped
Garnishes
- ⅜ teaspoon Paprika sweet & mild
- ½ tablespoon Chives finely chopped
- 1 tablespoon Black Lumpfish caviar I used Elsinore
Instructions
Hard-boil the Eggs
- Begin by placing 6 large eggs in a pan just big enough to hold them (too much room and the eggs will move around, crash into each other and run the risk of splitting)
- Cover entirely with cold water and pop a lid on the pan
- Bring the water up to the boil, then continue to cook the eggs for 7 minutes (use a timer as it is easy to forget about them)
- Meanwhile, fill a large bowl with very cold water - add some ice cubes to get it really cold
- Once the cooking time is up, drain the water from the pan and transfer the eggs into the bowl of ice cold water. Leave to cool completely. This rapid cooling will help make peeling the eggs an easier task
- To peel the eggs, tap them all over on a hard surface and peel off the shell. Rinse if necessary to remove any lingering pieces
Preparing the Cooked Eggs
- Next, slice each egg in half, again lengthways, so that you are left with 12 halves
Make the Egg Yolk Cream Filling
- Use a teaspoon to carefully pop the yolks out of their cavities. They should come out easily
- Suspend a fine-meshed sieve over a small mixing bowl and push the yolks through the sieve using the back of a small spoon
- Don't forget to scrape the back of the sieve once finished
- Next add mayonnaise, dijon mustard, paprika, white wine vinegar, salt and pepper to the yolks. Mix well then taste & adjust seasoning to suit your tastes
- Tumble in some finely chopped chives and stir through
Assembling the Devilled Eggs
- Spoon the creamy filling into a piping bag fitted with a wide star nozzle and pipe the mixture into the egg whites to fill the cavities left by removing the yolks
- Sprinkle some paprika over the eggs, then scatter with chopped chives
- Finish by spooning ¼ - ½ teaspoon caviar onto the top of each egg
- Best served straight away (please refer to recipe notes regarding making in advance)
Notes
- The eggs can be boiled up to 3 days in advance. Once cooked, cool completely, wrap in clingfilm and then store in the fridge until ready to proceed with the recipe
- The egg yolk filling can be made up to 24 hours in advance. Be sure to tightly wrap the prepared whites and closely cover the filling before refrigerating
- Technically, you could pipe the filling into the yolk cavities up to 24 hours in advance, provided you are able to cover them loosely and keep them chilled. But there is a risk that the filling will dry out unless covered very closely with clingfilm, which might also mean that the neat piping gets damaged


Betty says
I was given some caviar as a present and I had no idea what to do with it! Made these to serve to friends and it was a huge hit! Thanks for sharing!
Jane Saunders says
What a great gift to receive - you have generous friends. So pleased you enjoyed this recipe too!