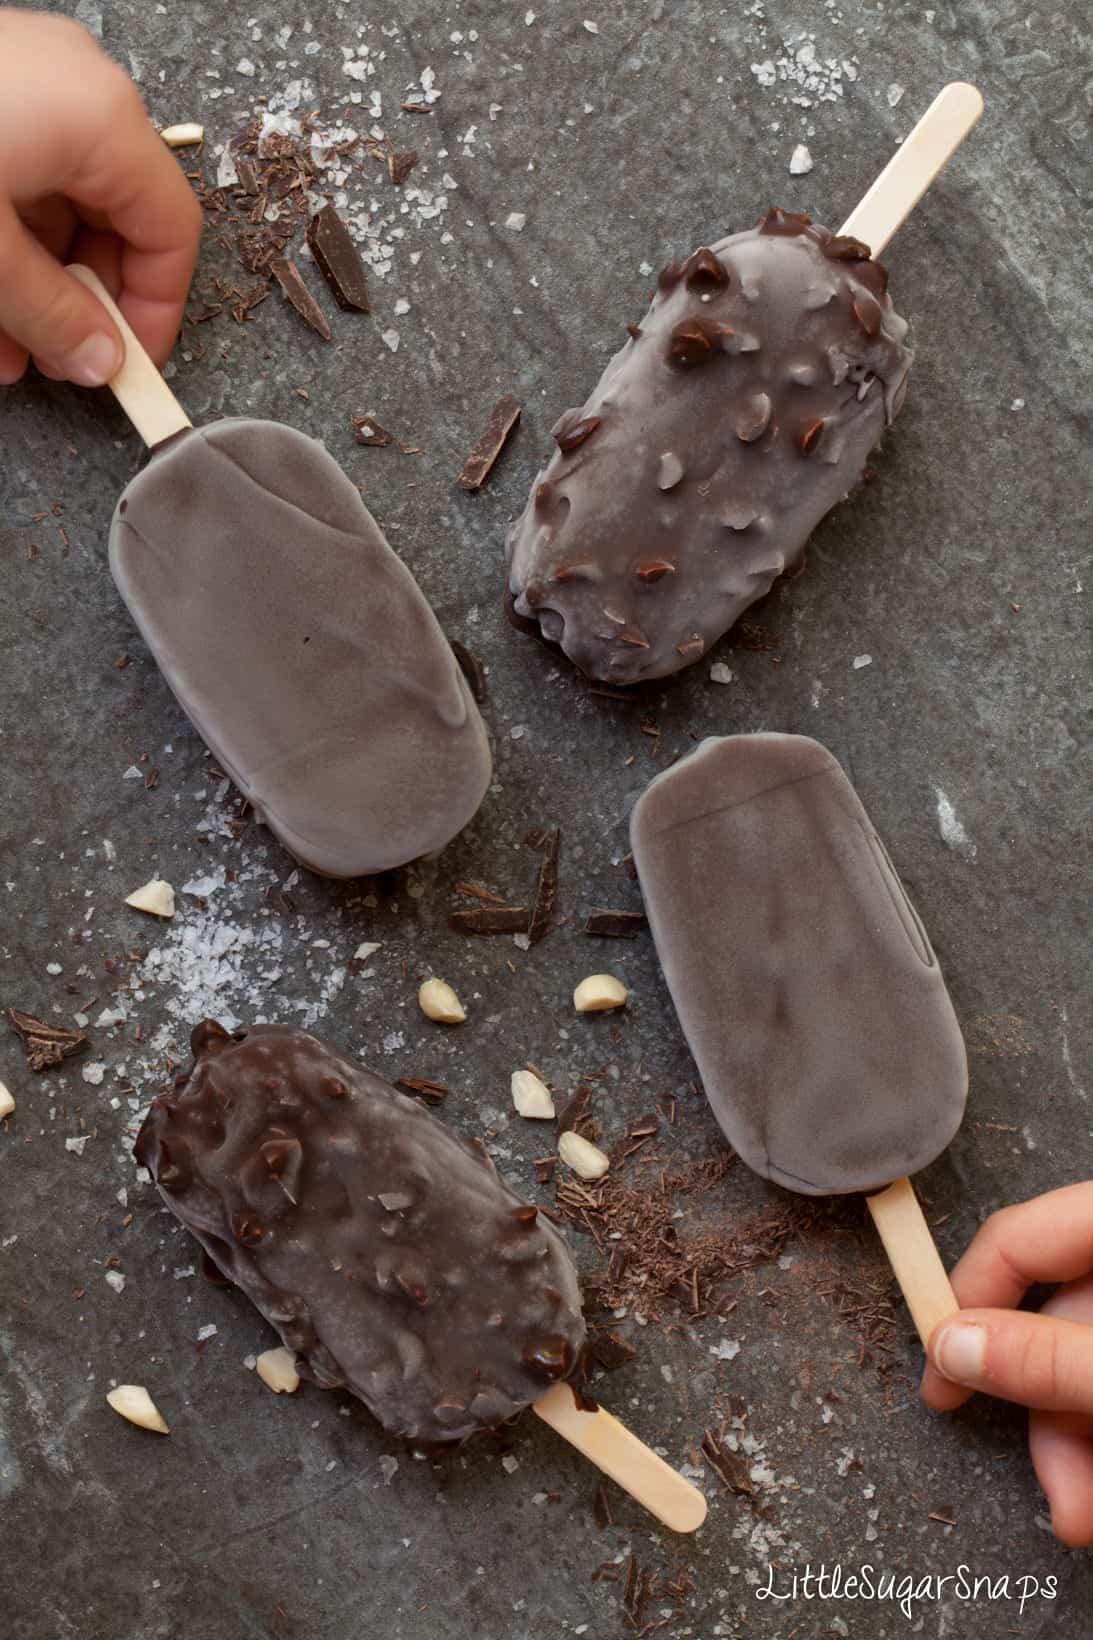
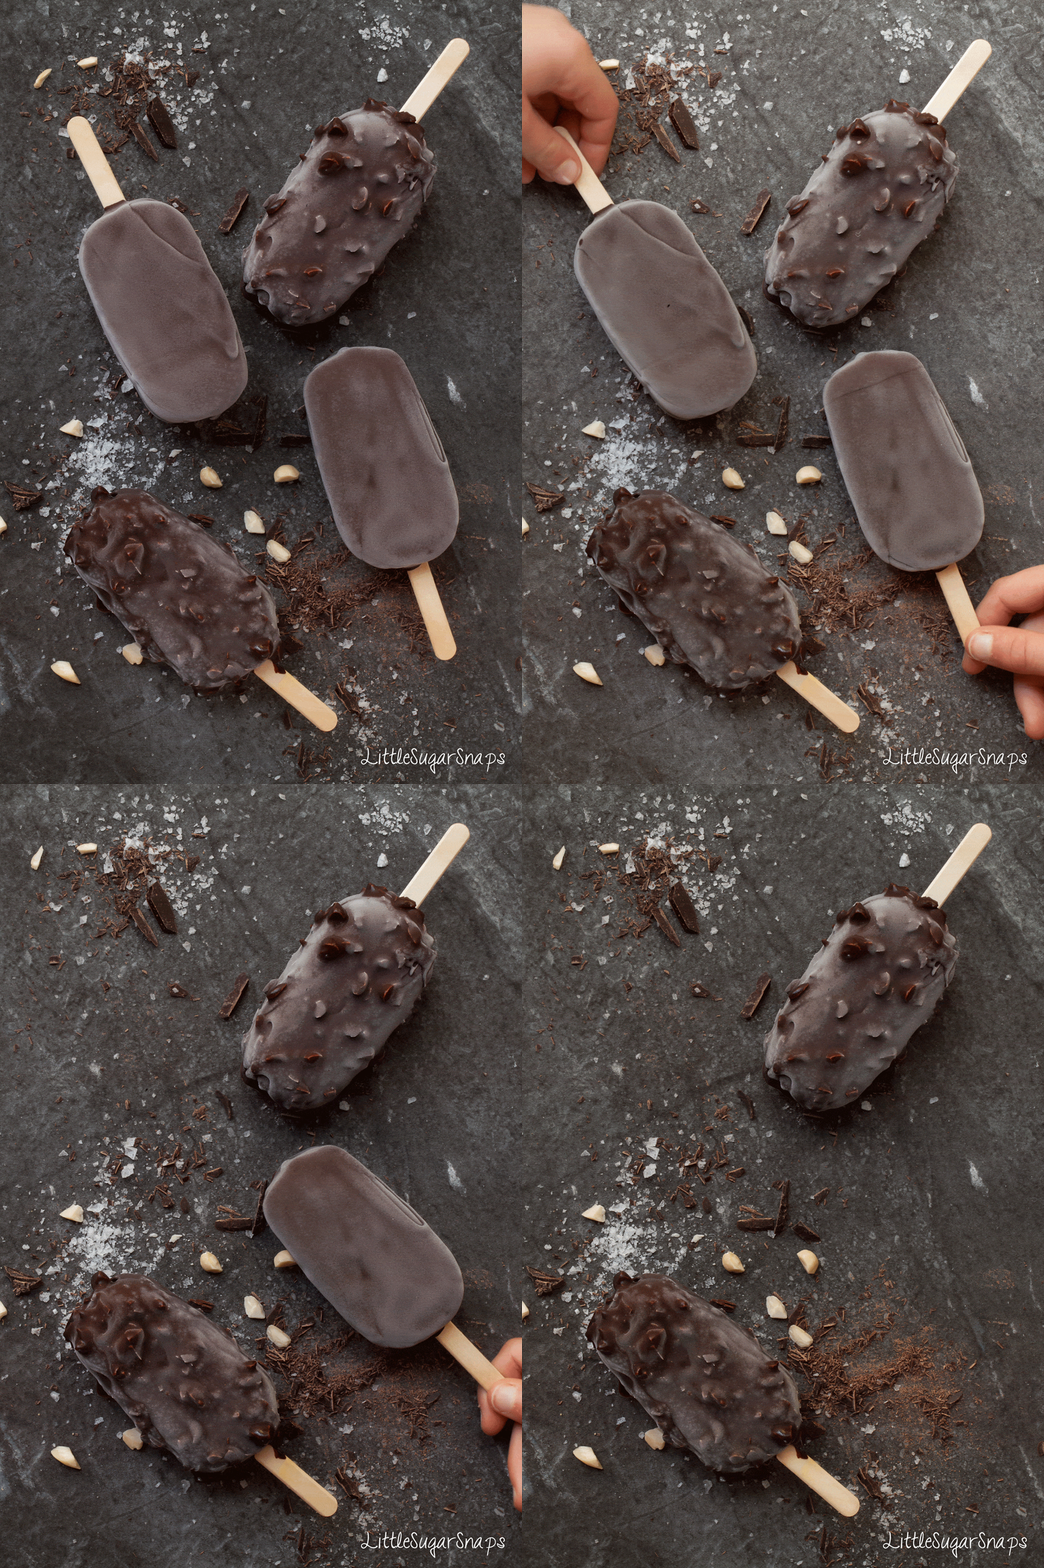
These Salted Caramel Ice Cream Bars are ultimate summer luxury – the crisp and crunchy chocolate shell hides a smooth and creamy, flavourful ice cream. Customise with dark, milk or white chocolate and add almonds or peanuts if desired.
This post may contain affiliate links. As an Amazon Associate, I earn from qualifying purchases.
What could be better than salted caramel ice cream?
Salted caramel ice cream frozen on a stick and covered in crisp & crunchy chocolate of course.
Back when I was growing up the selection of ice cream bars on offer was relatively limited. Choc ices or mini milks were generally the order of the day. Only if I was on a particularly lucky run would I manage to swindle a Cornetto out of my parents. As for making our own ice pops? That ritual consisted of freezing fruit cordial and water. With somewhat dubious success… One suck and all the fruit concentrate would be in your mouth, leaving a stick of faintly coloured ice left behind on the stick.
Fast forward a couple of decades and there seems to be an ever expanding choice of ice cream bars popping up in shops. And my skills in the homemade department have thankfully improved.
Armed with plenty of shop-bought inspiration, I decided it was time to give homemade Ice Cream Bars my full attention. At the heart of these Ice Cream Bars is my salted caramel ice cream which I shared with you just a couple of weeks ago. Whether you choose to go with dark, milk or white chocolate to smother your bars in is your choice. And they are delicious with or without chopped nuts mixed into the chocolate.
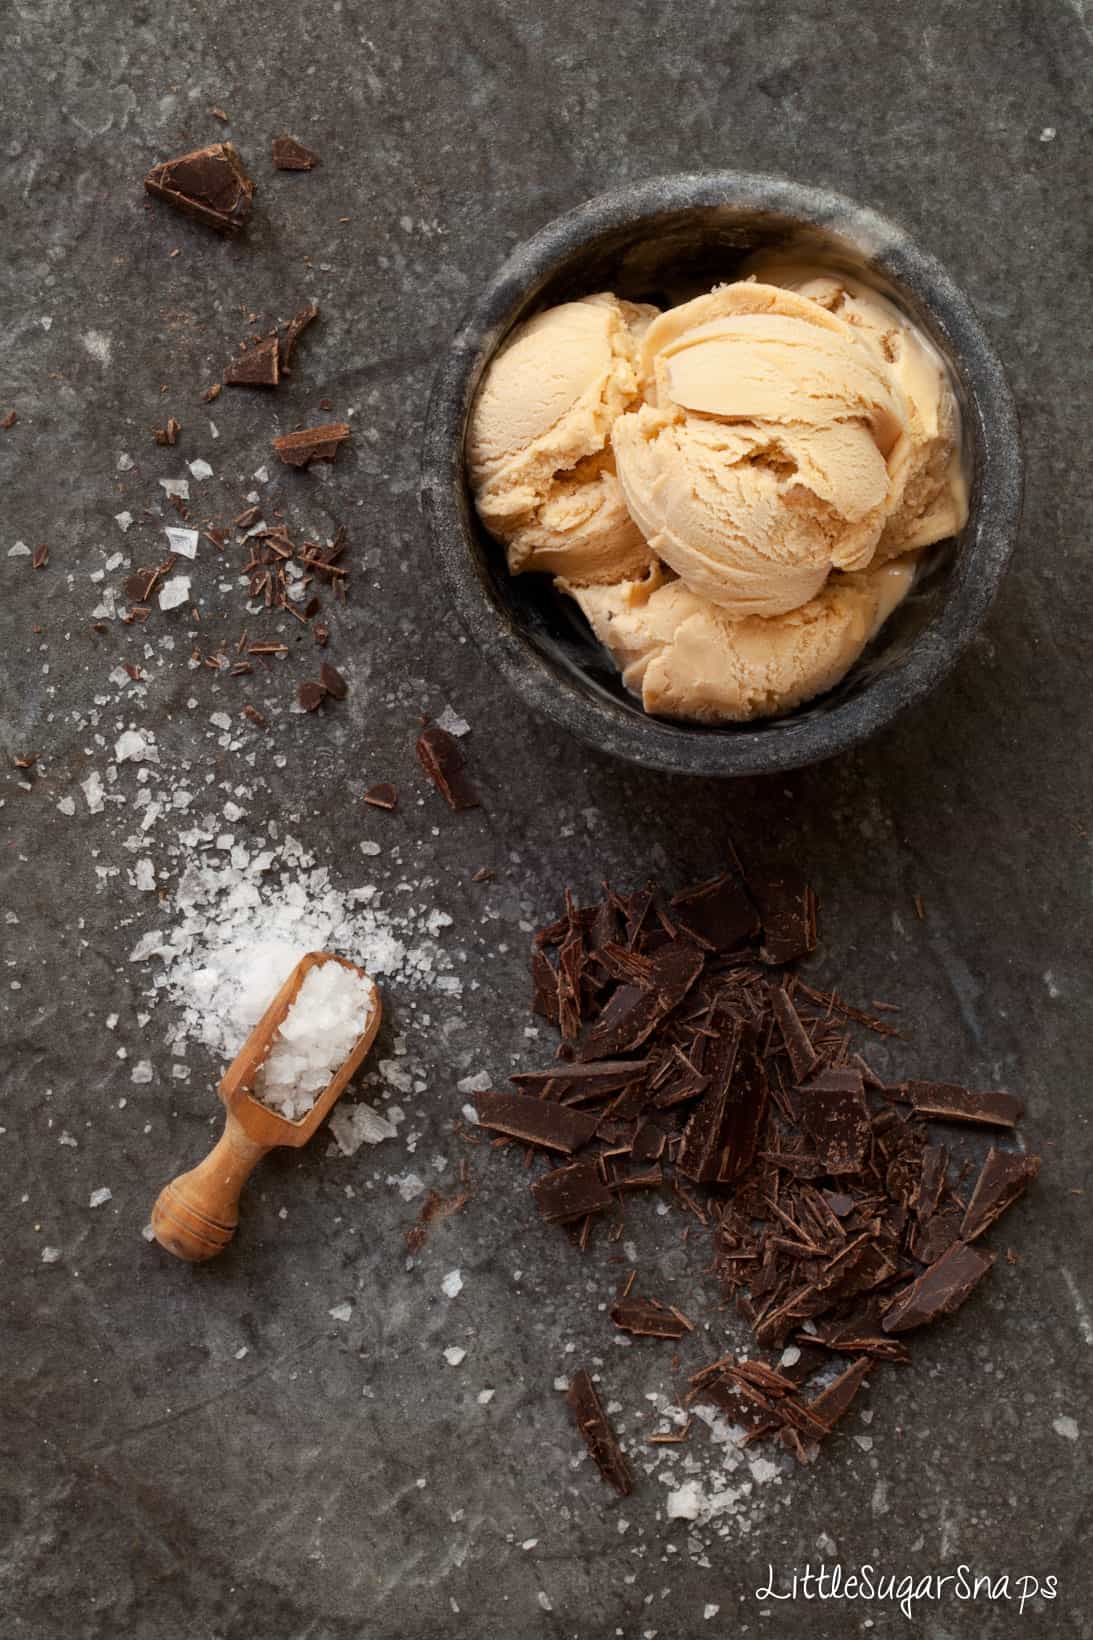
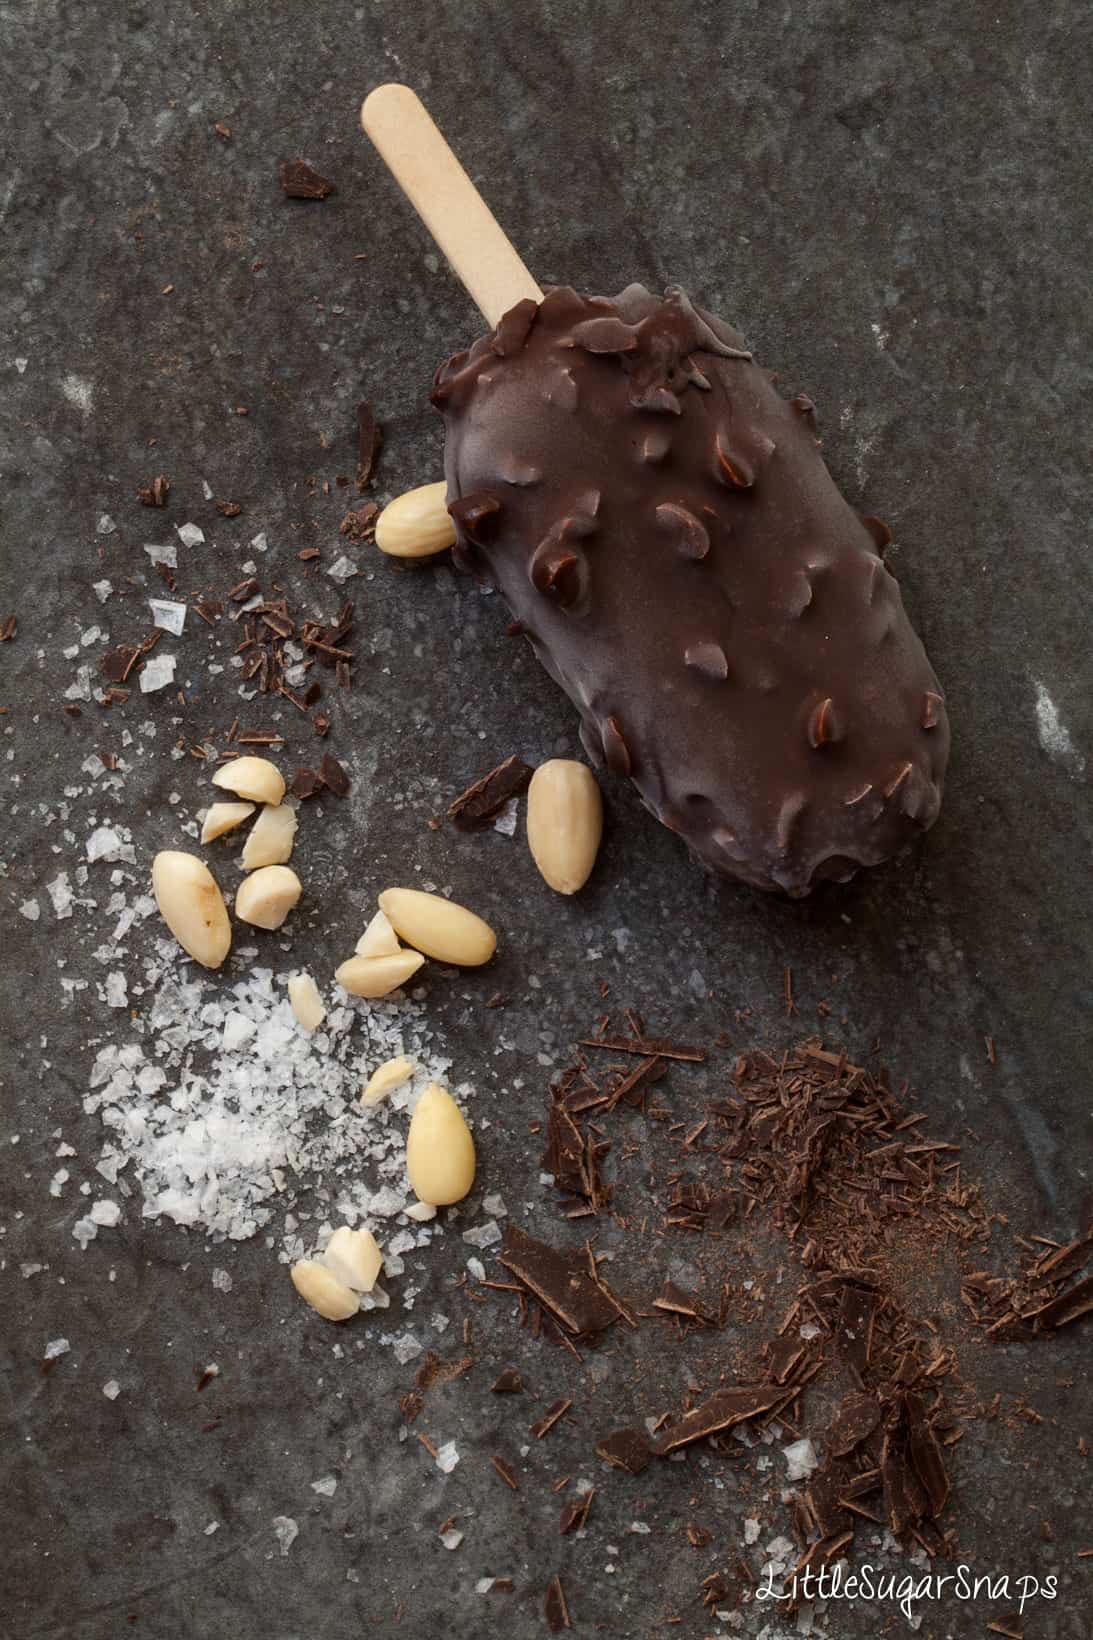
My preference is for a dark chocolate shell. The richness from the chocolate seems to balance the sweet yet salty flavour of the ice cream perfectly. And I also loved the extra crunch and savoury element the chopped almonds provides.
My advice is to make the full recipe, fill your moulds and then enjoy the remaining ice cream just as it is. But if you insist on showing restraint, then I’ve included a scaled-down version below. It’s suitable for 5 or 6 ice cream moulds, dependent on their size.
Talking of moulds, for years I’ve struggled with plenty of awkward plastic ones. The type that have to stand up in the freezer whilst the filling sets. The ones that have those plastic lids (with the sticks attached) that fly off as soon as you try to move the contraption to the freezer. And don’t get me started on trying to remove those frozen treats from the moulds. You probably know the type of mould I’m on about.
Well, this year I invested some birthday money in some new silicon moulds by Silkomart. They are a revelation. By far the easiest moulds I’ve worked with. They lay flat, do not have fiddly lids and the ice cream unmoulds easily from them. I bought the regular sized moulds, which these Ice Cream Bars are made in and the mini moulds, with are dinky but great for when you want to vaguely behave.
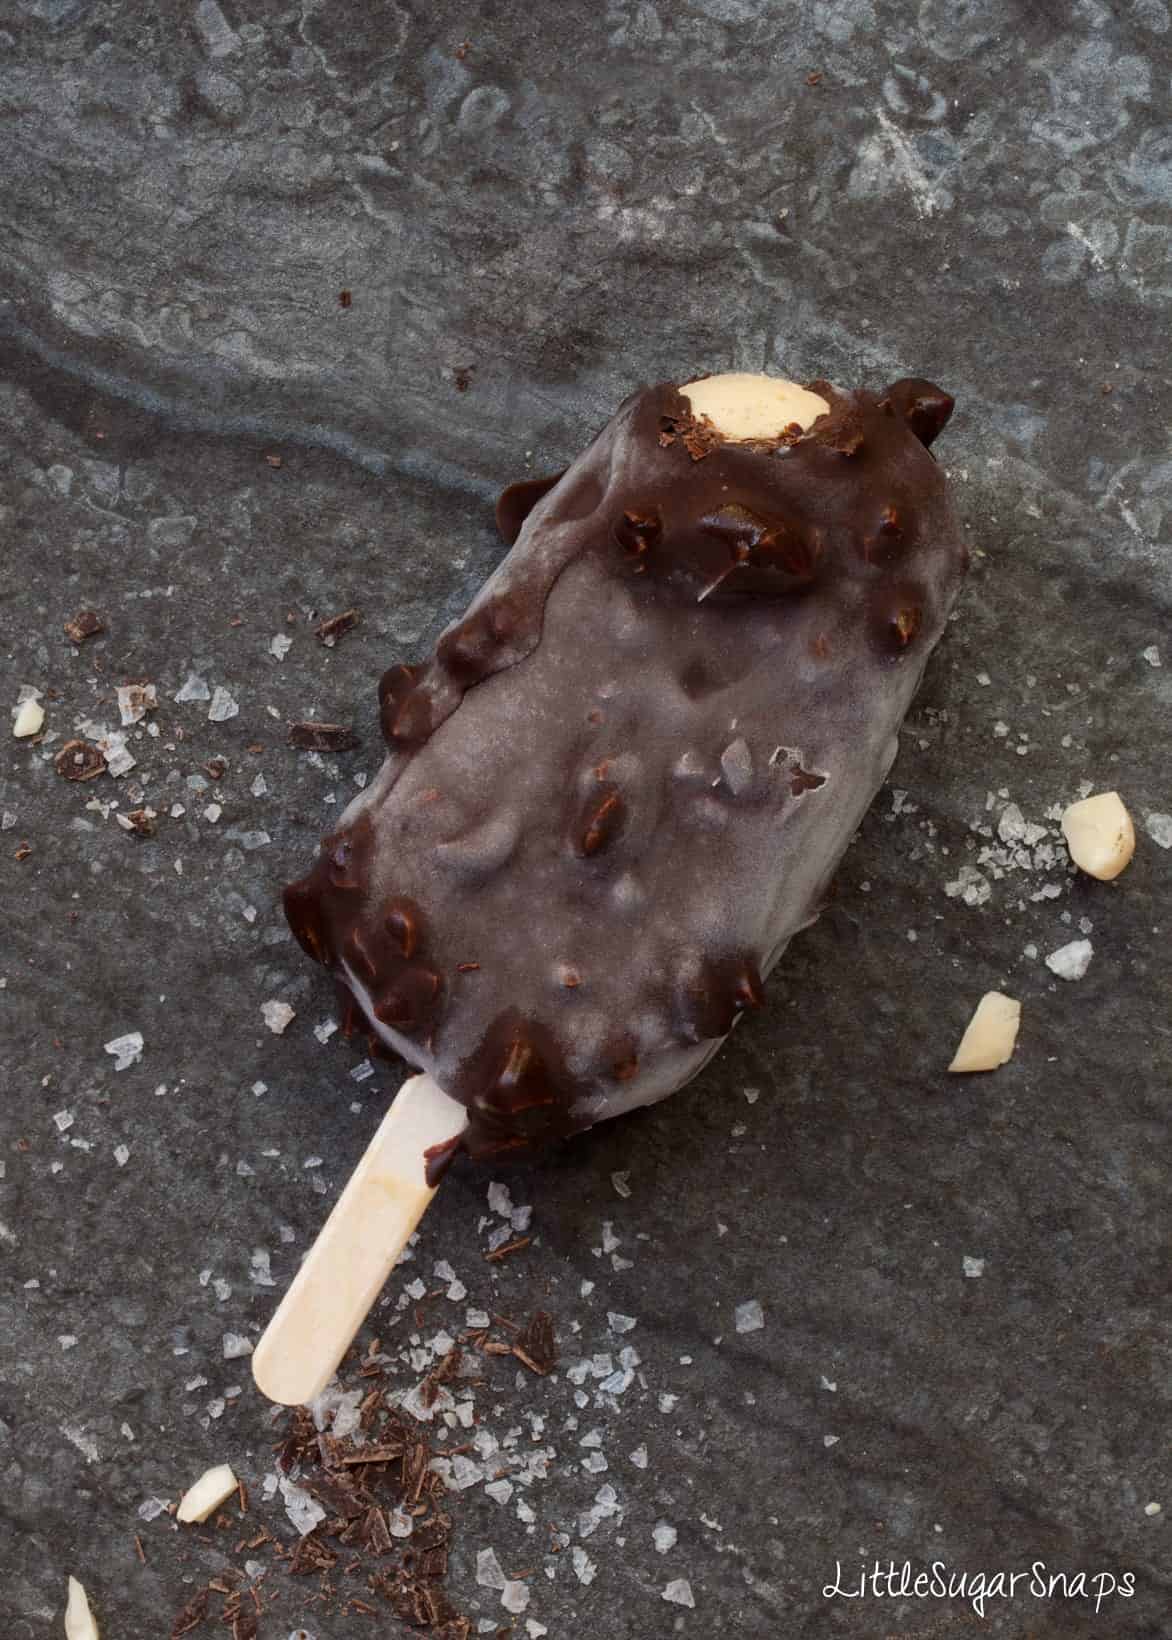
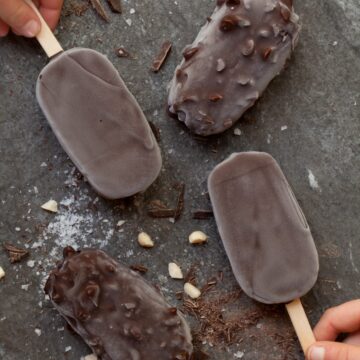
Once unmoulded, I was surprised at how easy it was to cover the ice cream bars in chocolate. I honestly thought I would end up in a melted-ice-cream-mingled-with-chocolate kind of mess, but I did not. There’s a touch of oil added to the melted chocolate, which helps the chocolate shell set hard and fast. I chose to spoon the chocolate over the bars, but using a shallow bowl and dipping the bars into it would also work well. Once set this shell is crisp and crunchy. It is the perfect contrast to the smooth and creamy ice cream lurking inside.
So here’s to summer and plenty of ice cream.
Chocolate Dipped Salted Caramel Ice Cream Bars
Ingredients
- 100 g/ ½ cup Caster sugar
- 4 teaspoon Eater
- 200 ml/ ¾ cup + 5tsp Double (heavy) cream
- 200 ml/ ¾ cups + 5tsp Whole milk
- 4 Egg yolks
- ½ teaspoon Vanilla extract
- 1 tablespoon Caster sugar
- ¾ teaspoon Sea salt crystals
To Cover
- 300 g/ 2 cups Chocolate – chopped (I used dark but milk or white would also be fine)
- 1 ½ tablespoon Favourless oil (such as groundnut)
- 50 g/ ⅓ cup Almonds or peanuts – chopped (optional)
Instructions
Make the Caramel Sauce
- Put the water into a heavy based saucepan. Spread the sugar on top in an even layer
- Set the pan over a medium heat and allow the sugar to gradually melt. As it melts you can gently swirl the pan a couple of times to ensure the caramel cooks evenly, but do not stir it
- Meanwhile put the sea salt into a pestle & mortar & crush lightly
- Once the sugar has melted, the caramel will begin to darken. Continue to let it cook until it reaches a lovely mid amber colour – but keep a close eye on the caramel as it can burn easily. Let it go darker for a more intense, almost burnt flavour
- Add ¼ of the cream and the salt, taking care as it can bubble up and is extremely hot. Mix with a small handheld whisk until fully incorporated. Add another ¼ cream, stir well then add the remaining cream, whisking until thoroughly blended
- Remove from the heat
Make the Custard Base
- Put the milk into a medium saucepan and heat to just below boiling
- Meanwhile beat the sugar, vanilla and egg yolks with an electric beater until pale and thick (about 3 minutes)
- Gradually pour the hot milk onto the egg mixture, beating constantly
- Pour the custard into the saucepan, along with the caramel and stir well. Cook on a low heat, stirring constantly until thickened. It is vital to heat slowly and stir constantly to avoid the custard splitting
- Once the mixture coats the back of a spoon, take off the heat, cover with a layer of clingfilm (to stop a skin forming), let cool, then chill for 4 hours (or overnight)
Making the ice cream using an ice cream maker
- Pour the custard into your ice cream maker and churn according to the manufacturer’s instructions
- Carefully transfer the ice cream into your moulds and place in the freezer until hard
Making the ice cream by hand
- Pour the ice cream into a suitable freezer-proof bowl, cover and put it in the freezer for 1-1 ½ hours. The sides should be beginning to freeze, but the centre will be soft and slushy
- Remove from the freezer and, working quickly, use electric beaters to beat the ice cream until the ice crystals are uniform. Cover and place back in the freezer
- Repeat this process 4-8 more times at 1 hour intervals – the better the texture will be the more the process is repeated
- When ready, transfer the ice cream into your moulds and leave for several hours to finish freezing
Dipping in Chocolate
- Melt the chocolate and oil in a heatproof bowl suspended over a pan or barely simmering water. Ensure the water does not touch the base of the pan
- Once melted, remove from the heat, stir in the nuts (if using) and let cool for 10 minutes
- Line a baking tin or board that will fit inside your freezer with baking parchment
- When the chocolate is ready, remove the ice cream bars from the freezer. Unmould one bar and, working quickly, dip the ice cream into the chocolate to coat it completely (or use a large spoon to pour the chocolate over the ice cream. Allow any excess chocolate to drip back into the bowl before laying the bar onto the greasproof paper
- Repeat this process until all bars are covered
- Return to the freezer to firm up for an hour, then wrap each bar in greaseproof parchment until ready to eat
- Eat within 2 weeks

Michelle - Giraffes Can Bake
I sooo need to try making these! Magnums are probably my favourite iced treat (of course, we can’t call them that around Americans… doesn’t exactly conjure up the right picture haha!)
I need to check out those moulds too
Jane Saunders
hahahaha. I very nearly didn’t realise the difference in meaning and was all set to label them Magnums. You will love the moulds – they are well worth the investment.
Julie
These bars look amazing and are just perfect! I’ve got to try your chocolate coating recipe. Last time I tried dipping it came out looking like a train wreck!
Jane Saunders
A train wreck is just what I thought I would get – I was pleasantly surprised. Just ensure you let the chocolate cool for a few minutes and the ice cream is nice and firm. Good luck.
Pamela (BrooklynFarmGirl)
These ice cream bars are perfection! I just love anything with salted caramel, this is a must try 🙂
Jane Saunders
Thanks Pamela
Natalia
These look so perfect! And delicious too! Never tried the silicon mouldes myself, but after reading your post I’m thinking of investing in some. Love your pictures!
Jane Saunders
Thanks Natalia – those moulds make thew world of difference – slightly pricey but worth it to avoid perpetual frustration 😉
Brandi Crawford
These look absolutely amazing and perfect for summer! This also looks like a recipe that I can follow. I may have to try these!
Jane Saunders
Thanks Brandi. I’ll be making some more very soon.
Silvia
YUM!! This is the ultimate summer pleasure!! 🙂
Jane Saunders
Thanks Silvia. Sadly I’m all out of supplies and it it HOT today!
Nicola @ Happy Healthy Motivated
I’ve tried to make chocolate coated ice cream bars like this loads of times, but they never turn out as perfect and beautiful as yours. Fingers crossed I have more luck with your recipe!
Jane Saunders
Ah, I hope you have success with these. Just make sure your ice cream is nice and firm before dipping – if it’s a hot day just pull a couple out of the freezer at a time to dip.
Emily
What a stunning recipe, I can’t think of anything better than caramel ice cream with chocolate!
Jane Saunders
Thankyou Emily