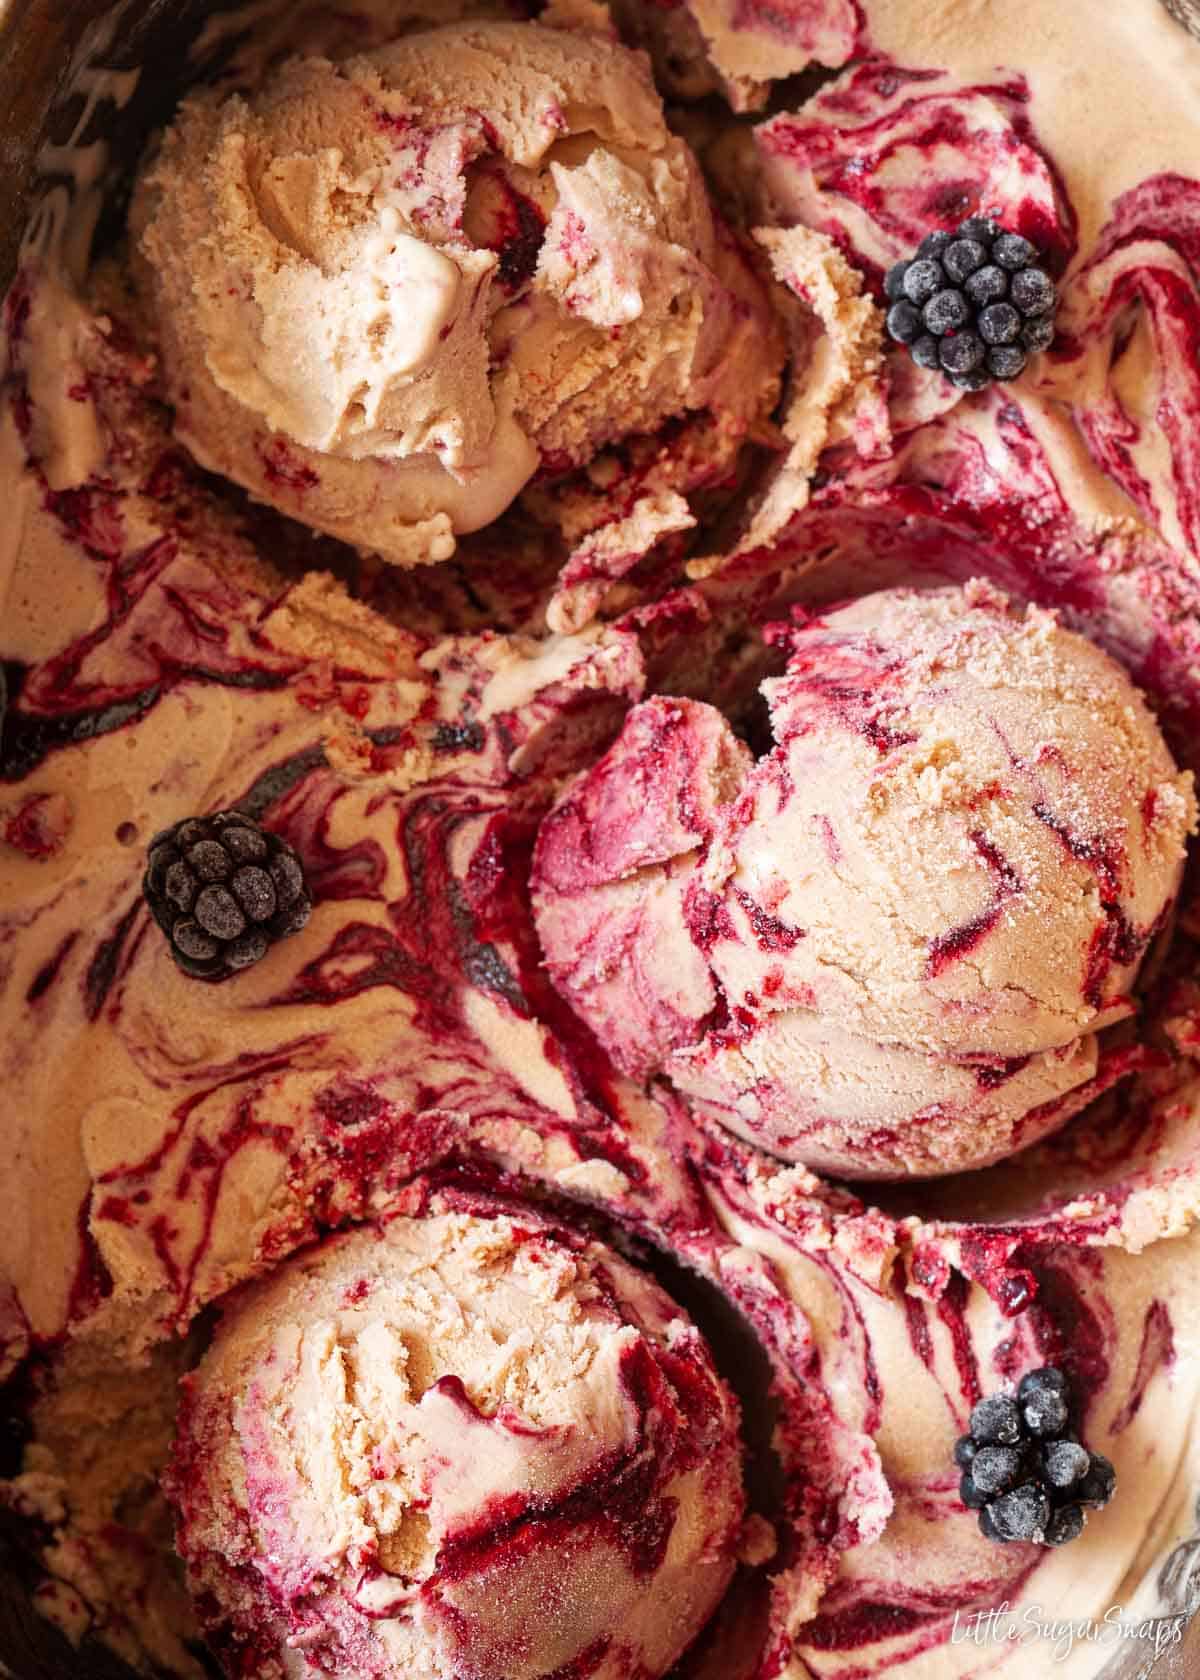
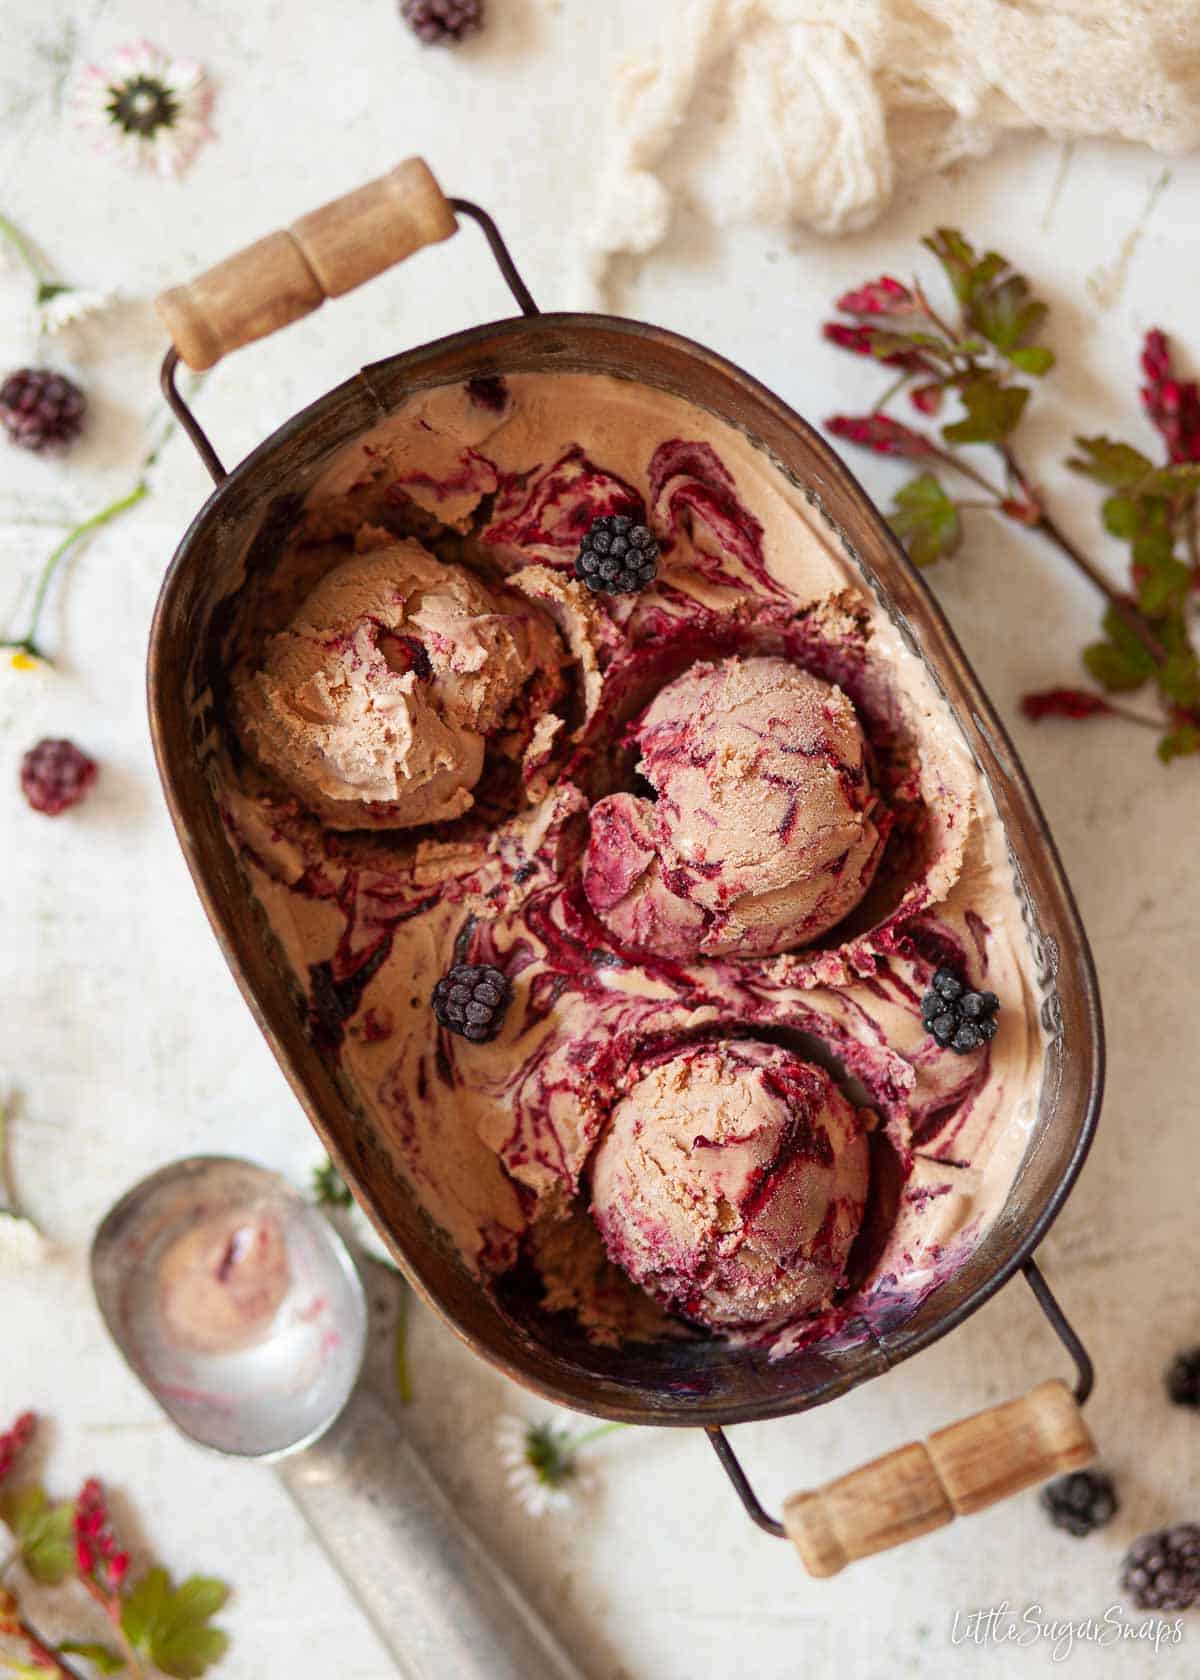
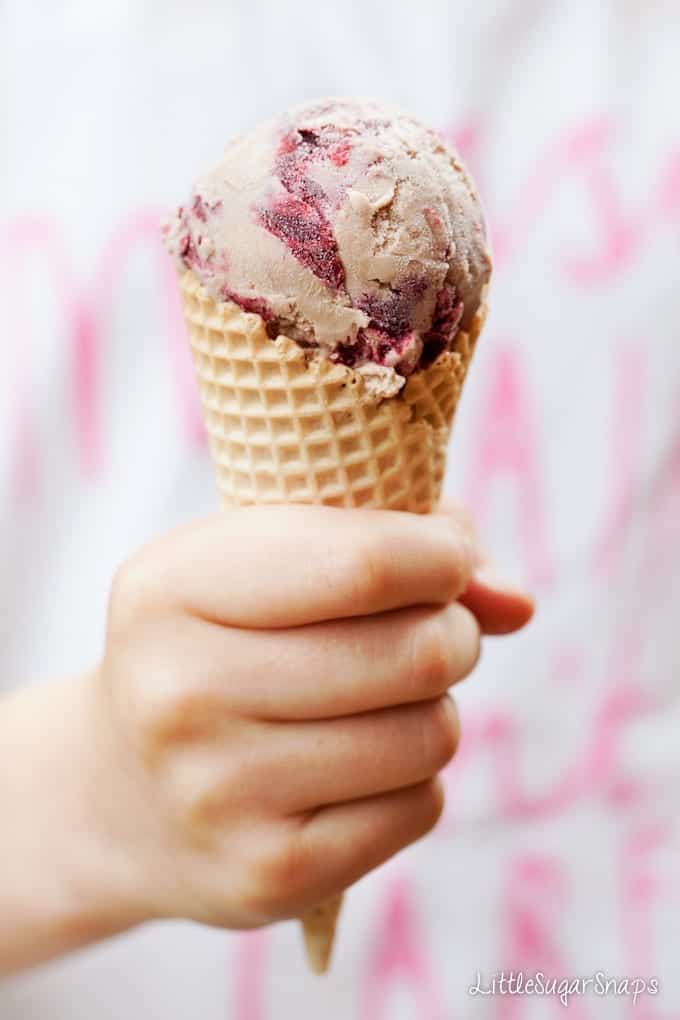
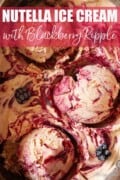
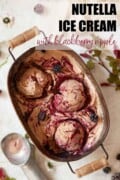
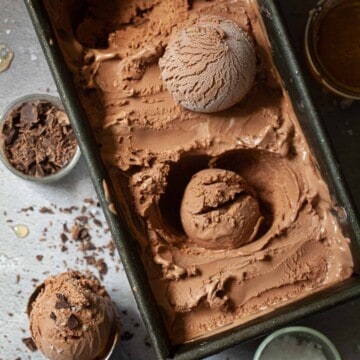
This homemade Nutella ice cream is candy for your eyes as well as your tastebuds. Notes of milk chocolate and hazelnut combine with punchy blackberry ripple sauce in this divine creation.
Try some in a chocolate-dipped ice cream cone or serve it with a warm slice of triple chocolate brownie.
Want to Save This Recipe?
Jump to:
What do you get if you cross Nutella ice cream with blackberry ripple ice cream? Only one of the best fruit and chocolate combinations around in frozen form.
And the good news is that this spectacular Nutella ice cream recipe can be made with or without an ice cream maker.
This fruit rippled version of homemade Nutella ice cream is fun yet sophisticated, with a flavour no right-minded adult or child could refuse. Treat yourself to a scoop and head to your favourite sunny spot.
What makes this ice cream so special
What makes this Nutella chocolate ice cream so good is all down to the combination of flavours involved:
- Milk chocolate – using Nutella in place of chocolate means that this ice cream is not too richly flavoured with chocolate. In fact, it’s brazenly easy-going – think of the subtlest, creamiest milk chocolate ice cream and you’ll be on track.
- Hints of hazelnuts – they’re lingering, for your tasting pleasure.
- Fruity – rippled through this lovable chocolate base is a sweet, sharp & vibrant blackberry sauce which really does liven up the base flavour of this homemade Nutella ice cream.
- Creaminess – clotted cream replaces double cream to create an ice cream that is disarmingly rich – and doesn’t clotted cream ice cream with Nutella just sound like a fantastic creation?
Technically, you could leave out the blackberry ripple for a straight Nutella ice cream recipe. But that dark & fruity purple streak adds a blast of tart refreshment and it also makes this ice cream especially easy on the eye.
Have you come across my malted vanilla ice cream with chocolate chips and raspberry ripple? It’s extravagantly fabulous. For simpler days try some roasted pineapple ice cream or blackcurrant ice cream.
Ingredients notes
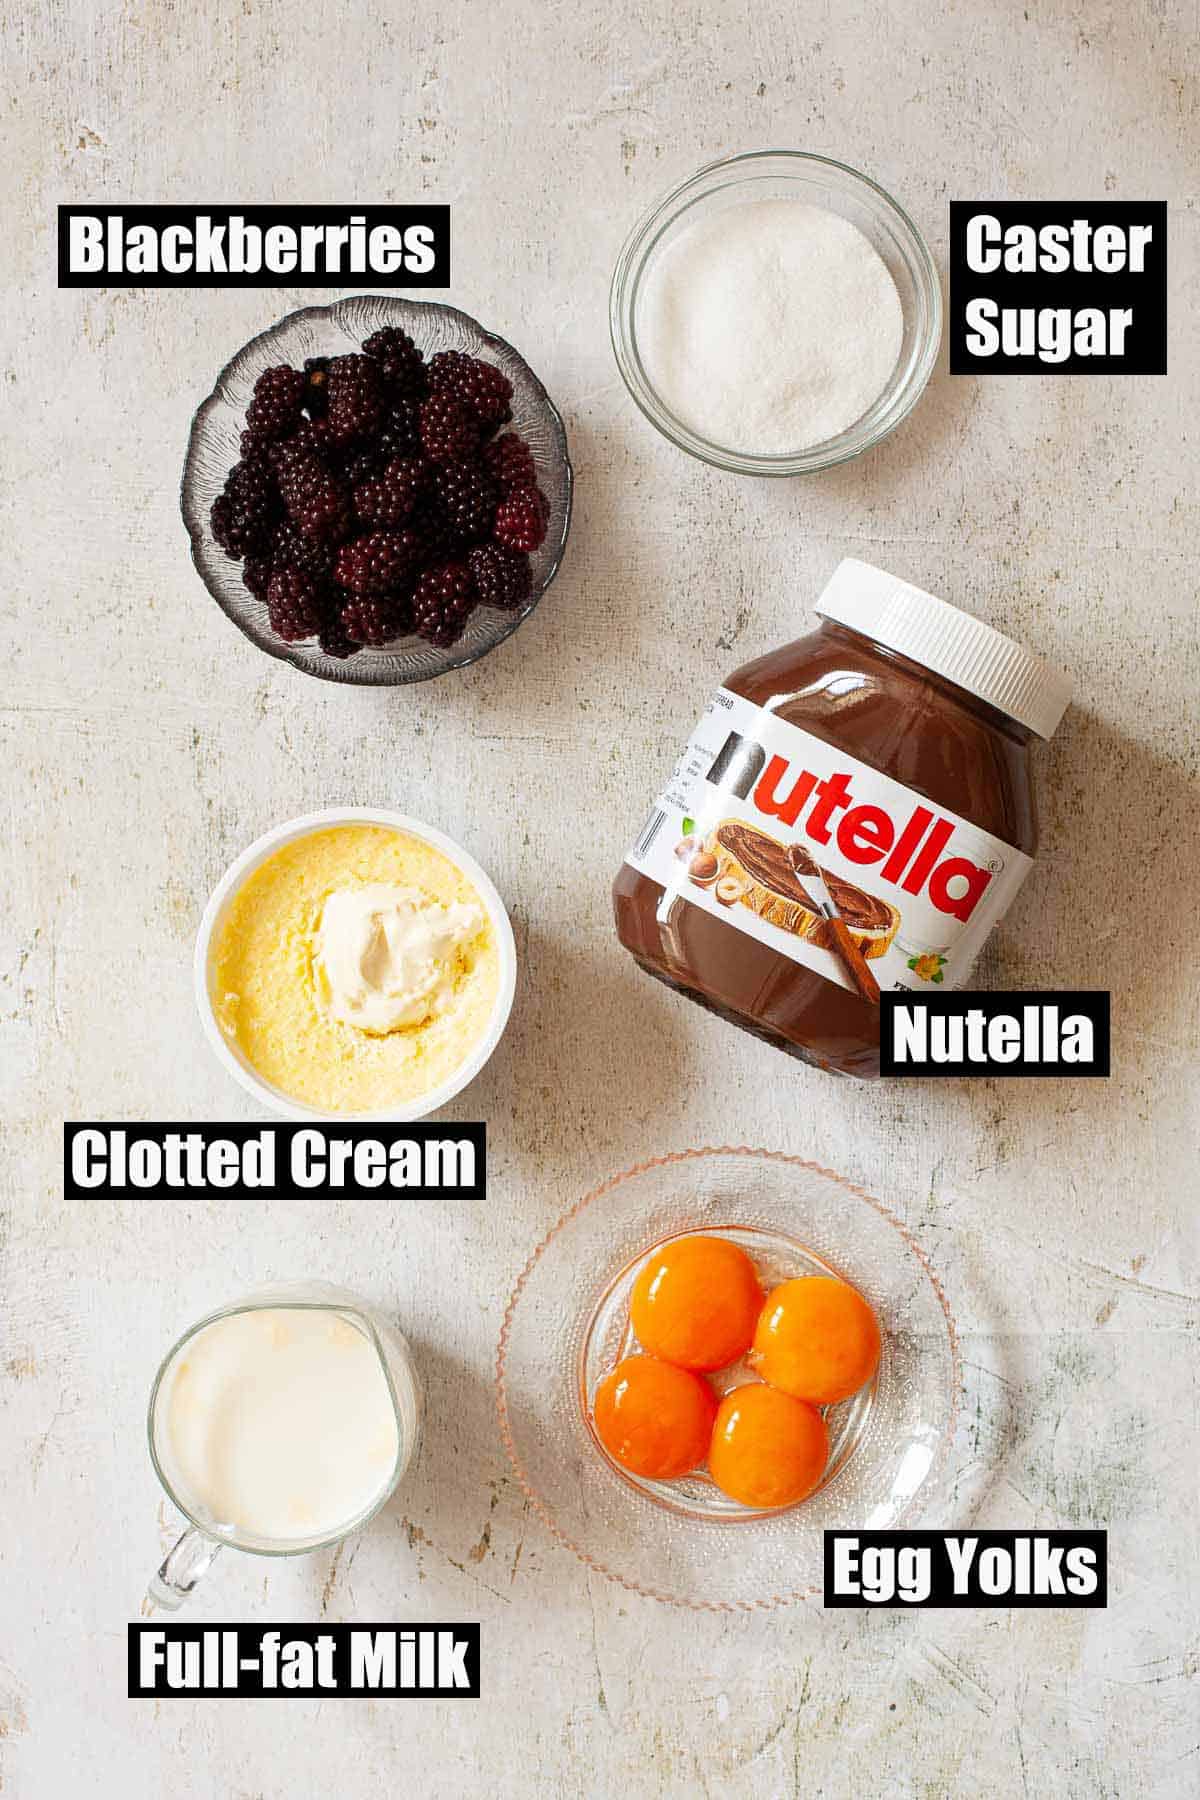
Nutella: this is arguably the most well-known chocolate and hazelnut cream around. Conceived by Ferrero in 1964 it’s a seemingly universally popular sweetened hazelnut cocoa spread. Feel free to substitute other chocolate and hazelnut spreads in its place if desired.
Egg yolks: these not only help to thicken the custard base, but they also add richness and smoothness to your ice cream. Generally speaking, the more egg yolks are used, the richer and creamier the ice cream will be.
Milk: always use whole (full fat) milk – this is intentionally a full-on creamy ice cream affair.
Blackberries: these deliciously tangy berries are the ideal partner to the creamy chocolate ice cream in this recipe. You can use fresh or frozen berries.
Clotted Cream: this has the highest fat content of all creams, at around 55% minimum. This is a decadent, luxury ingredient that lends superior creaminess to this homemade Nutella ice cream. You can use double cream for a slightly less rich version if you prefer (or if you struggle to find clotted cream).
Confession: I have certain food obsessions stemming from cherished memories – clotted cream is one of them. It always makes me think of a dear friend who I’ve known since I was six years old. She used to take me for days out in Derbyshire, sometimes indulging me in a cream tea. Crazy little thing that I was back then, I’d pass up the tea in favour of a glass of ice-cold milk – heavens!
Step by step instructions
There is nothing too complicated about making this Nutella chocolate ice cream but, like all quality ice cream recipes, it takes a few steps and a little time. There are 3 stages:
- Prepare & chill the blackberry sauce.
- Make & chill the custard base.
- Churning.
This Nutella ice cream can be churned using an ice cream machine or by hand. I’m giving instructions for both methods – hurrah.
Make the Blackberry Sauce
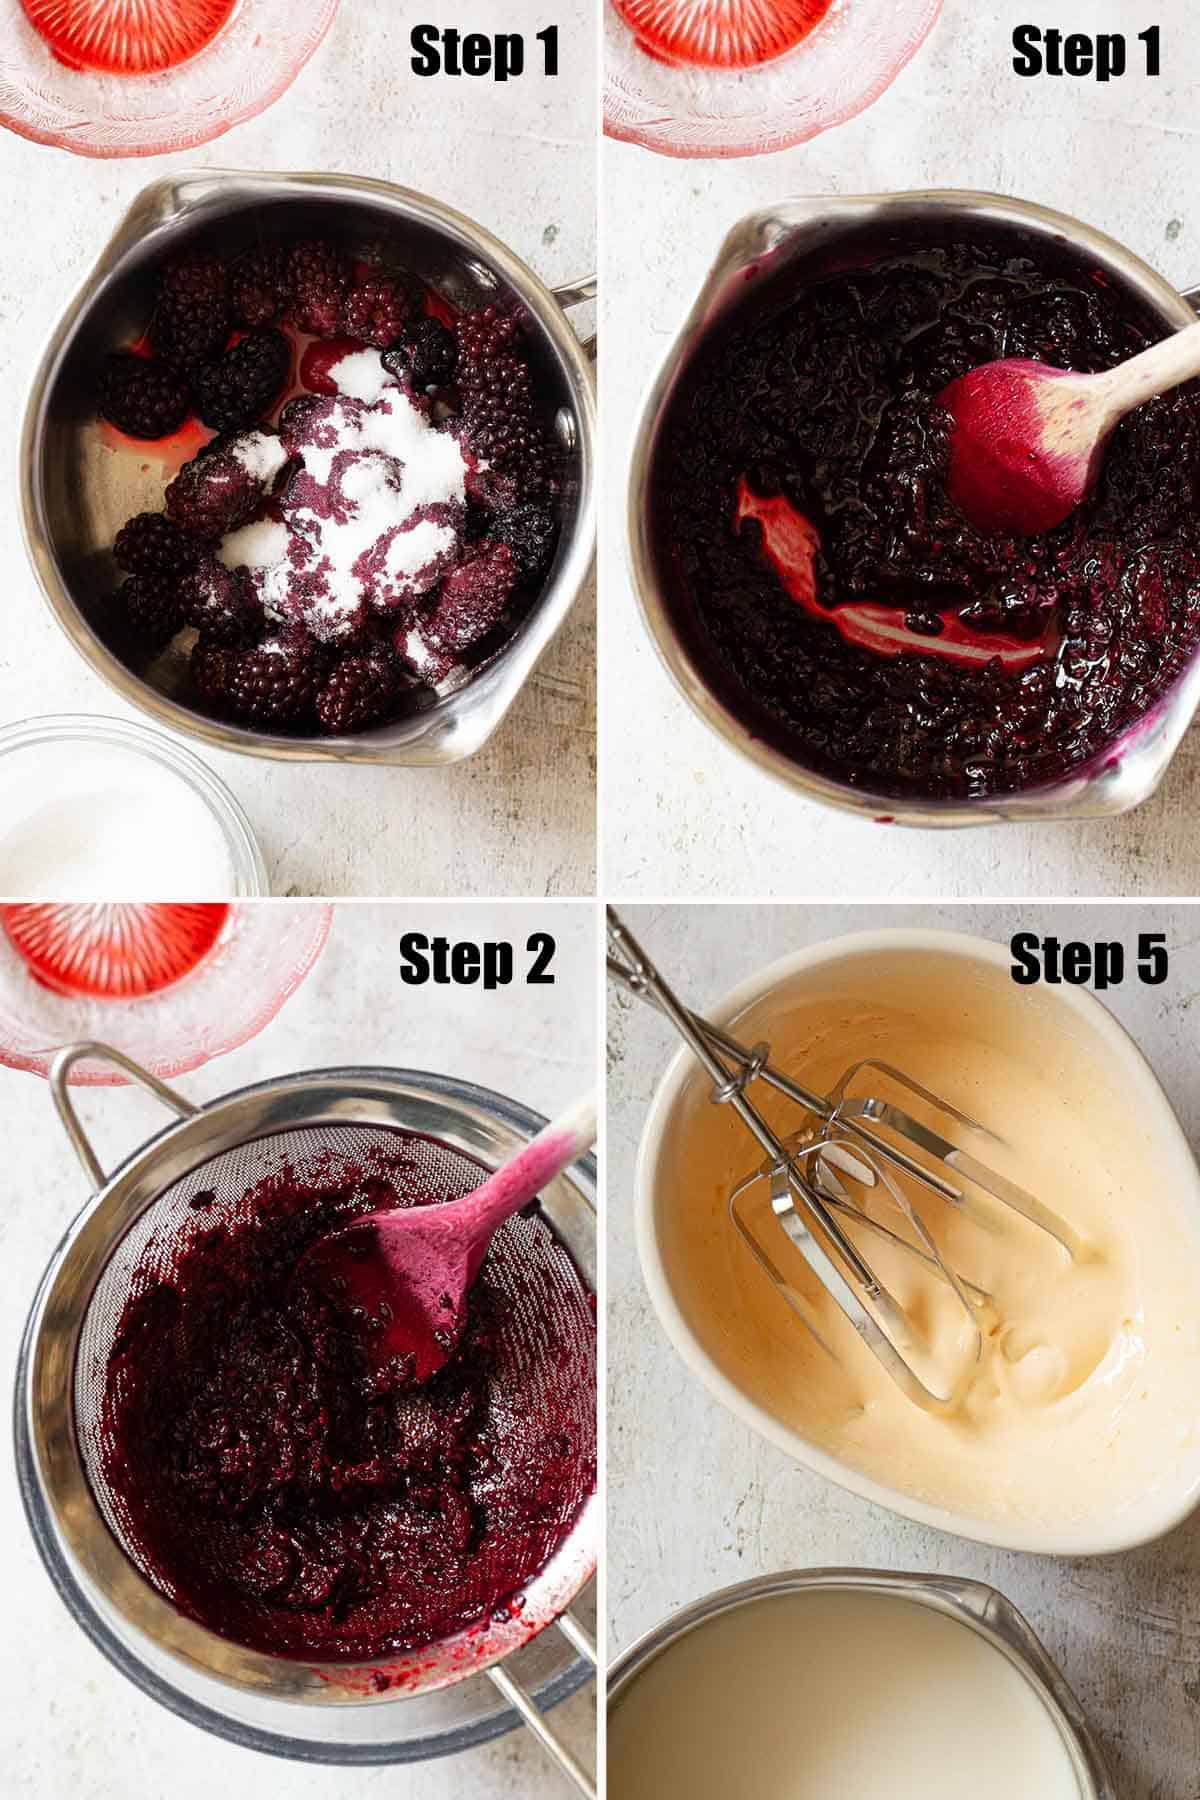
- Put the blackberries and sugar into a small saucepan and cook gently, stirring frequently, until the blackberries begin to break down. Keep on cooking until the fruit looks thick and jammy.
- Push the sauce through a sieve to remove the seeds. Discard the seeds.
- Allow the sauce to cool completely, then cover and chill.
Make the Custard
- Heat the milk in a medium-sized pan to just below boiling.
- Meanwhile beat the sugar and egg yolks with an electric beater until pale and thick (about 3 minutes).
- Gradually pour the hot milk onto the egg mixture, beating constantly.
- Pour the custard into the saucepan and cook on a low heat, stirring constantly until thickened. It is vital to heat slowly and stir constantly to avoid the custard splitting.
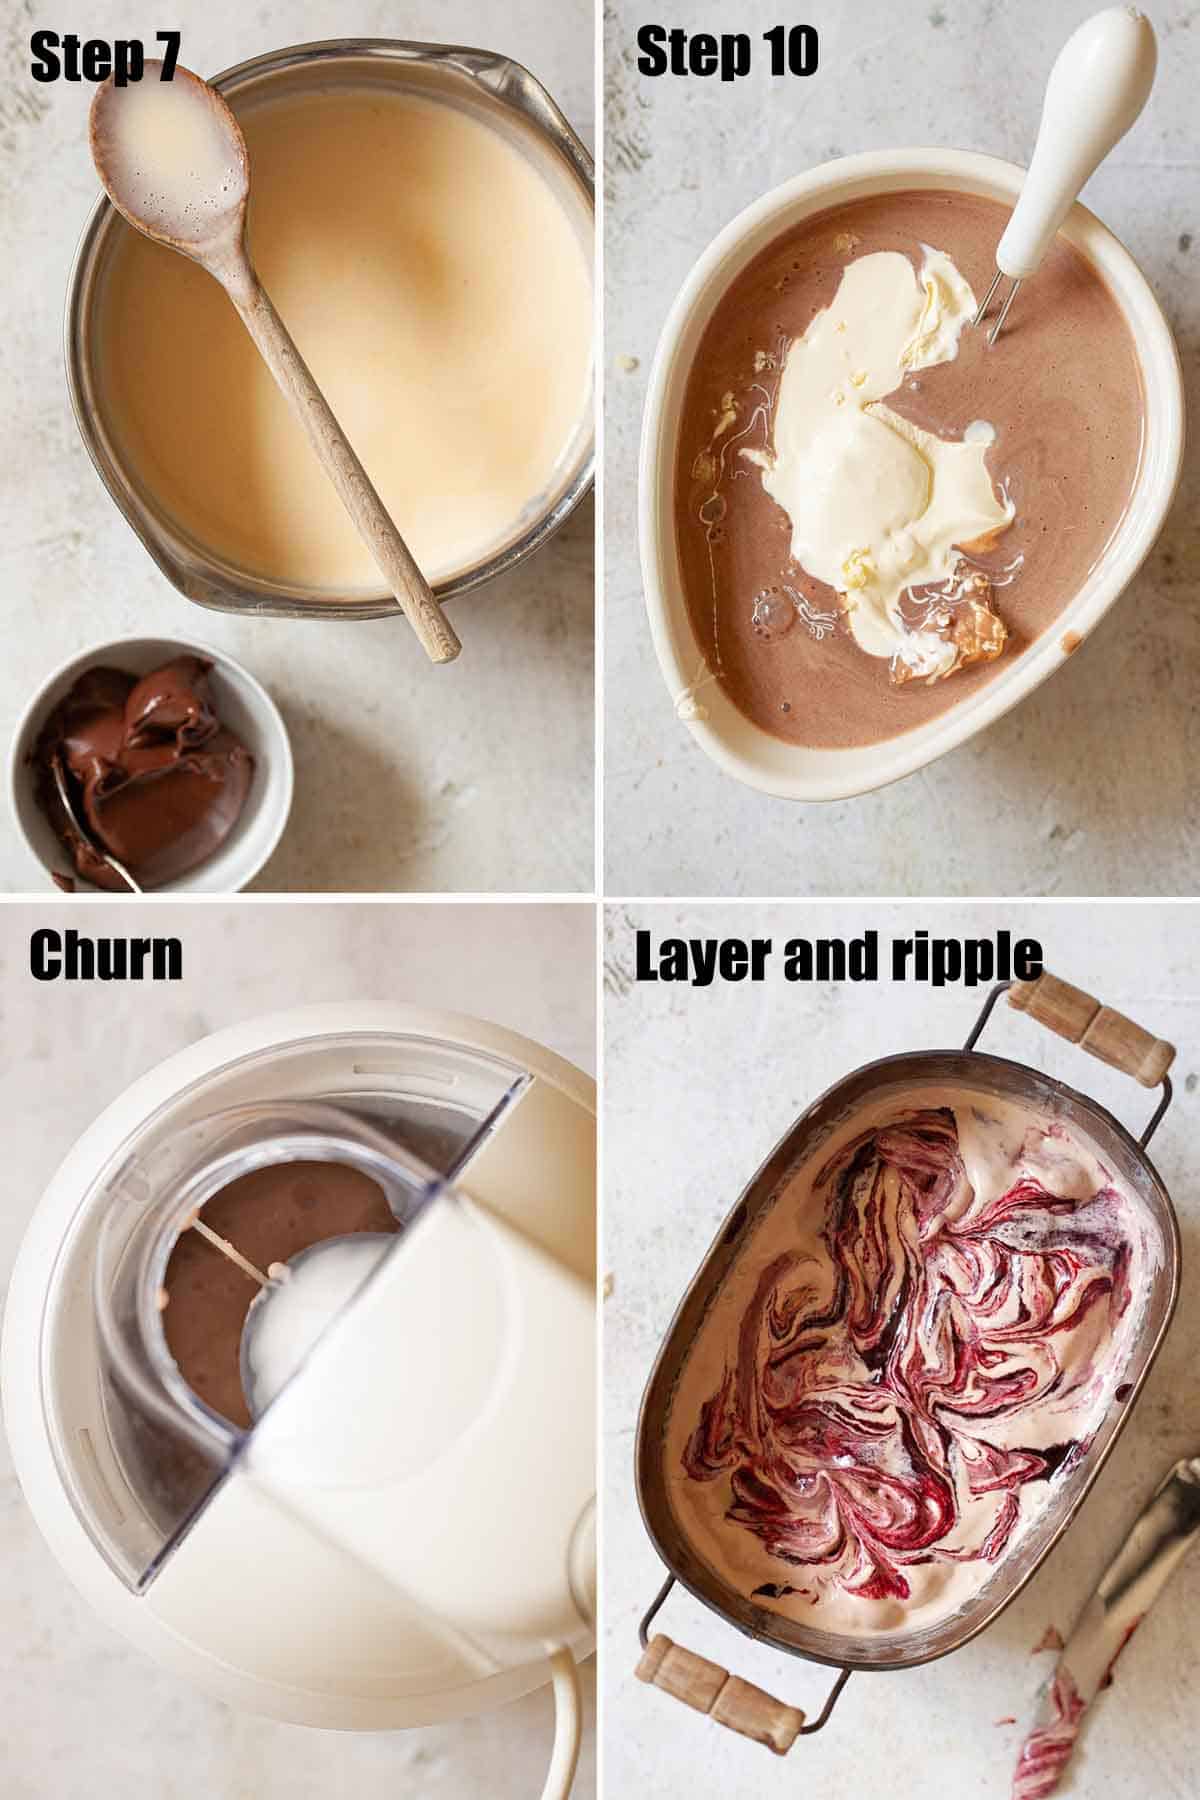
- Once the mixture coats the back of a spoon, take off the heat and beat in the Nutella.
- Cover with a layer of clingfilm (to stop a skin forming), let cool, then chill for 4 hours (or overnight).
- Beat in the clotted cream (or double cream) until relatively smooth – a few small lumps don’t matter (you can sieve the liquid to remove any lumps if desired).
Churning by Machine
If you are lucky enough to own an ice cream maker, follow the method that follows. If you intend to make it by hand, fear not, this is also possible. Scroll to the next section for your relevant instructions.
- Pour the custard into the ice cream maker and churn until the ice cream is the consistency of soft serve.
- Working quickly, transfer ⅓ of the ice cream into a freezer-proof container and spoon ⅓ of the blackberry sauce on top. Add another ⅓ of the custard & blackberry sauce and then a final layer.
- Use a skewer or a blunt knife to swirl the ice cream and sauce together to achieve a rippled effect.
- Cover with clingfilm and freeze until set.
- Remove from the freezer 15 minutes before serving.
Churning by Hand
- Pour the ice cream into a suitable freezer-proof bowl, cover and put it in the freezer for 1-1 ½ hours. The sides should be beginning to freeze, but the centre will be soft and slushy.
- Remove from the freezer and, working quickly, use electric beaters to beat the ice cream until the ice crystals are uniform. Cover and place back in the freezer.
- Repeat this process 4-6 more time at ¾ – 1 hour intervals. Once the ice cream has reached the soft-serve consistency you are ready to swirl through the blackberry sauce.
- Spoon ⅓ of the ice cream into a clean container and dollop ⅓ of the blackberry sauce on top. Add another ⅓ of custard followed by another ⅓ blackberry sauce and then a final layer.
- Using a skewer or a blunt knife swirl the ice cream and sauce together to achieve a rippled effect.
- Cover with clingfilm and freeze until set.
- Remove from the freezer 15 minutes before serving.
Expert tips
Top tip: making the components one day and churning them the next day is my favourite way to make any ice cream. That way I can be sure that everything is well chilled before it goes into the ice cream machine.
- Don’t forget to freeze the ice cream machine bowl sufficiently if your make of machine requires this step. Check your manual for the recommended time – the bowl from my churner needs to be in the freezer for a minimum of 24 hours before it’s ready to use.
- Turn on the motor of the ice cream churner before pouring in the liquid. The bowl is extremely cold so any liquid that comes into contact with it and doesn’t get agitated immediately will freeze firm.
- If you are churning your homemade Nutella ice cream by hand then set a timer to ensure you don’t forget about it and don’t skimp on the amount of times you beat it. Regular attention will ensure your ice cream is as creamy as expected. Simply leaving it to freeze with minimal beating will lead to an icy texture that will not be pleasant to eat.
- Don’t take too long when layering up the ice cream and blackberry ripple – the ice cream will soon turn very soft, so working at a speedy pace is essential.
- A layer of greaseproof paper over the top of the ice cream, once it’s ready for the freezer, helps protect the top from freezer burn and ice crystals.
- To make a version suitable for nut-allergy sufferers swap the Nutella spread for a straight chocolate spread made without nuts.
- This ice cream is vegetarian and gluten-free. It is not, however suitable for a vegan diet.
Frequently asked questions
Yes. Though I would ask you to ensure that your ice cream machine, if you are using one, can handle double the volume (check the manual). If it’s looking like a tight fit don’t do it – your ice cream may not freeze well.
Sadly not. This recipe for Nutella chocolate ice cream has been developed on the basis of it being churned either by hand or machine. Simply pouring it into a container and leaving it to freeze will yield highly unsatisfactory results.
The egg yolks are cooked to around 80C in the custard base, making them safe to eat for the majority of people (test with a digital food thermometer to be certain if you have concerns).
It’s likely that either your custard base was insufficiently chilled or the bowl of the ice cream machine was not frozen for long enough.
I’ve had this happen once or twice when I’ve tried to rush things along. But all is not lost so don’t throw your custard base out. Pop it back in the fridge, clean & refreeze the ice cream machine bowl and try again.
Variations
Should you ever find your senses tiring of the dizzy wonder that is this homemade Nutella ice cream recipe try the following suggestions for livening things up:
- Raspberries: swap the blackberries for raspberries – just make a like-for-like substitution.
- Omit the fruit: leave it out to create a gorgeously smooth and creamy Nutella chocolate ice cream.
- Ferrero Rocher: chop up 8-10 Ferrero Rocher chocolates and layer them in to make a chunky version of this Nutella chocolate ice cream.
- Kinder Bueno: or go really child friendly with the addition of Kinder Bueno instead.
- Hazelnuts: add in 60g of finely chopped hazelnuts for more grown-up palates.
More sumptuous ice cream recipes to try
If you have tried this easy Nutella ice cream recipe please give it a rating or leave a comment – I love to hear how my readers get along with my creations.
New here? Why not sign up to receive LittleSugarSnaps newsletters. You’ll hear first-hand when new recipes are published. You’re welcome to stay in touch on Facebook, Instagram and Pinterest too.
📖 Recipe
Want to Save This Recipe?
Nutella Ice Cream
Ingredients
For the Blackberry Sauce
- 200 g/ 8oz Fresh blackberries (frozen work fine too – just let them defrost)
- 2 tablespoon Caster sugar
For the Nutella Custard Base
- 300 ml/ 1 ¼ cups Whole (full fat) milk
- 4 Egg yolks
- 50 g/ 2oz Caster sugar
- 100 g/ 4oz Nutella (or similar chocolate hazelnut spread)
- 225 g/ 9oz Clotted Cream (or sub in 225ml/ 1 cup + 2 tablespoon double (heavy) cream)
Instructions
Make the Blackberry Sauce
- Put all of the ingredients into a small saucepan and cook gently – stirring frequently – until the blackberries begin to break down. Increase the temperature and cook until the fruit is thick and jammy.
- Push the sauce through a sieve to remove the seeds.
- Allow to cool completely, then cover and chill.
Make the Nutella Custard Base
- Put the milk into a medium saucepan and heat to just below boiling.
- Meanwhile beat the sugar and egg yolks with an electric beater until pale and thick (about 3 minutes).
- Gradually pour the hot milk onto the egg mixture, beating constantly.
- Pour the custard into the saucepan and cook on a low heat, stirring constantly until thickened. It is vital to heat slowly and stir constantly to avoid the custard splitting.
- Once the mixture coats the back of a spoon, take off the heat and beat in the Nutella.
- Cover with a layer of clingfilm (to stop a skin forming), let cool, then chill for 4 hours (or overnight).
Making the ice cream using an ice cream maker
- Beat in the clotted cream (or double cream) until relatively smooth – a few small lumps don't matter, but you can sieve the liquid if desired.
- Pour the custard into the ice cream maker and churn until the ice cream is the consistency of soft serve.
- Working quickly, transfer ⅓ of the ice cream into a freezer-proof container and spoon ⅓ of the blackberry sauce on top. Add another ⅓ of the custard & blackberry sauce and then a final layer.
- Use a skewer or a blunt knife to swirl the ice cream and sauce together to achieve a rippled effect.
- Cover with clingfilm and freeze until set.
- Remove from the freezer 15 minutes before serving.
Making the ice cream by hand
- Beat in the clotted cream (or double cream) until relatively smooth – a few small lumps don't matter, but you can sieve the liquid if desired.
- Pour the ice cream into a suitable freezer-proof bowl, cover and put it in the freezer for 1-1 ½ hours. The sides should be beginning to freeze, but the centre will be soft and slushy.
- Remove from the freezer and, working quickly, use electric beaters to beat the ice cream until the ice crystals are uniform. Cover and place back in the freezer.
- Repeat this process 4-6 more time at ¾ – 1 hour intervals. Once the ice cream has reached the soft serve consistency you are ready to swirl through the blackberry sauce.
- Spoon ⅓ of the ice cream into a clean container and dollop ⅓ of the blackberry sauce on top. Add another ⅓ of custard followed by another ⅓ blackberry sauce and then a final layer.
- Using a skewer or a blunt knife swirl the ice cream and sauce together to achieve a rippled effect.
- Cover with clingfilm and freeze until set.
- Remove from the freezer 15 minutes before serving.
Notes
- Making the components one day and churning them the next day is my favourite way to make any ice cream. That way I can be sure that everything is well chilled before it goes into the ice cream machine.
- And don’t forget to freeze the ice cream machine bowl sifficiently if your make of machine requires this step.
- Turn on the motor of the ice cream churner before pouring in the liquid. The bowl is extremely cold so any liquid that comes into contact with it and doesn’t get aggitated immediately will freeze firm.
- If making this recipe by hand set a timer to ensure you don’t forget about it and don’t skimp on the amount of times you beat it. Regular attention will ensure your ice cream is as creamy as expected. Simply leaving it to freeze with minimal beating will lead to an icy texture that will not be pleasant to eat.
- Don’t take too long when layering up the ice cream and blackberry ripple – the

Michelle
delicious! I modified it with mango instead of blackberry – a flavor combo that I fell in love with in Thailand. I was only able to create one layer of filling to swirl, and did a little drizzle of leftover nutella on top of the mango before adding the top layer of ice cream. Yhe nutella hardened and gave nice texture to the ice cream. very good!
Jane Coupland
Sounds divine – so pleased you enjoyed and adapted the recipe to suit your ingredients.
Miranda
Blackberries and nutella sounds like a wonderful combo! Yum!
Jane Saunders
Thanks so much Miranda.
Sam @ SugarSpun
What a clever flavor profile, this both looks and sounds amazing! I don’t think I’ve ever had Nutella paired with fruit before.
Jane Saunders
Thanks Sam – I just went with the chocolate & blackberry combination and ran with it 😉
Kushi
WOW! This is such a lovely combo and your pics are treat to watch. Amazing!
Jane Saunders
Ah, thankyou twice over, Kushi
Mimi
wow. Nutella and blackberries. So decadent! A fabulous combination. And your photos are stunning. I cannot take ice cream photos!
Jane Saunders
Thanks Mimi, on both counts. I think it helped that when I took the photos temperatures were well below average for summer 🙂 I have crazily tried it on the hottest day of the year before only to be left in a bit of a mess….