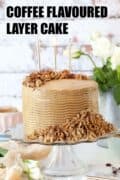
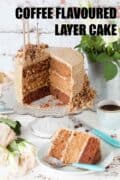
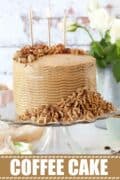
This coffee flavoured cake is made up of three different coffee sponge cakes inspired by the latte, mocha and Americano drinks. It’s an eye-catching layer cake topped with smooth and silky Swiss meringue buttercream and it is sure to please lovers of coffee.
This recipe was first published in 2019 and updated in 2021. It now includes step-by-step instructions, expert tips and frequently asked questions.
Disclaimer: I was gifted the stand mixer featured in this post by Berg Innovations. I was not paid to write this post and all opinions are my own.
Note that I’ve called this a coffee-flavoured cake rather a coffee cake. That’s because in certain parts of the world a coffee cake is any cake intended to be eaten alongside a cup of coffee. However, in the UK, a coffee cake is always flavoured with coffee.
So to be absolutely clear, this is a coffee-flavoured cake recipe. Naturally, it goes very well with a cup of coffee too!
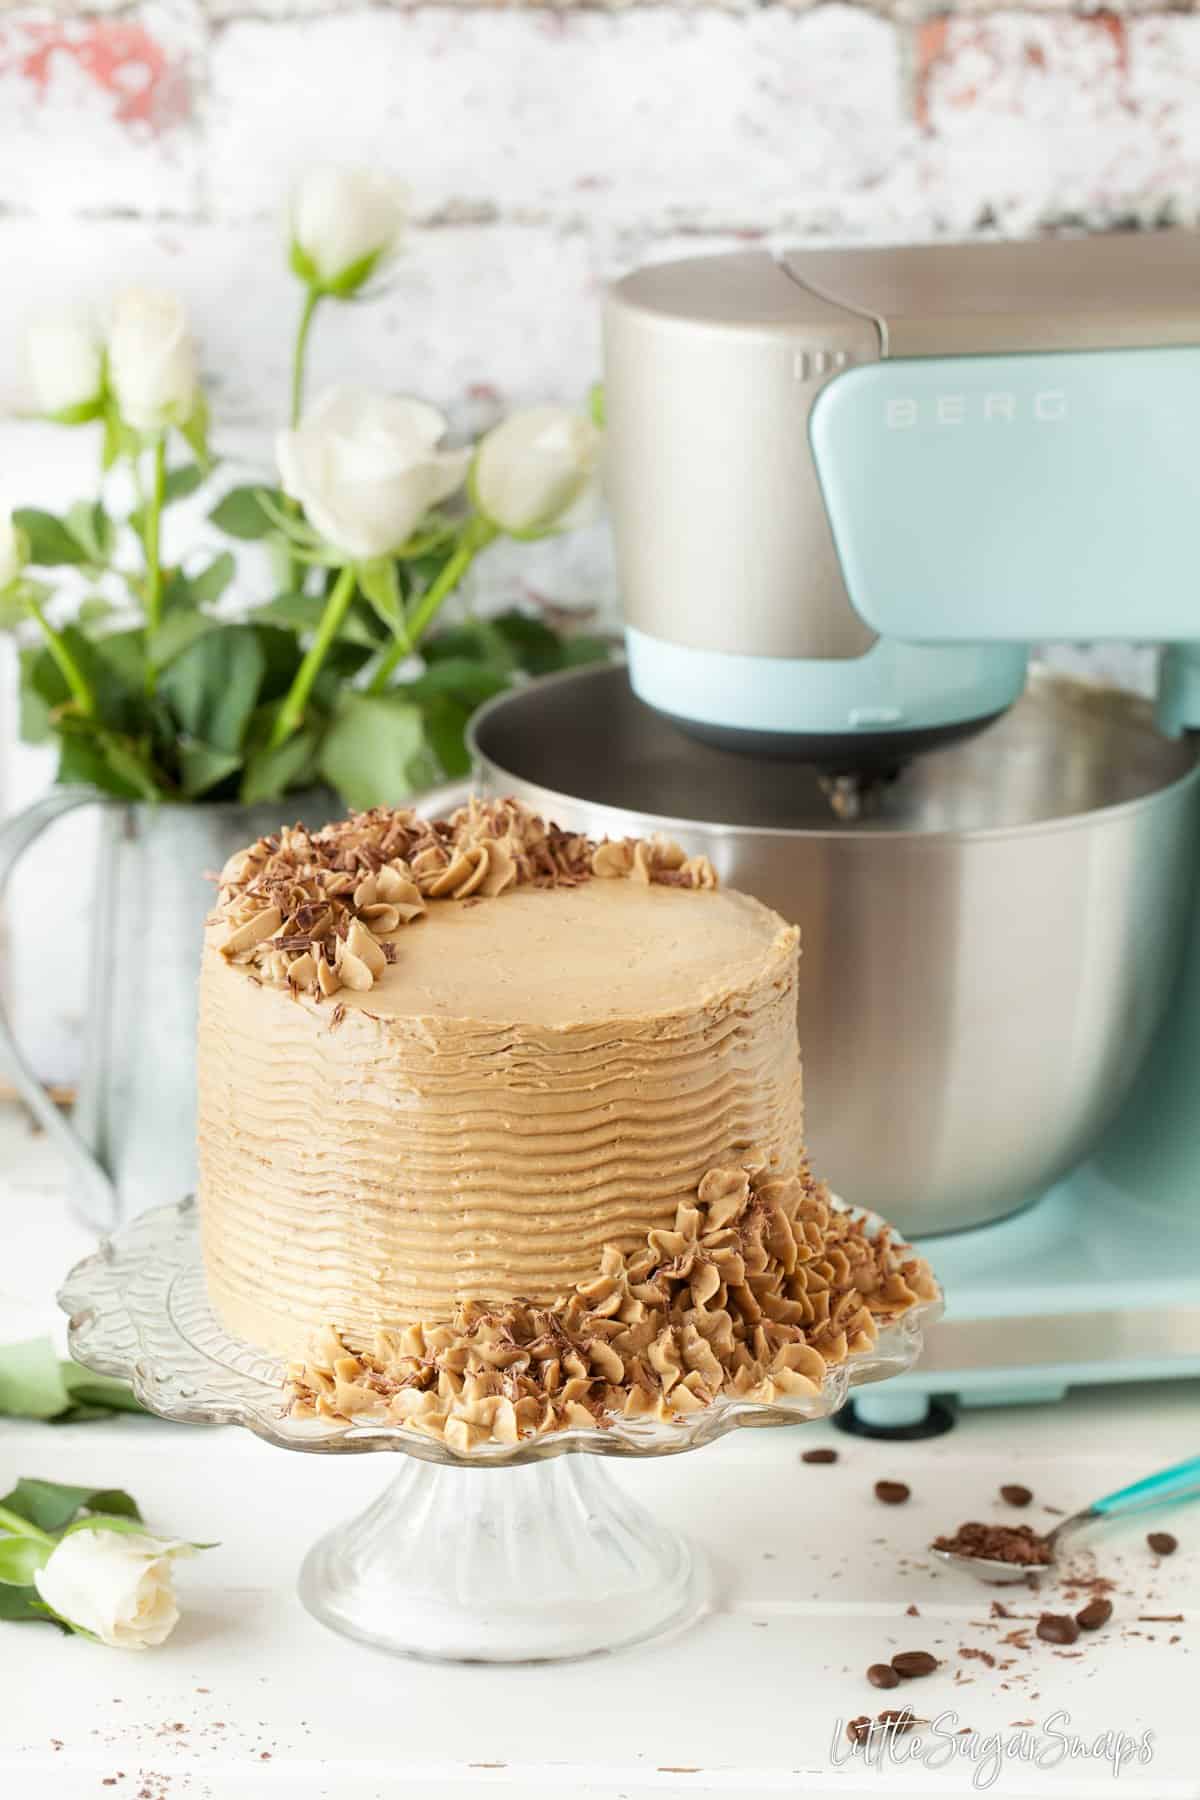
For more lovely coffee flavoured desserts try my coffee loaf cake, coffee cupcakes, Amaretto tiramisu or my coffee and caramel pots.
Why this coffee flavoured cake is worth making
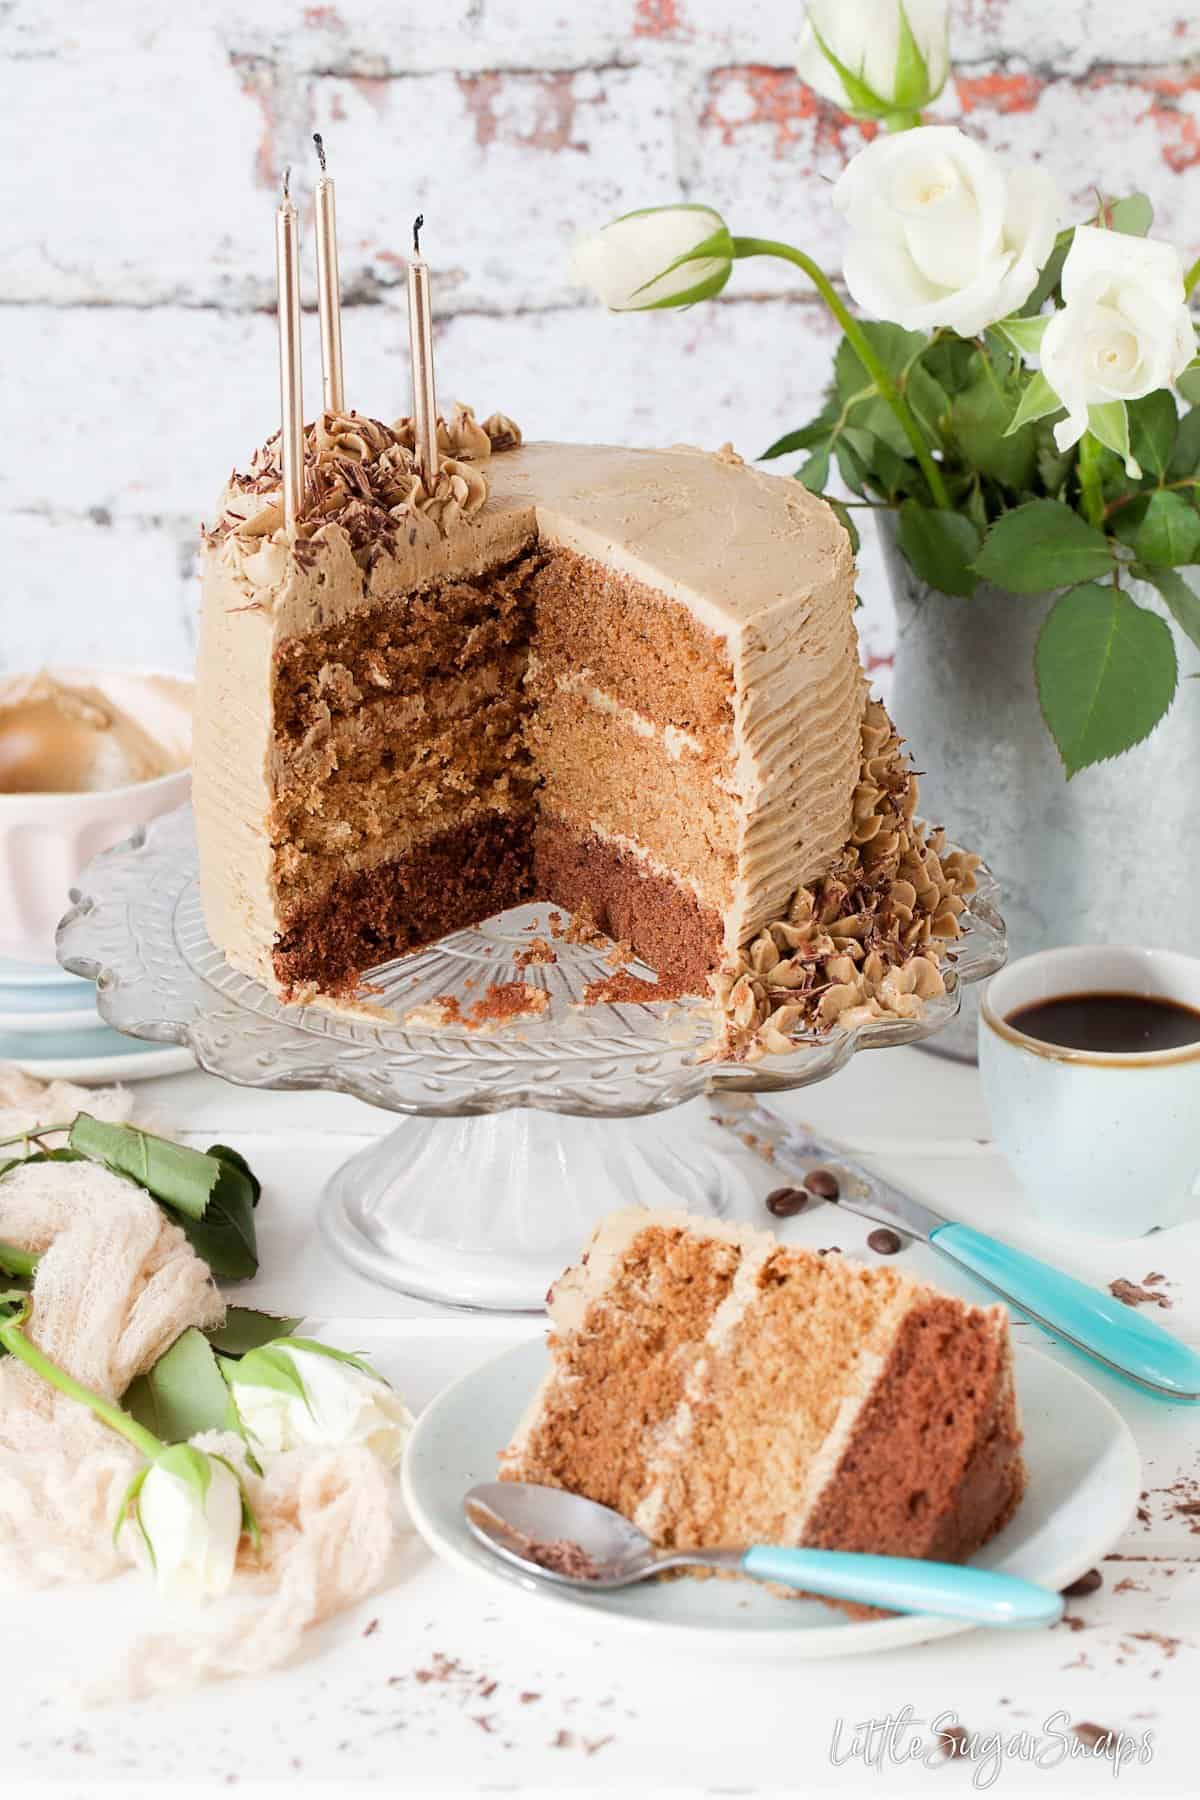
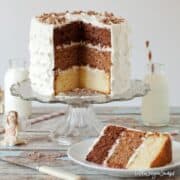
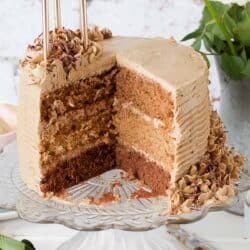
If you are after a showstopping coffee layer cake look no further. This bake comprises of three different flavours of easy to make coffee sponge cake:
- latte coffee cake (a milky coffee sponge)
- Mocha cake (a stronger coffee & chocolate sponge)
- Dark coffee cake (an Americano style black coffee sponge)
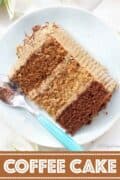
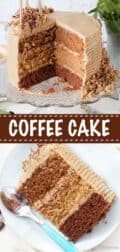
When cut into the effect is visually striking since each layer of coffee sponge cake is a different shade of brown. It’s definitely a cake that will surprise unsuspecting guests.
It’s also topped with a wonderful coffee flavoured Swiss meringue buttercream. This turns it from a great cake into an outstanding cake in my opinion. Swiss meringue buttercream delivers a much more opulent and elegant sensation of sweetness than regular buttercream. The texture is beautifully creamy & velvet-soft with a rich, buttery mouthfeel. In other words: it’s downright luscious.
Essential Facts about Swiss Meringue Buttercream
- Swiss meringue buttercream is made by heating egg whites and sugar together to 71C/ 168F prior to whisking to stiff peaks. When the stiff peak stage is reached and the meringue has cooled, butter is added, chunk by chunk, to produce a spectacular buttercream
- It is easy to flavour the buttercream
- There are plenty of step by step tutorials and videos available to help guide you. I like the video by Handle the Heat and the step by step guide by Sugar Hero
- I flavoured my buttercream with instant coffee granules dissolved in water. Once made, it should be stored in the fridge until ready for use. Allow to come back to room temperature and re-whip before using. It may split at first, but keep on whipping for 5 minutes and it will return to its smooth form
Ingredients
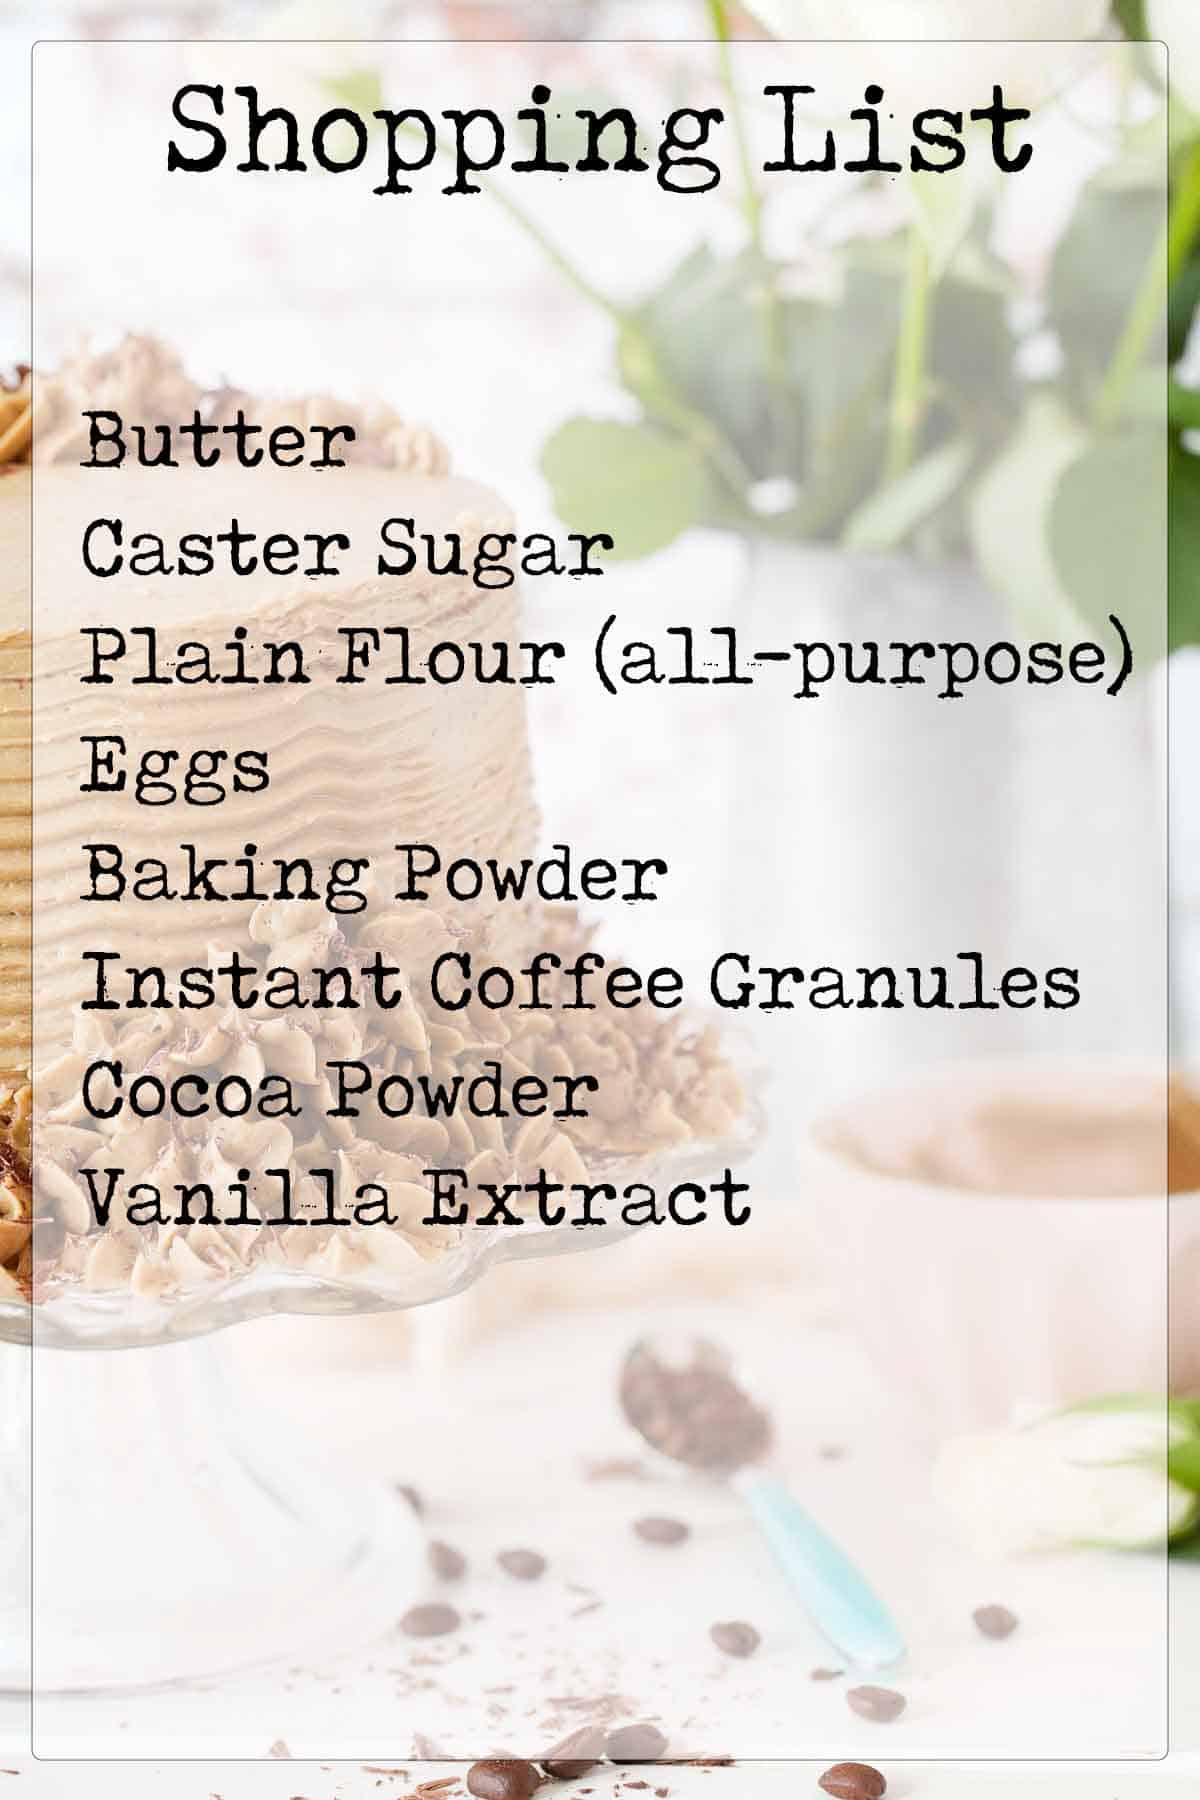
For such an impressive-looking bake there are only eight ingredients required for this coffee flavoured cake and they are all easy to come by.
As far as the coffee goes, I used Gold Blend, which is an affordable mainstream granulated coffee available in most UK supermarkets. If you have a favourite instant coffee go with that though, there’s no need to buy this brand specifically.
Note in the recipe the large number of eggs used – 3 whole eggs plus 6 egg whites. If you are wondering how to use up the spare yolks then how about trying out some French buttercream on some cupcakes. It’s incredibly rich but so very tasty.
Step by Step Instructions: Coffee Sponge Cake
This coffee flavoured cake is very easy to make. Follow these steps and the sponges can be in the oven within 20 minutes:
- Dissolve the coffee granules in boiling water
- Beat the butter and sugar until light and fluffy
- Add the eggs to the creamed butter and sugar, a little at a time, beating well between each addition (this helps reduce the risk of the batter splitting)
- Sieve the flour and baking powder over the cake batter and mix in
- Divide the cake batter equally into 3 small mixing bowls:
- To the first bowl stir in 1 ½ tsp of the cooled coffee and the vanilla extract
- To the next bowl mix in the cocoa powder (sieved) and 2 tsp of the cooled coffee
- and to the final bowl add 1 tablespoon cooled coffee and mix in
- Pour the cake batters into greased and lined baking tins and bake in a preheated oven until the cake springs back when lightly pressed or a skewer comes out clean
- Let cool in the tins for 2 minutes then remove from the tins and cool on a wire rack
Step by Step Instructions: Coffee Swiss Meringue Buttercream
The buttercream does take around 45 minutes to make so it’s definitely a good idea to use a stand mixer for it:
- Put the egg whites and sugar into a heatproof bowl and whisk until combined then put the bowl over a saucepan holding an inch of simmering water – do not let the water touch the bottom of the bowl. Whisk constantly until the mixture reaches 71C/ 160F on a food thermometer
- Pour the egg mixture into the bowl of a stand-mixer and whisk on medium-high until the meringue is stiff and cooled – it should no longer feel warm to the touch – aim for around 25C/ 77F
- Continue to whisk the meringue whilst slowly adding cubes of butter one at a time. Mix until smooth
- Add the remaining coffee, a teaspoon at a time until you are happy with the colour and flavour of the buttercream
- Use to sandwich the cake layers together, then cover the sides of the cake and use the leftovers to pipe a design on top as desired
Incidentally, the stand mixer visible in the photos was from Berg Innovations. It’s no longer manufactured, which is a shame as it’s proven to be a reliable piece of kit. They do, however, produce other kitchen appliances, so it’s worth checking them out if you’re in the market for anything right now.
Expert Tips
- Please use digital scales for this recipe as they are so much more accurate than the cup system. Cups are notoriously inaccurate because they can vary in size. Furthermore, one person’s method of filling a cup can be quite different to another person’s
- Regardless of whether your tins claim to be non-stick always grease them and use a circle of baking parchment to line the bases. These 2 steps help ensure the cakes never get stuck in the pan
- Preheat the oven and prepare the baking tins before baking commences. This way the cake batter can go into the oven as soon as it is mixed and the raising agent (baking powder) is activated. You’ll get the best rise this way
- Let the cakes rest in their baking tins for 2 minutes once they are taken out of the oven. They will shrink slightly, pulling away from the edge of the tin. This helps get them out of the tins more easily
- Don’t under-estimate the time it takes to make the buttercream. Allow at least 45 minutes and up to 1 hour (but it’s ok, the stand mixer does the hard work)
- Depending on the brand of coffee used, the coffee Swiss meringue buttercream may discolour if stored at room temperature. However, it’s still safe to eat and the flavour remains unaffected
- To avoid the problem of discoloured buttercream simply prepare the buttercream as close to serving time as possible (within 2-3 hours). Alternatively, refrigerate the cake once iced and bring back to room temperature (approx 2 hours) before serving
- If you are not able to keep your cake refrigerated or served within 2-3 hours, consider using an alternative frosting. Try coffee caramel from The Flavor Bender or latte buttercream from Coffee With Us 3
Frequently Asked Questions
I really do not recommend this. I think you’d be beating for hours.
On this note, I once made it using a handheld whisk, but that took 45 minutes of standing around holding the beater, so again, I’d really only recommend using a stand mixer for this buttercream. If you do not have one, simple make the cake and use an alternative buttercream as suggested in the tips section.
If you’ve been beating the meringue for a long time and it refuses to reach the stiff peak stage the most likely reason is that a spot of egg yolk accidentally made its way into the bowl. Even the smallest amount will prevent the whites from whipping up and sadly, there is no way to rectify this issue other than starting again.
Likewise, any grease in the bowl will have the same effect. For this reason, ensure your bowl and beaters are perfectly clean before starting.
This happens frequently – just keep beating it and the buttercream will eventually turn silky, smooth and wonderful again.
If your mixture appears thin and runny after adding the butter, this is because either the butter or the meringue was too warm when the butter was added. But the fix is easy – place the mixing bowl in the refrigerator (covered) for 20 minutes to cool down, then continue to beat until thickened. If it’s still too thin, return to the fridge for another 20 minutes and try again.
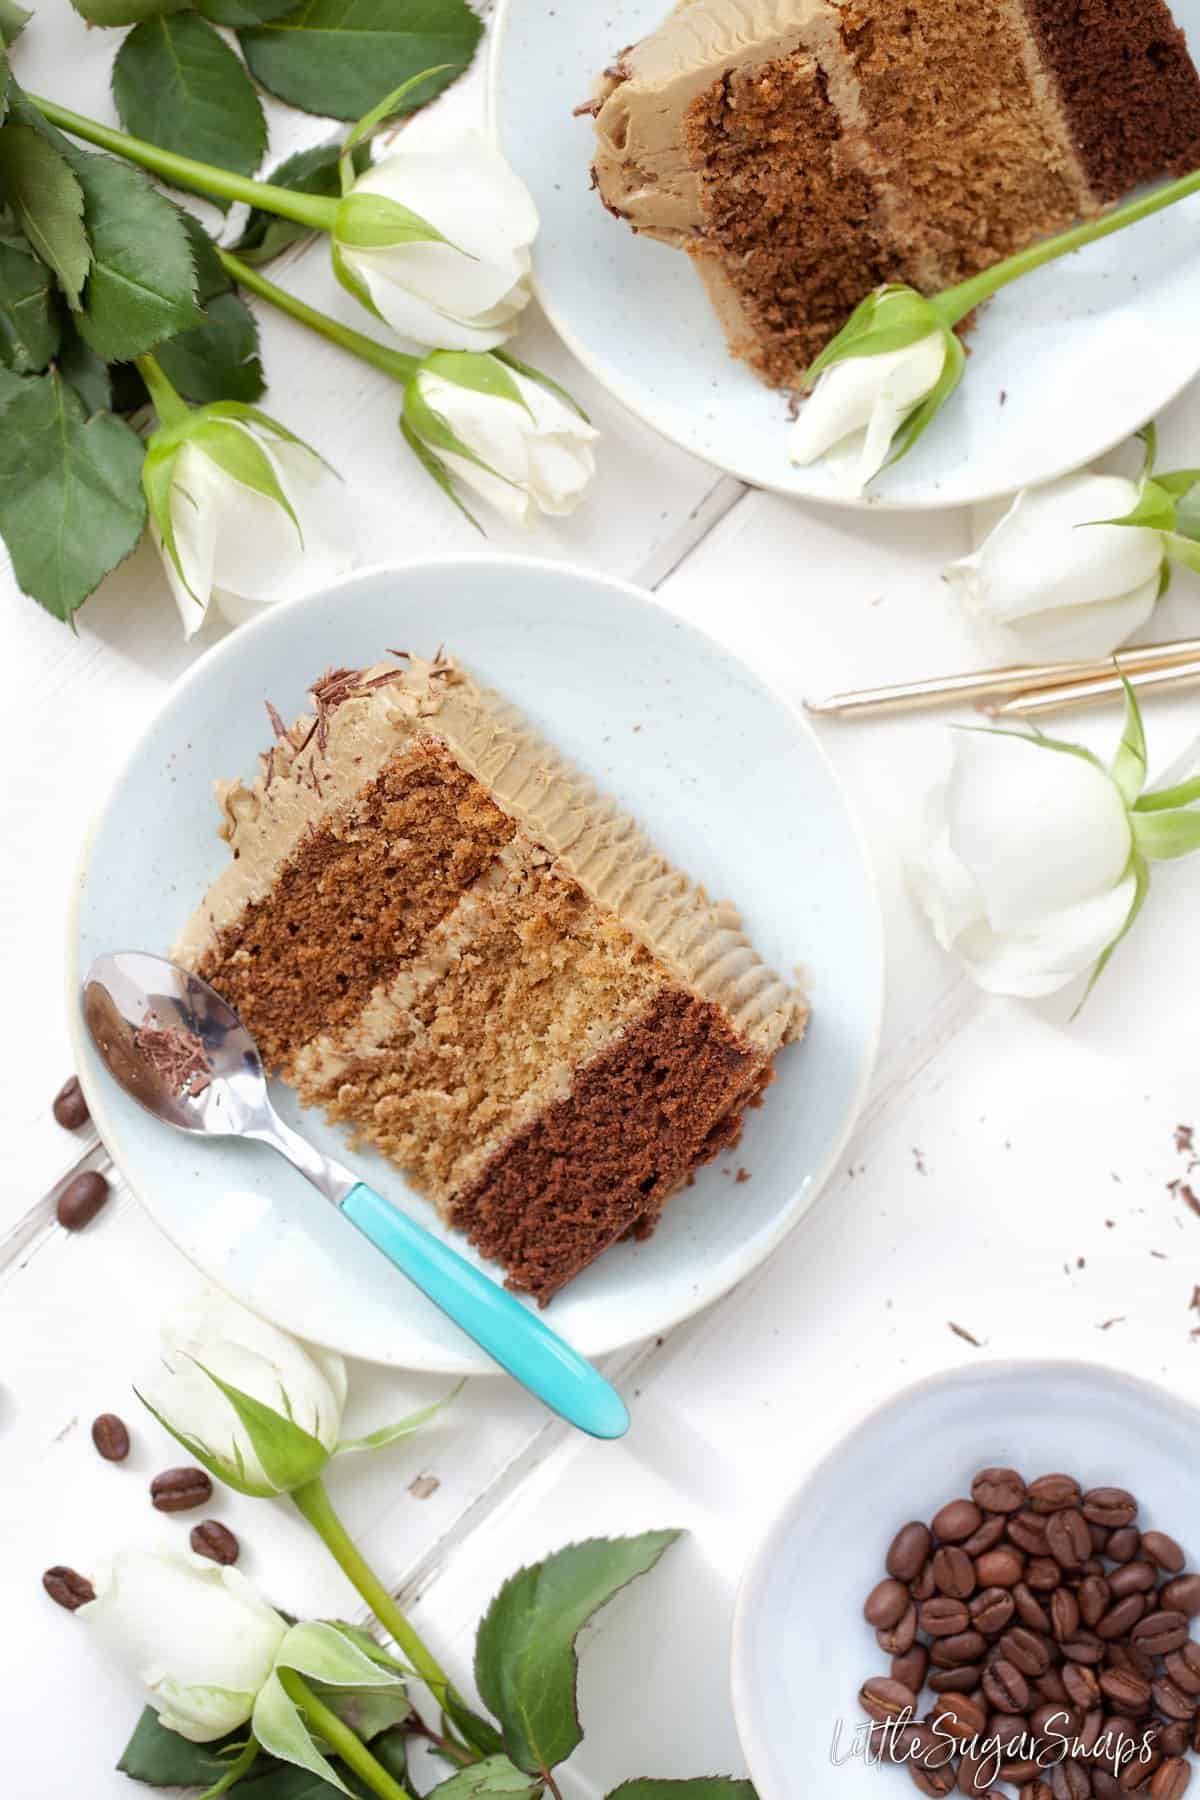
More Layer Cakes to Try



If you have tried this coffee sponge cake recipe, please give it a rating or comment. I love to hear how you get along with my creations.
Want to keep in touch? Sign up to receive LittleSugarSnaps newsletters to hear when new recipes are published. You’ll get a free welcome e-book with my top baking tips and 5 favourite cake recipes. Or stay in touch on Facebook, Instagram or Pinterest.
Triple Layer Coffee Cake with Swiss Meringue Buttercream
Ingredients
Use 3 x 6-inch cake pans for this recipe – see notes on how to scale up for 8-inch pans
For the Coffee Cake
- 180 g/ 6½oz Butter – softened
- 180 g/ 6½oz Caster sugar
- 3 Eggs – large, free range
- 180 g/ 6½oz Plain (all purpose) flour
- 1½ teaspoon Baking powder
- 3 tablespoon Instant coffee granules dissolved in 3 tablespoon just boiled water – cooled (I used Gold Blend)
- 1 tablespoon Cocoa powder
- ½ teaspoon Vanilla extract
For the Swiss Meringue Buttercream
- 6 Egg whites (large, free range)
- 400 g/ 2 cups White sugar (caster or granulated)
- 450 g/ 2 cups Butter – softened
Instructions
Make the Coffee Cake Layers
- Preheat the (fan) oven to 170°/ 325°F/ GM3
- Grease and line 3 x 6-inch circular baking tins (note these are smaller than average tins – if you are using 8-inch tins see my notes on how to scale up the recipe)
- In a bowl beat the butter and sugar until light and fluffy, using electric beaters.
- Crack the eggs into a small jug and beat. Add to the creamed butter and sugar, a little at a time, beating well between each addition (this helps reduce the risk of the batter splitting)
- Stir the flour and baking powder together in a bowl and sieve over the cake batter. Mix in
- Divide the cake batter equally into 3 small mixing bowls (digital scales help here)
- To the first bowl stir in 1½ tsp of the cooled coffee and the vanilla extract
- To the next bowl add the cocoa powder (sieved) and 2 tsp of the cooled coffee. Stir until just mixed in
- To the final bowl add 1 tablespoon cooled coffee and mix in
- Store the leftover coffee for the buttercream
- Pour the cake batters into the prepared tins and bake for 20-23 minutes until the cake springs back when lightly pressed or a skewer comes out clean
- Let cool in the tins for 2 minutes, then remove from the tins, peel off the baking parchment from the bottom of each sponge cake and let cool completely on a wire rack
Make the Swiss Meringue Buttercream
- Put the egg whites and sugar into a heatproof bowl and whisk until combined
- Put the bowl over a pot with an inch of simmering water – do not let the water touch the bottom of the bowl. Whisk constantly until the mixture reaches 71C/ 160F on a food thermometer
- Pour the egg mixture into the bowl of a stand-mixer and whisk on med-high until the meringue is stiff and cooled – it should no longer feel warm to the touch – aim for around 25C/ 77F
- Cube the butter. Continue to whisk the meringue whilst slowly adding the butter cubes one at a time. Mix until smooth
- Add the remaining coffee, a teaspoon at a time until you are happy with the colour and flavour of the buttercream
- If not assembling the cake straight away, store the buttercream in the fridge (covered) until ready to use. Bring back to room temperature and re-whip. At first, the buttercream will split but after a few minutes, the silky smooth texture will return
Assembling the Cake
- There is no right or wrong for the order of the layers. Pick the one you want to be on the bottom and lay it on a cake stand or serving plate
- Spread a generous tablespoon of buttercream over the top of the cake then lay another layer of cake neatly on top
- Again, spread a generous tablespoon of buttercream over the top of this layer and then lay the final cake on top
- Reserve ⅓ of the remaining buttercream for piping decorations on top then smooth the rest of the buttercream over the top and sides of the cake
- Pipe a few pretty shapes on the top and sides of the cake as you see fit. Scatter a little grated chocolate over the cake if desired
- Serve within a few hours or store in the fridge, returning to room temperature before serving (approx 2 hours)
Notes
Scaling Up the Recipe for 8-inch Tins
- This recipe is sufficient for 3 sponge cakes baked in 6-inch tins. Do not try stretching the recipe to fill 8-inch tins – the layers will be too thin
- Ideally, scaling up to a 5 egg recipe is required for 3 layers of 8-inch cakes. However, that gives some fiddly measurements, so I suggest simply doubling the recipe, filling your cake tins ⅔ full then using any surplus cake batter to make a few cupcakes
- As for the buttercream, you will not need to double this. Instead, go for 9 egg whites/ 600g sugar / 675g butter
Baking Tips
- Please use digital scales for this recipe as they are so much more accurate than the cup system. Cups are notoriously inaccurate because they can vary in size and one person’s method of filling a cup can be quite different to another person’s
- Regardless of whether your tins claim to be non-stick always grease them and use a circle of baking parchment to line the bases. These 2 steps help ensure the cakes never get stuck in the pan
- Preheat the oven and prepare the baking tins before baking commences so that the cake layers can go into the oven as soon as the batter is mixed and the raising agent (baking powder) is activated. You’ll get the best rise this way
- Let the cakes rest in their baking tins for 2 minutes once they are taken out of the oven. They will shrink slightly, pulling away from the edge of the tin. This helps get them out of the tins more easily
- Don’t under-estimate the time it takes to make the buttercream – allow at least 45 minutes and up to 1 hour (but it’s ok, the stand mixer does the hard work)
- I do not recommend making this buttercream by hand – you’d be beating for hours
- On this note, I once made SMB using a handheld whisk, but that took 45 minutes of standing around holding the beater, so again, I’d really only recommend using a stand mixer for this buttercream. If you do not have one, simply make the cake and use an alternative buttercream as suggested in the tips section in the post above
- Depending on the brand of coffee used, the coffee Swiss meringue buttercream may discolour if stored at room temperature, although it’s still safe to eat and the flavour remains unaffected
- There is a risk that the buttercream will darken and/ or discolour if left at room temperature. Either frost your cake just 2-3 hours prior to serving or store in the fridge and bring it back to room temperature before serving. Alternatively, use a different frosting completely (see my suggestions in my blog post)
Troubleshooting
- If you’ve been beating the meringue for a long time and it refuses to reach the stiff peak stage the most likely reason is that a spot of egg yolk accidentally made its way into the bowl. Even the smallest amount will prevent the whites from whipping up and sadly, there is no way to rectify this issue other than starting again
- Likewise, any grease in the bowl will have the same effect. For this reason, ensure your bowl and beaters are perfectly clean before starting
- If your buttercream mixture appears thin and runny after adding the butter, this is because either the butter or the meringue was too warm when the butter was added. But the fix is easy – place the mixing bowl in the refrigerator (covered) for 20 minutes to cool down, then continue to beat until thickened. If it’s still too thin, return to the fridge for another 20 minutes and try again.


Rebecca
Cakes didn’t rise at all. I doubled the recipe, weighed everything out precisely on my kitchen scale, and used brand new dry ingredients. Baked in 8 inch pans, used all the batter and the cakes are barely an inch tall. Very disappointed. When all three layers are stacked, it’s about the same height as a single layer cake.
Jane Coupland
Hi Rebecca, sorry to hear that you had trouble with this recipe. This is a basic sponge cake recipe with the addition of coffee, so there is nothing unusual about this recipe at all. If you followed the instructions as listed, then the only thing I can think of for you not to get the cakes to rise is that the baking powder was accidentally left out (or it was a bad batch – stranger things have happened) or that the batter was over-mixed. Sorry that I can’t offer more insight here. It’s a recipe that I’ve been using for decades, so I know that there is nothing wrong with it and I hope you’ll not be put off giving it another go.
Caroline
Great recipe. My boyfriend requests it as his birthday cake every year and, thanks to the layers, I always feel very accomplished without having to do too much hard work. This year, I used espresso rather than instant coffee so the flavour was a bit more intense, but that’s fine for a coffee lover! I do wonder if it might be worth doing a plain buttercream to balance it out for people who are less into coffee but I’ll try that next time. Thanks for sharing!
Jane Coupland
Hi Caroline, thanks so much for your lovely comment. I’m thrilled it’s such a hit. I’ve plans for an few more coffee cakes yet, one of which will include a more simple buttercream – keep your eye out for it.
kristina
amazing cake
Jane Saunders
Thanks Kristina – pleased you enjoyed it.
Alysha
Hello! If i’m scaling up to 8 inch pans, how long should I bake for?
Jane Saunders
Hi Alysha – check on the cake after approx 23-25 minutes and you should be about there…
Celia
Hi Jane,
Tried your recipe. Came out wonderful. Only one doubt..in my layers not much of a color difference could be seen between the two coffee flavors( chocolate stood out). Could it be because of thr type of coffee granules? Anyway thanks for an awesome recipe.
Jane Saunders
Hi Celia, pleased you’ve enjoyed this recipe. I have no idea why you didn’t get much variation in colour…. perhaps next time reduce/ increase the amount of coffee used in one or the other layers to make the colour variation more pronounced.
keira thompson
didn’t rise and measurements are all off.
Jane Saunders
Hi Keira – sorry you’ve had problems. I’ve double-checked the ingredients list and there are no mistakes. These measurements are exactly right for the cake specified – it’s a recipe I’ve been using for decades. I always suggest readers stick with either grams or ounces for a recipe and both sets of measures are listed in the recipe card.
For the cake not to rise this suggests that either the baking powder was accidentally omitted or it had gone past its best. Once opened baking powder stays active for 3-4 months but after this looses it’s potency. If your baking powder has been open for a while it’s likely it needs replacing.
Hope this helps – I don’t like to hear of readers having difficulty with my recipes and I’m always willing to help identify what could have gone wrong. I hope you’ll give this cake another go as it really is a delight.
One final thought – you were using 6-inch cake tins for the ingredients listed? If you used larger tins then the layers would be thin – there are details in the recipe card for scaling it up for 8-inch tins.
Shruti
Recipe looks amazing. I will be trying it out soon. For the cake, do you recommend unsalted butter or salted ?
Jane Saunders
Unsalted is perfect to use here – happy baking!
Reshma
Thank you for posting. I love trying anything coffee.
First up, if you can weigh your ingredients, do so… it lends to the perfect level of sweetness for the coffee-only layers. The texture however of the mocha layer was not as light and fluffy as the coffee ones. It was less sweet, a bit denser and didn’t carry the same mouth feel as the other layers.
I did my 3 layers in 3, 6.5″ tins, took 23 mins to bake, so the layers were a bit thinner.
If I do this again, I’ll make all the layers coffee with no cocoa powder.
Overall an OK recipe.
Jane Saunders
Hey there Reshma, thanks for your comment – I couldn’t agree more on weighing of ingredients, it’s the best way to bake.
Sad to hear you had a little trouble with the mocha layer, the addition of the cocoa powder should not have interfered much with the sweetness, bitterness or texture of the cake. I use regular supermarket cocoa powder and always a level tablespoon unless otherwise stated in a recipe. If you do make the mocha layer again perhaps a splash of milk might help if you notice the cake batter is significantly thicker than the other two layers. Hope this is of some help.