

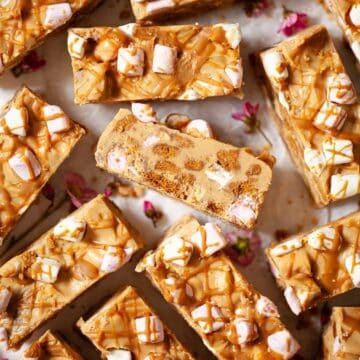
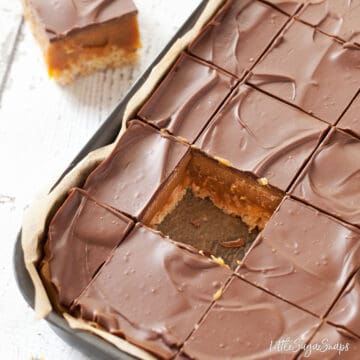
Rice Krispie bars with caramel and chocolate are a no-bake twist on classic Millionaire's Shortbread incorporating layers of marshmallow Rice Krispies squares, thick caramel and milk chocolate. All-in-all, these caramel Rice Krispies bars are a real feast.
Coffee enthusiasts might enjoy this treat with a caramel latte or a caramel mocha.
Why I Love This Recipe
- Easy: These Rice Krispies treats with caramel and chocolate are simple to make.
- It's a no-bake recipe: You don't need to turn on the oven.
- It feeds a crowd: You can easily cut 16 caramel Rice Krispies bars from this recipe.
- Generously proportioned layers: Especially the caramel layer.
- No crumbs: Switching from crumbly biscuit to the chewy textured cereal layer means no crumbs - unlike traditional Millionaire's shortbread!
Jump to:
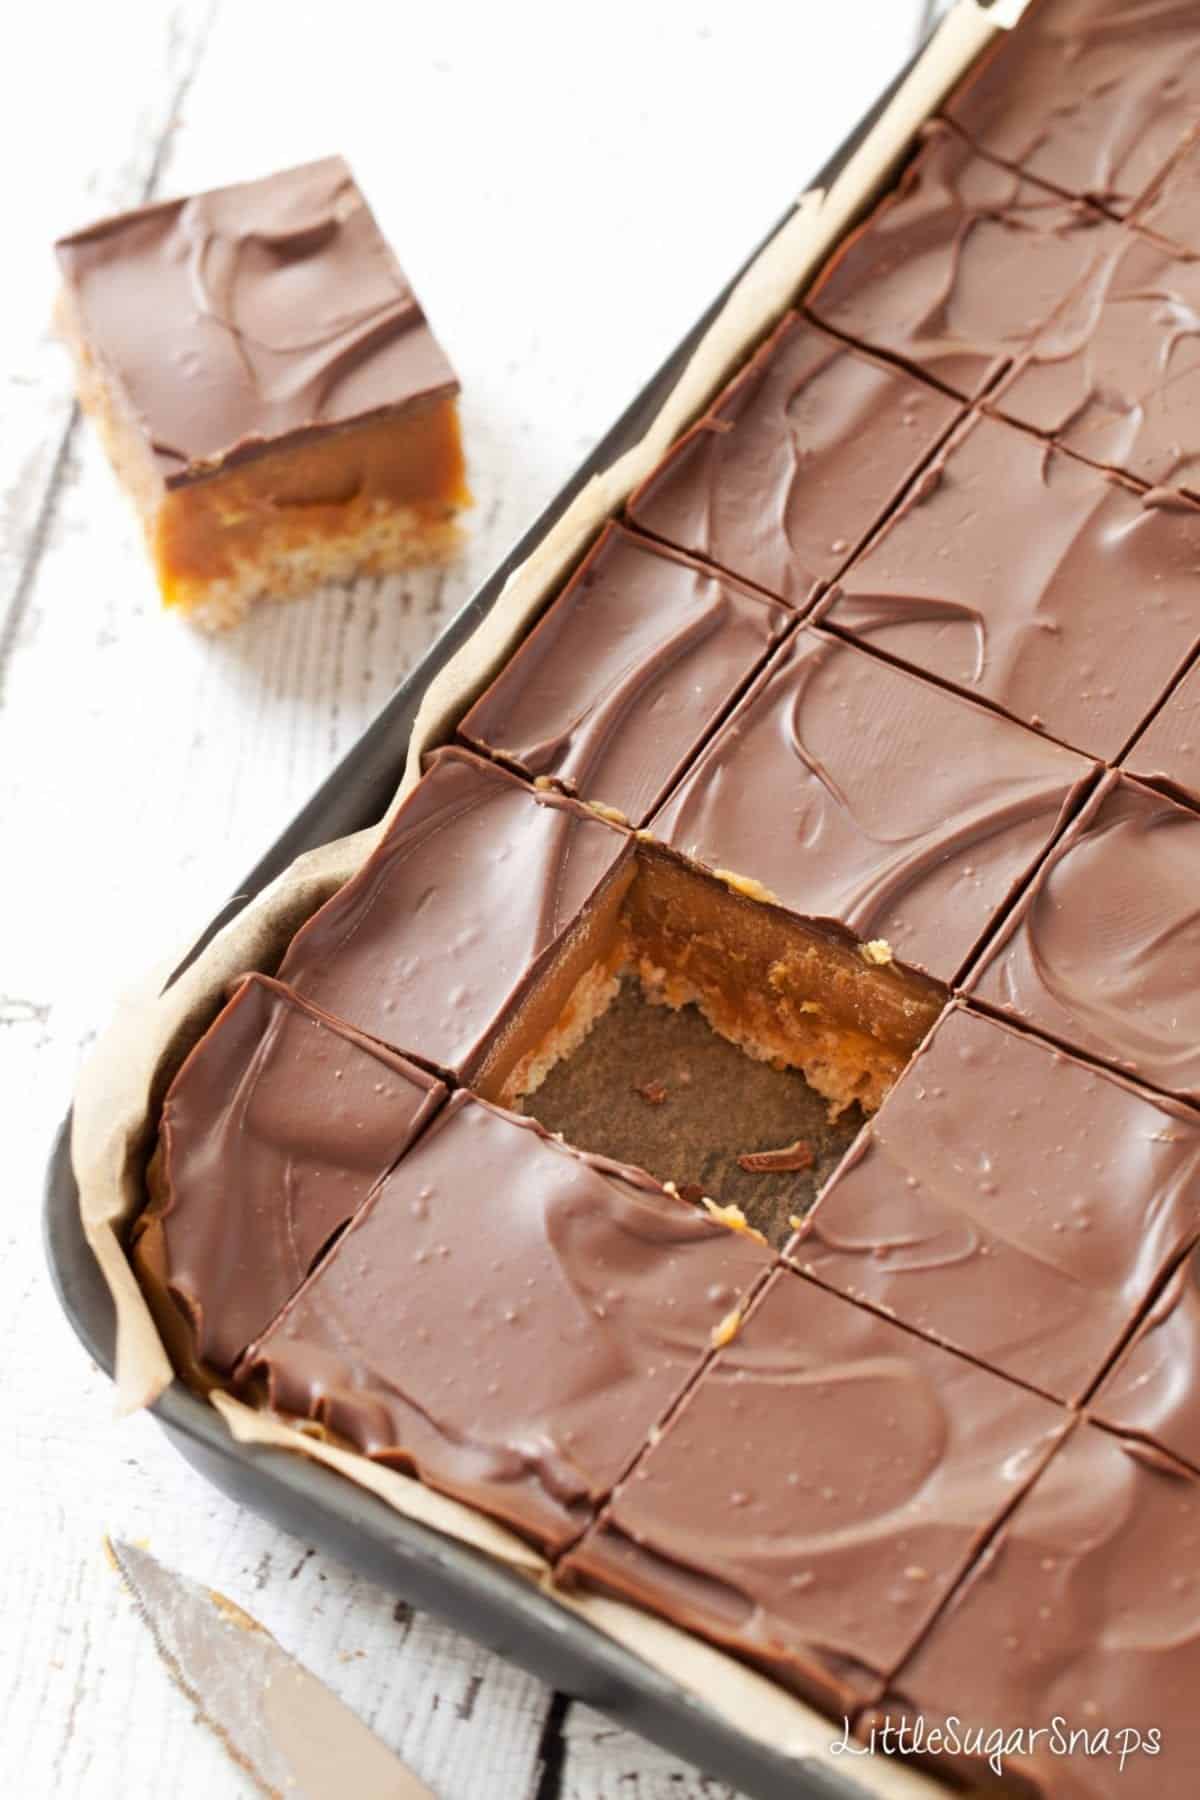
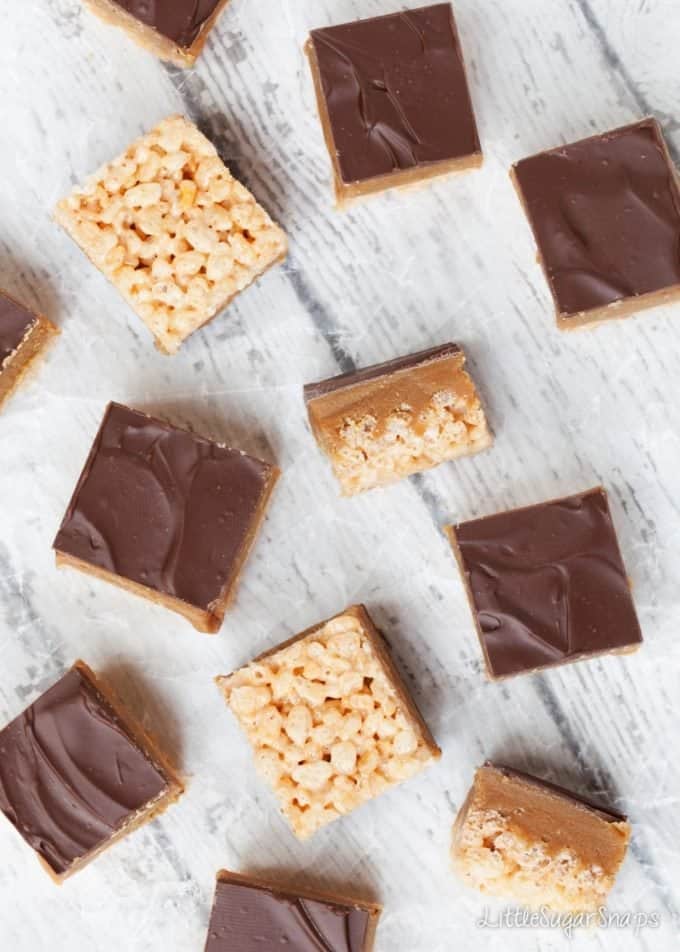
I'll happily confess that there's nothing mind-blowing about each individual layer of these Rice Krispies bars with caramel. It's fairly obvious really:
- Marshmallow Rice Krispie base: Sweet & chewy.
- Caramel centre: Thick & silky smooth.
- Milk chocolate topping: Creamy & decadent.
But each layer is easy to make and once you have stacked them all up and cut (not-so-dainty) pieces out, these caramel Rice Krispies bars turn into absolute winners.
If you're in the mood for more bakingb fun with cereals then try my rocky road rice krispies treats or my Biscoff oaty flapjack. Alternatively, my jammy cornflake bars and oaty date slices are epic.
Just made these treats and they turned out perfect! Rich ooey-gooey and delicious. Definitely cut into small squares because of their richness. Thanks for the great recipe.
⭐⭐⭐⭐⭐
Susie
Ingredients Notes
The ingredients for these caramel rice krispies treats with caramel and chocolate are straightforward and easy to obtain.
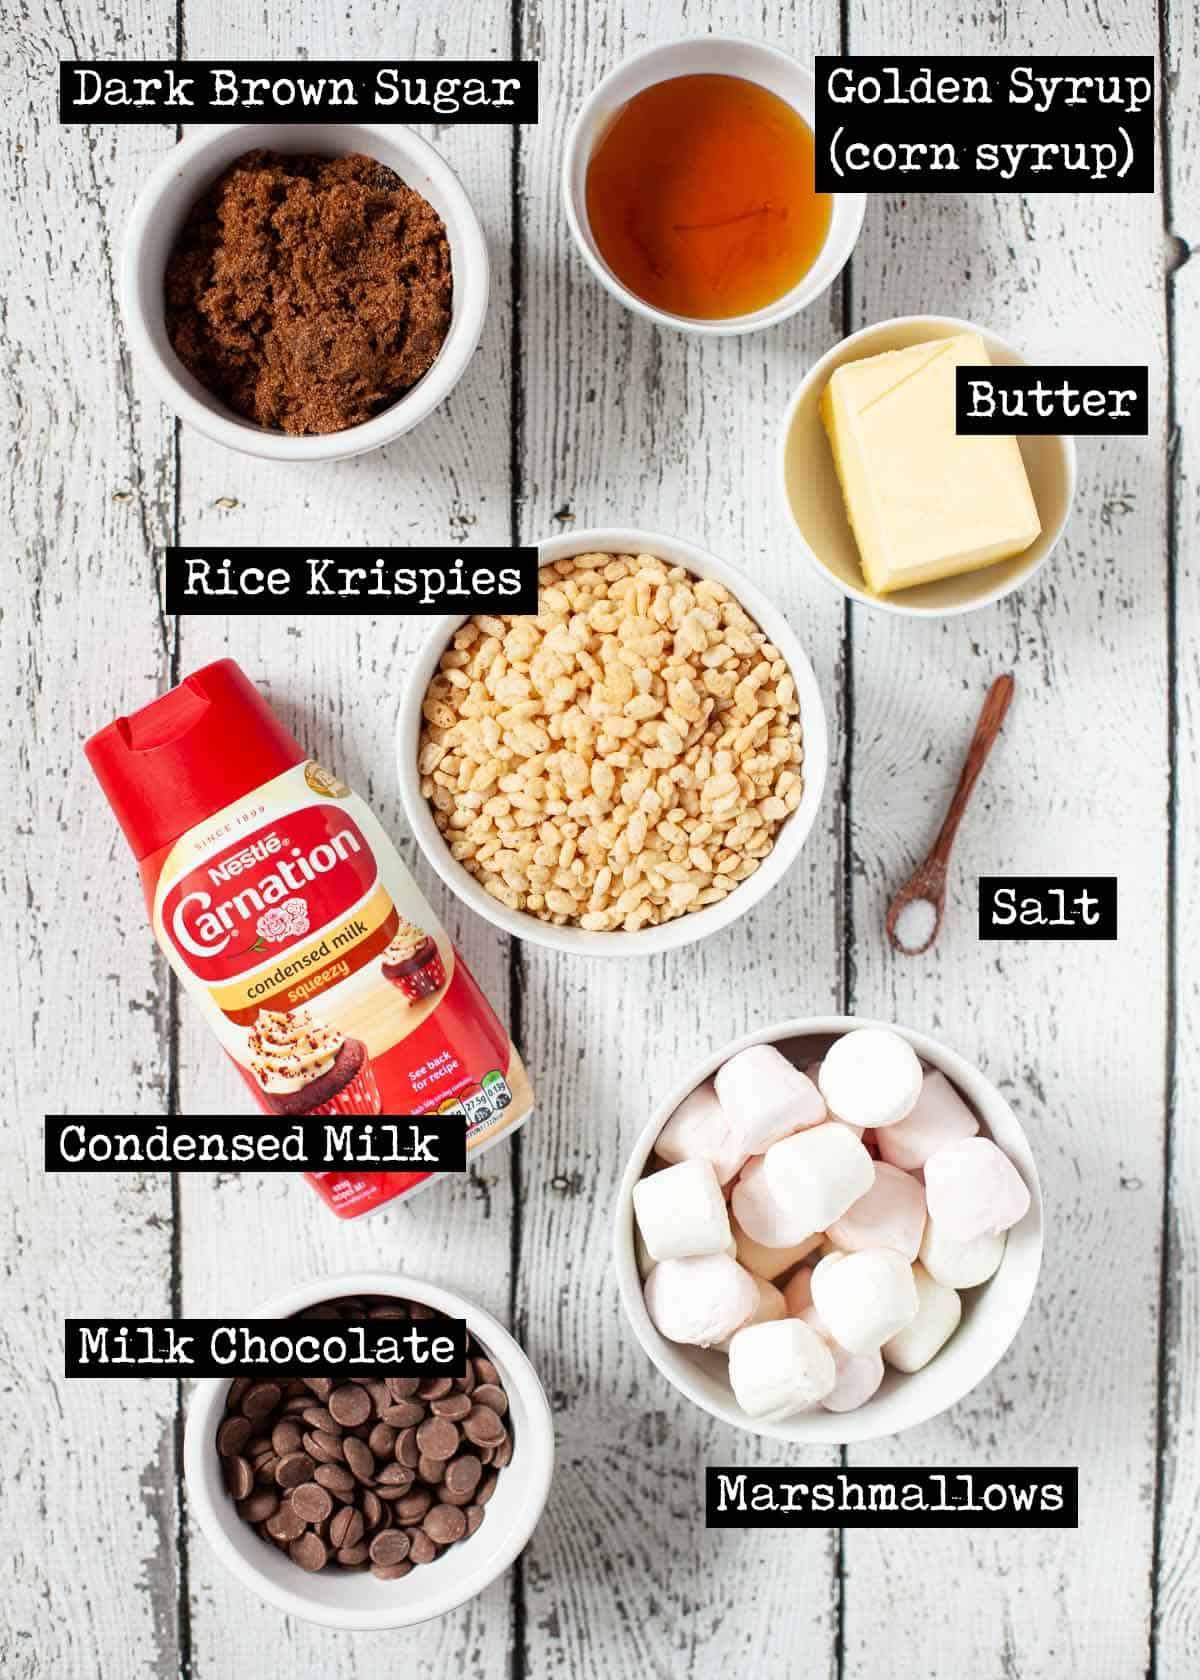
Rice Krispies: Make sure yours have not gone stale. If the pack has been open a while nibble on a spoonful - it's worth checking as stale cereal will be noticeable in these Rice Krispies treats with caramel and chocolate.
Marshmallows: My advice is to open a new packet of marshmallows rather than using ones that have been lying around for a while. Again, using marshmallows that are past their best is not a good idea.
Butter: Proper butter gives by far the best flavour to the Rice Krispies treats base. However, if you need to, feel free to use a non-dairy block-butter alternative (plus a pinch of salt). Just don't use baking margarine.
Golden syrup: This is a very British ingredient, easy to get hold of if, like me, you live in Britain. Elsewhere feel free to use light corn syrup when making the caramel.
Dark brown sugar: This is required for the caramel layer. Do not substitute any other sugar for it.
Condensed milk: This is an integral component in the caramel. It cannot be substituted.
Chocolate: I favour milk chocolate to top these caramel Rice Krispies bars. Dark chocolate also works out well, but I warn against using white chocolate as it's just a little too sweet when combined with the caramel and marshmallow Rice Krispies layers.
Step by Step Instructions
Full instructions and measurements are given in the printable recipe card at the end of this post.
These Rice Krispies bars with caramel are a fun and easy no-bake snack to pull together. It's a case of stacking up 3 separate layers, allowing the preceding layer to set before moving onto the next.
Stage 1: Make the Rice Krispies Layer
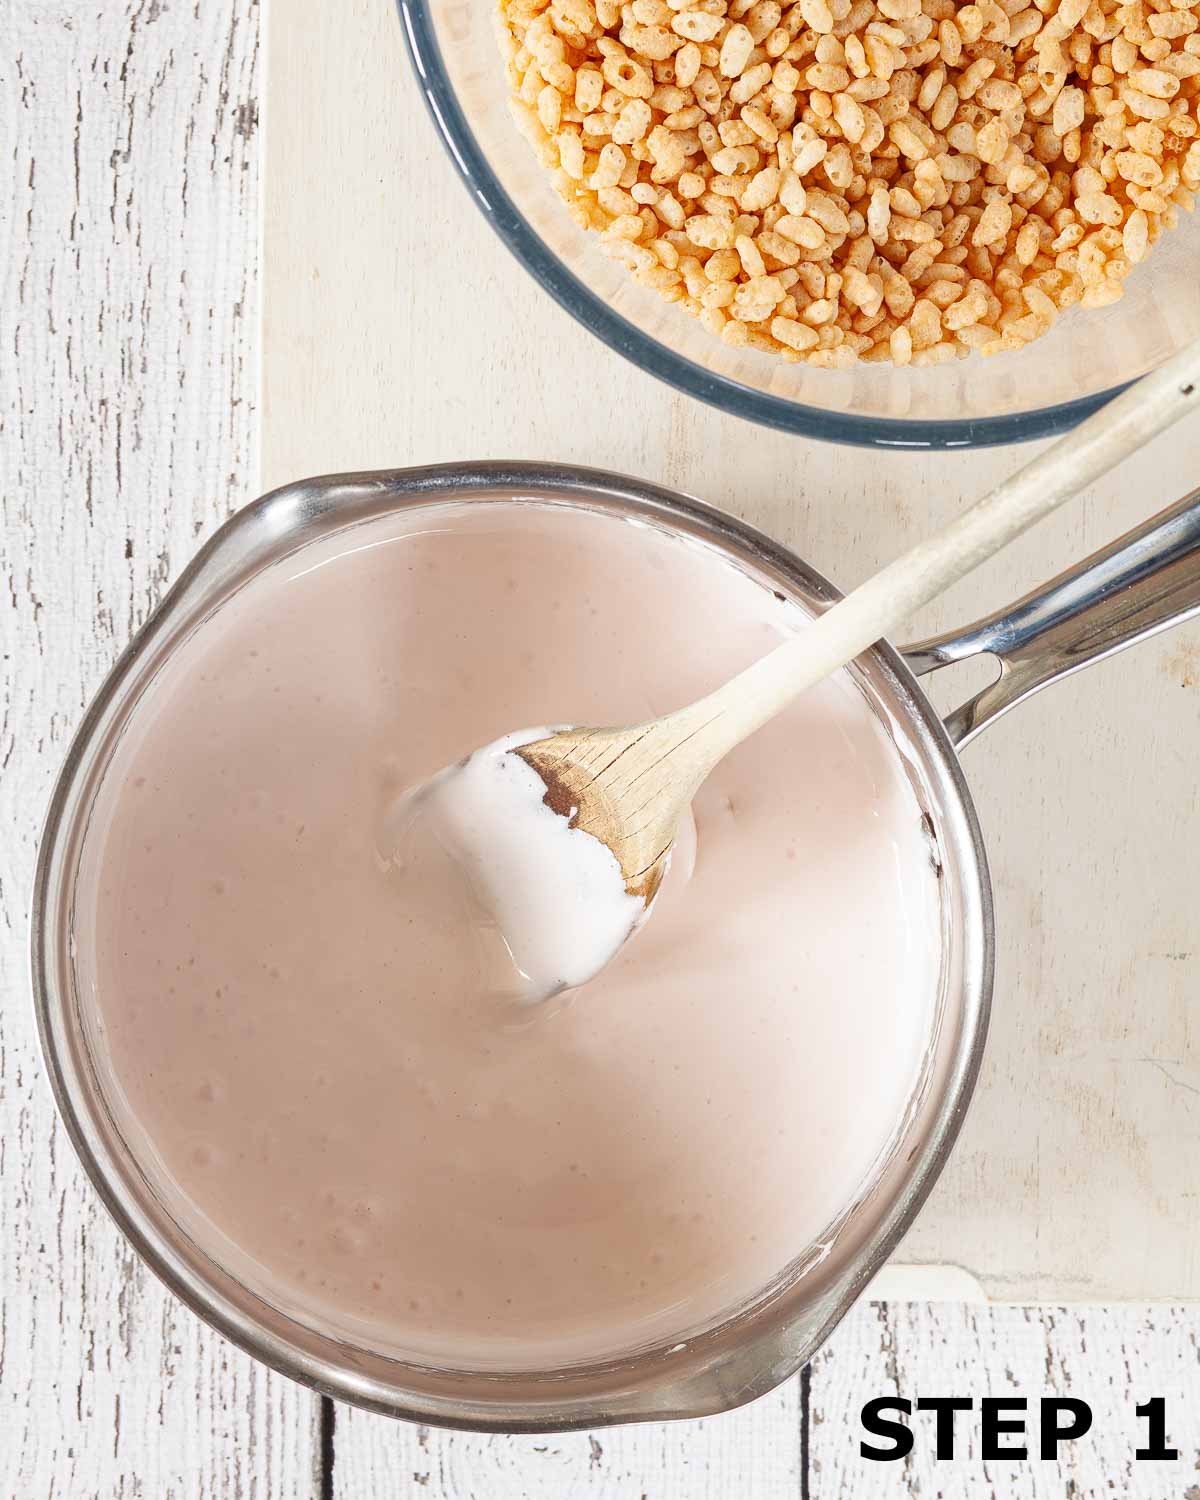
- Step 1: Melt the butter and marshmallows together in a pan. Stir until the ingredients combine fully.
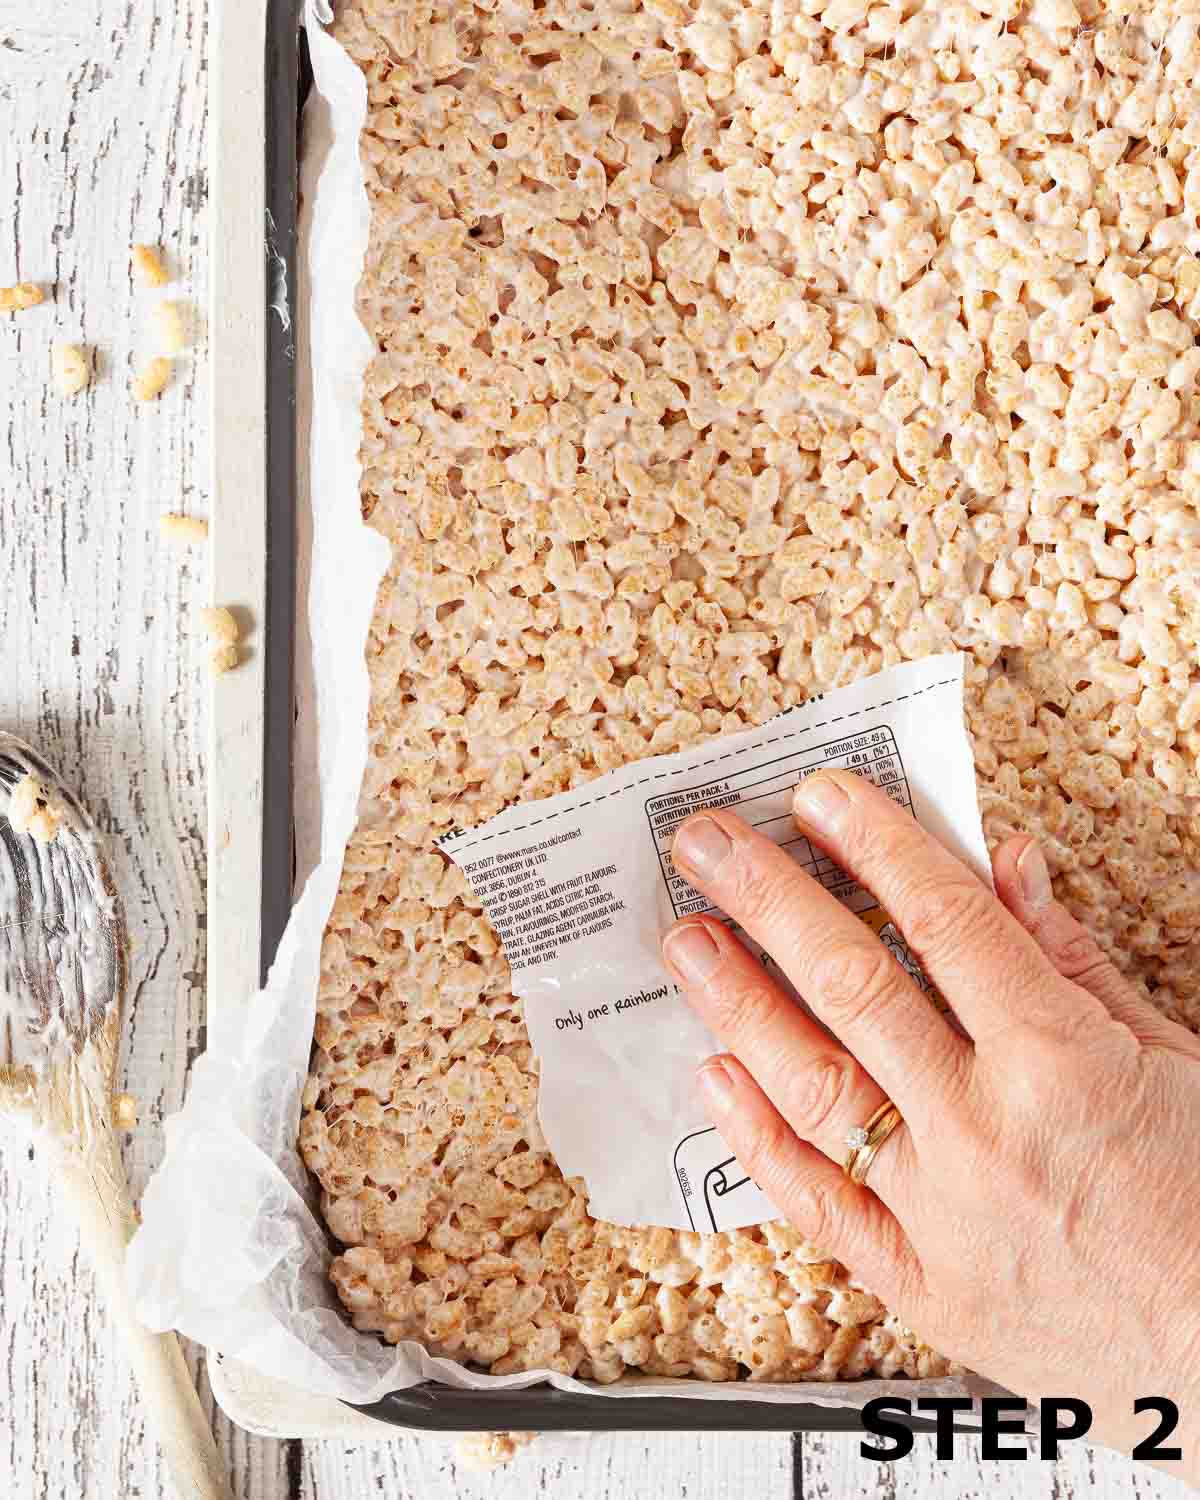
- Step 2: Mix in the Rice Krispies and, working quickly, tip the mixture into the baking tin and press it firmly down so that it spreads into all of the corners and you get a compact, level surface. Leave to set for around 20 minutes.
Stage 2: Make the Caramel Layer
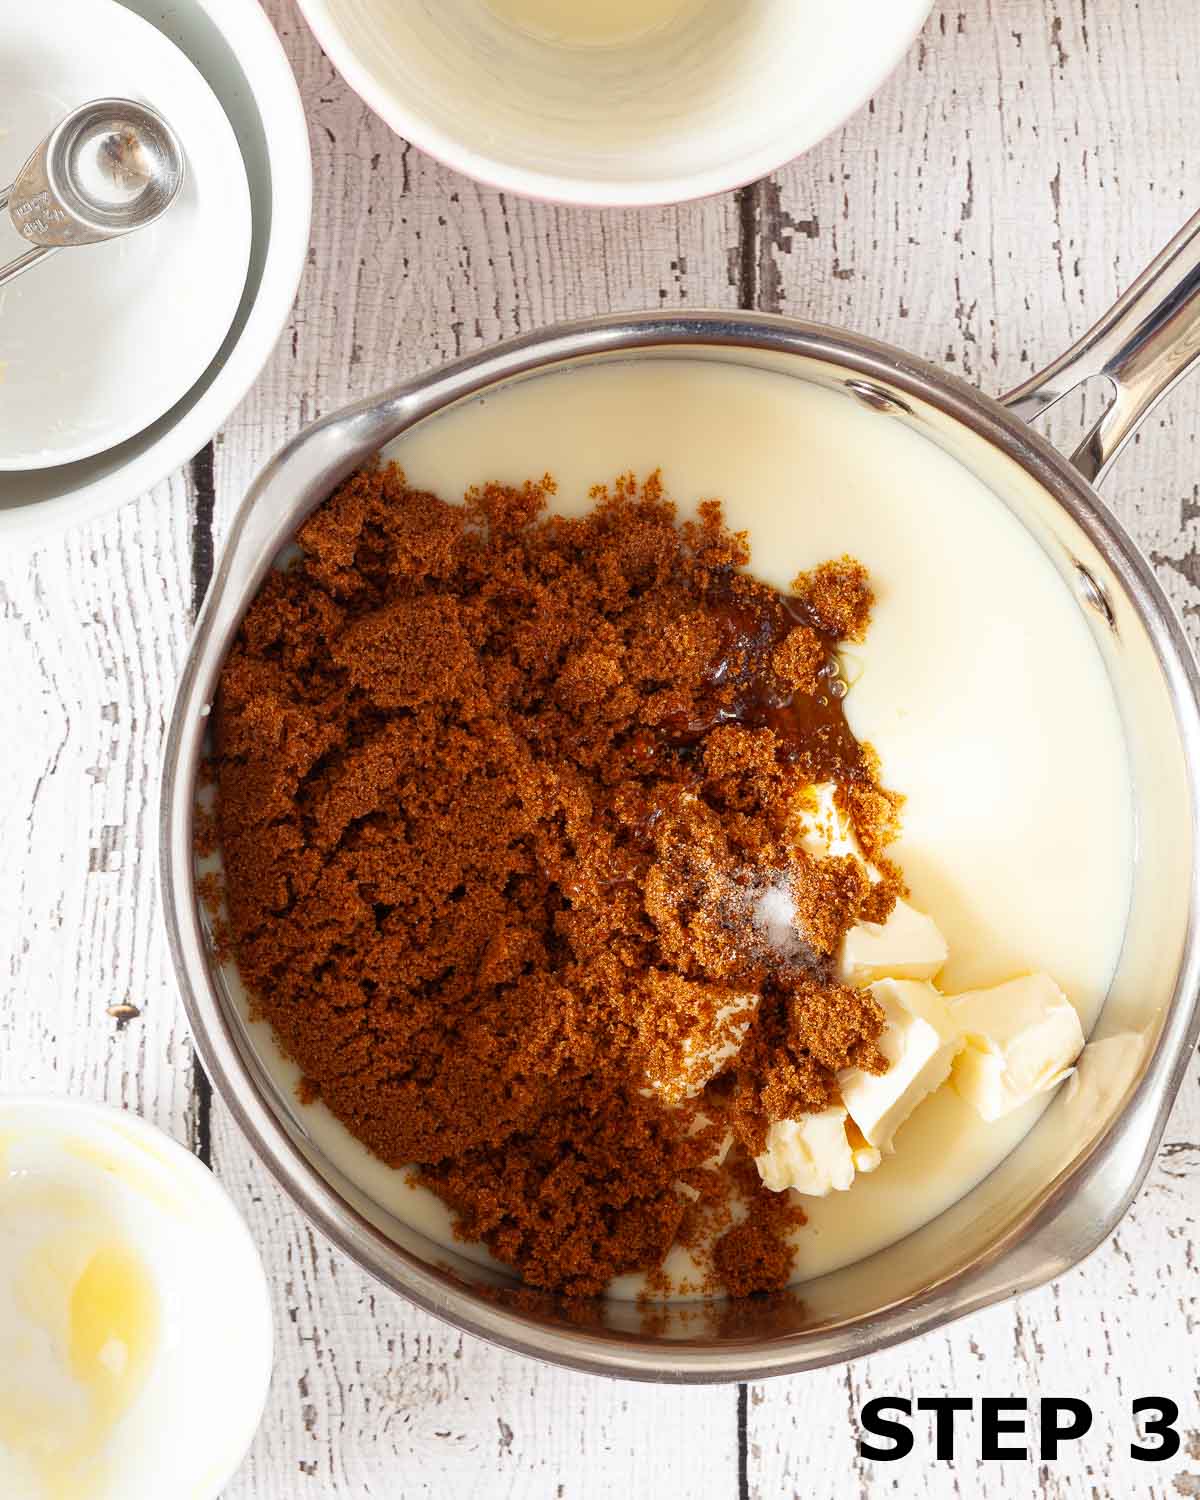
- Step 3: Put the condensed milk, butter, brown sugar, golden syrup and salt into a medium, heavy-based pan. Cook gently until the sugar dissolves, then turn up the heat slightly and bring the caramel to 115C/ 240F (the soft-ball stage). I use a Thermapen digital food thermometer to ensure the right temperature is reached.
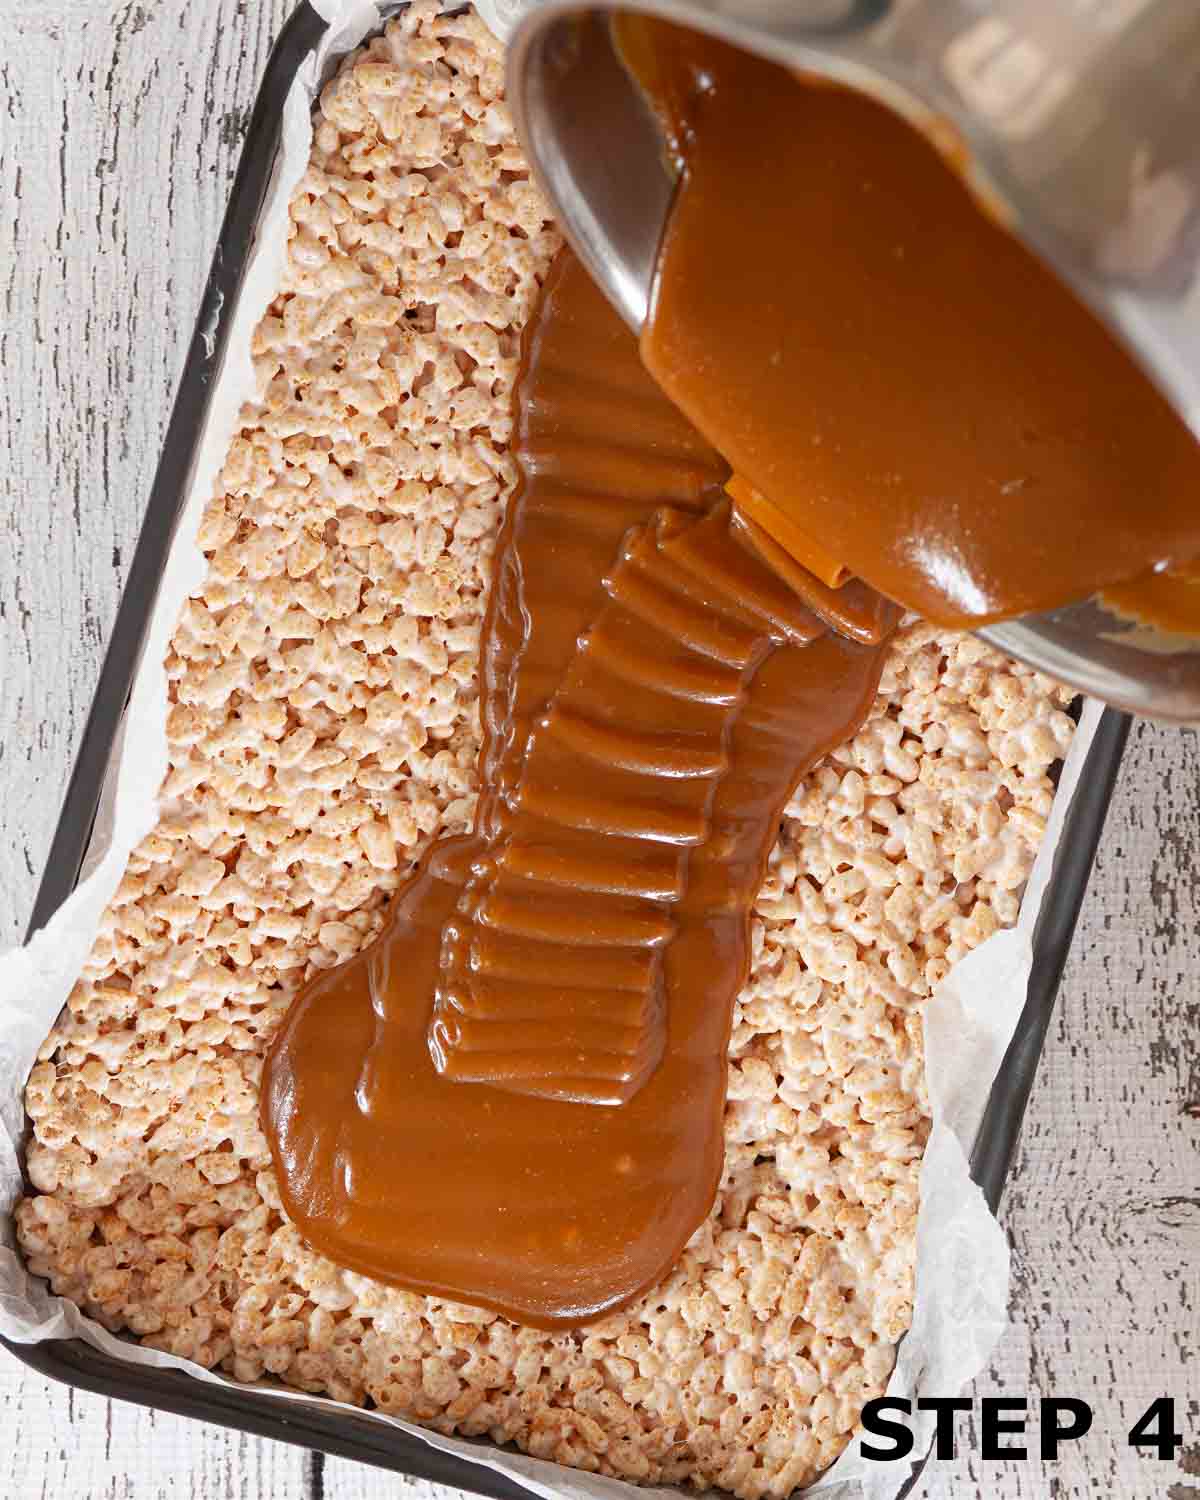
- Step 4: Once cooked, plunge the base of the pan into cold water to stop the cooking process, then set aside to allow the caramel to cool for 5-10 minutes. Spread the caramel over the Rice Krispies base and leave to set.
Stage 3: Add the Chocolate Top
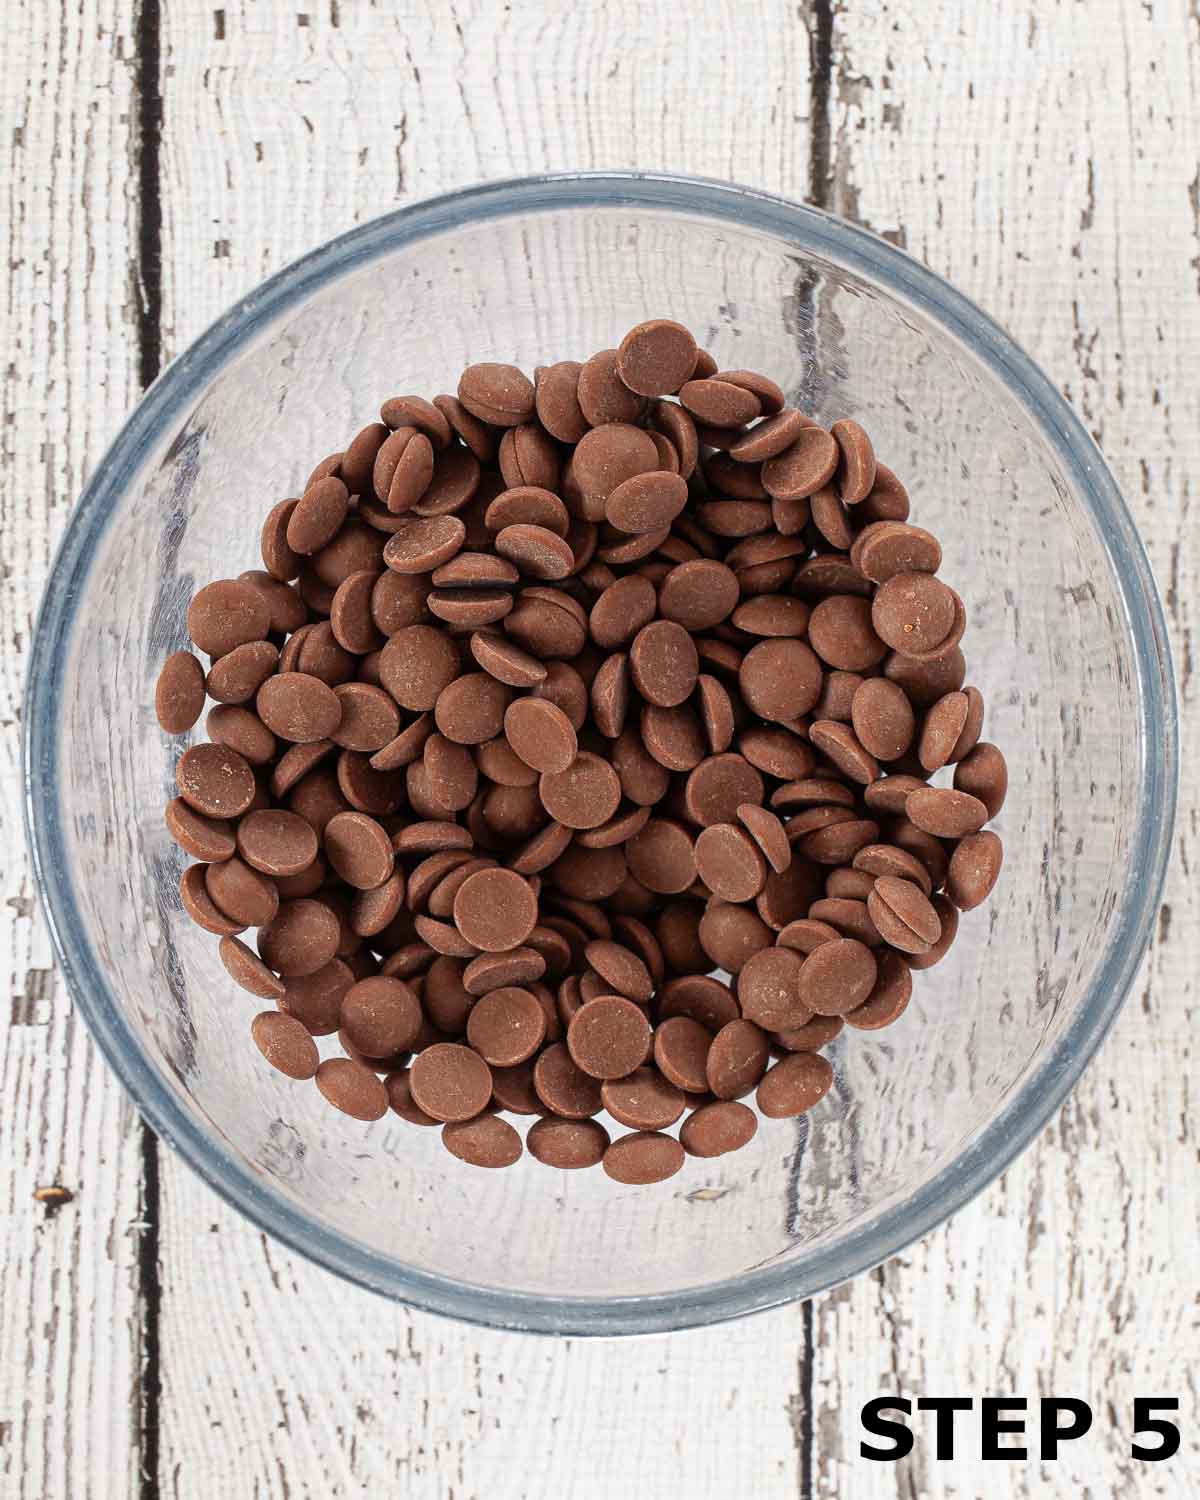
- Step 5: Put the chocolate into a heatproof bowl and melt gently, using either a microwave or a bain-marie.
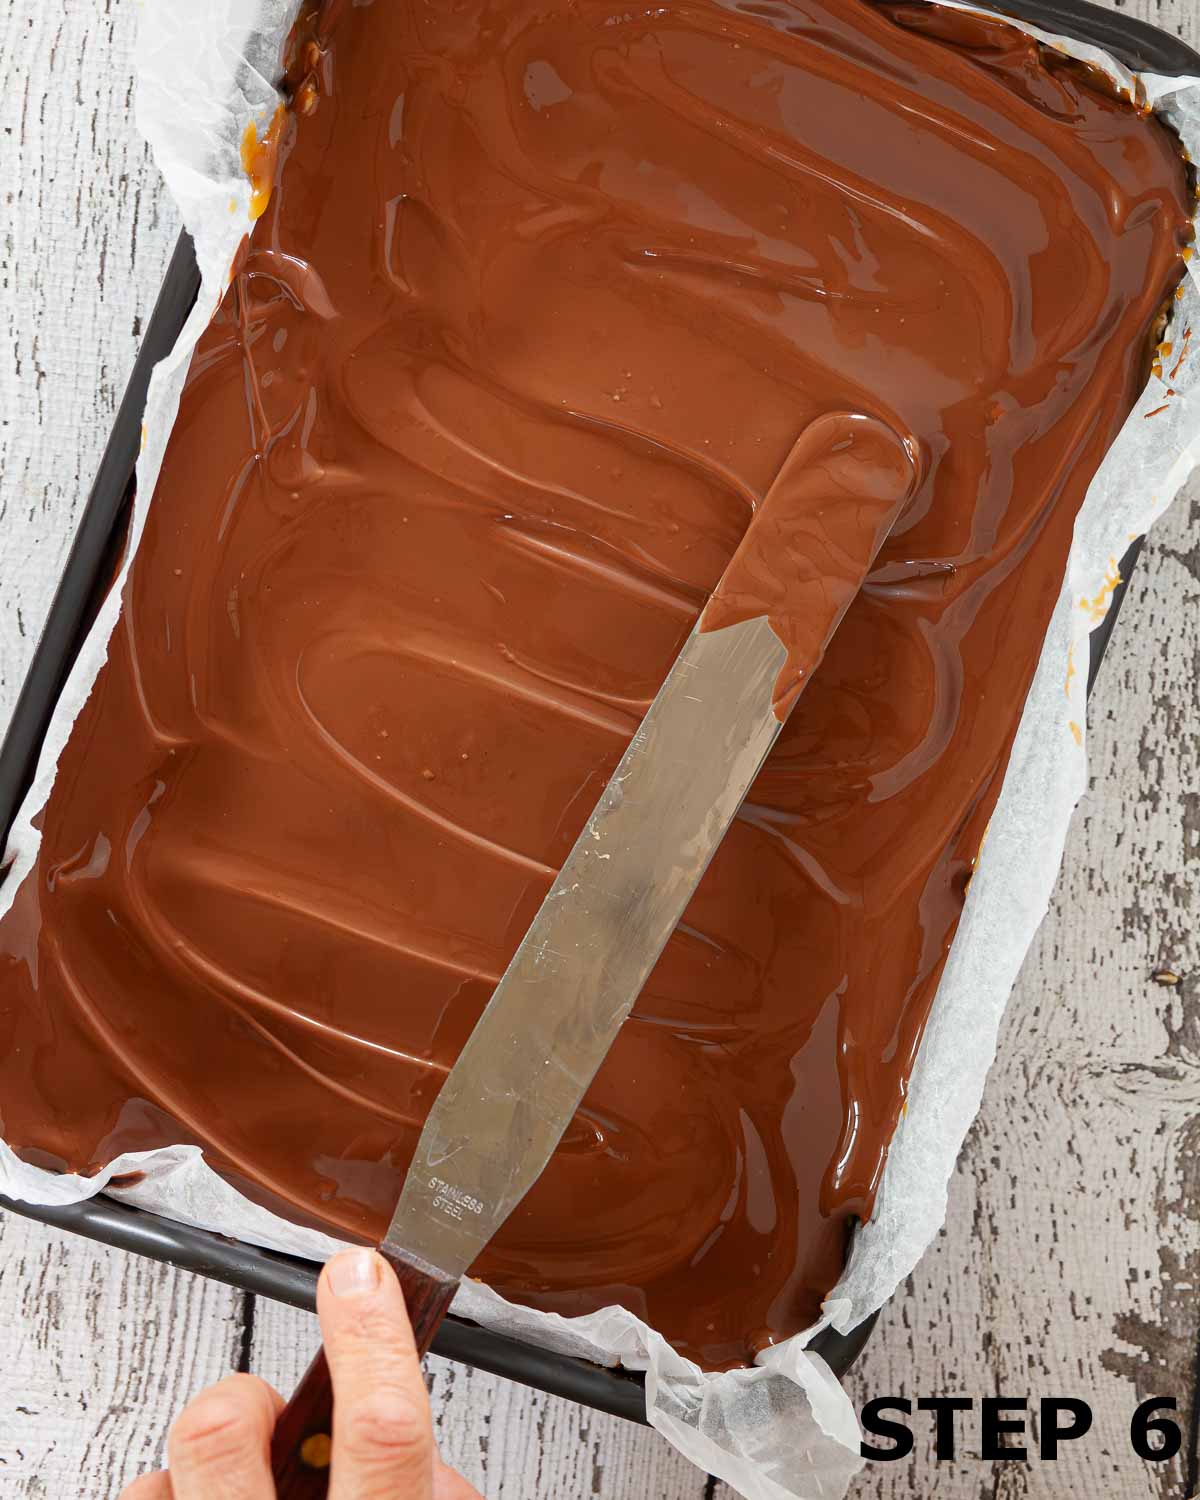
- Step 6: When fully melted, pour the chocolate over the caramel. Tilt the tin gently to get the chocolate to run to the corners or use a palette knife to spread it out. Leave it to set.
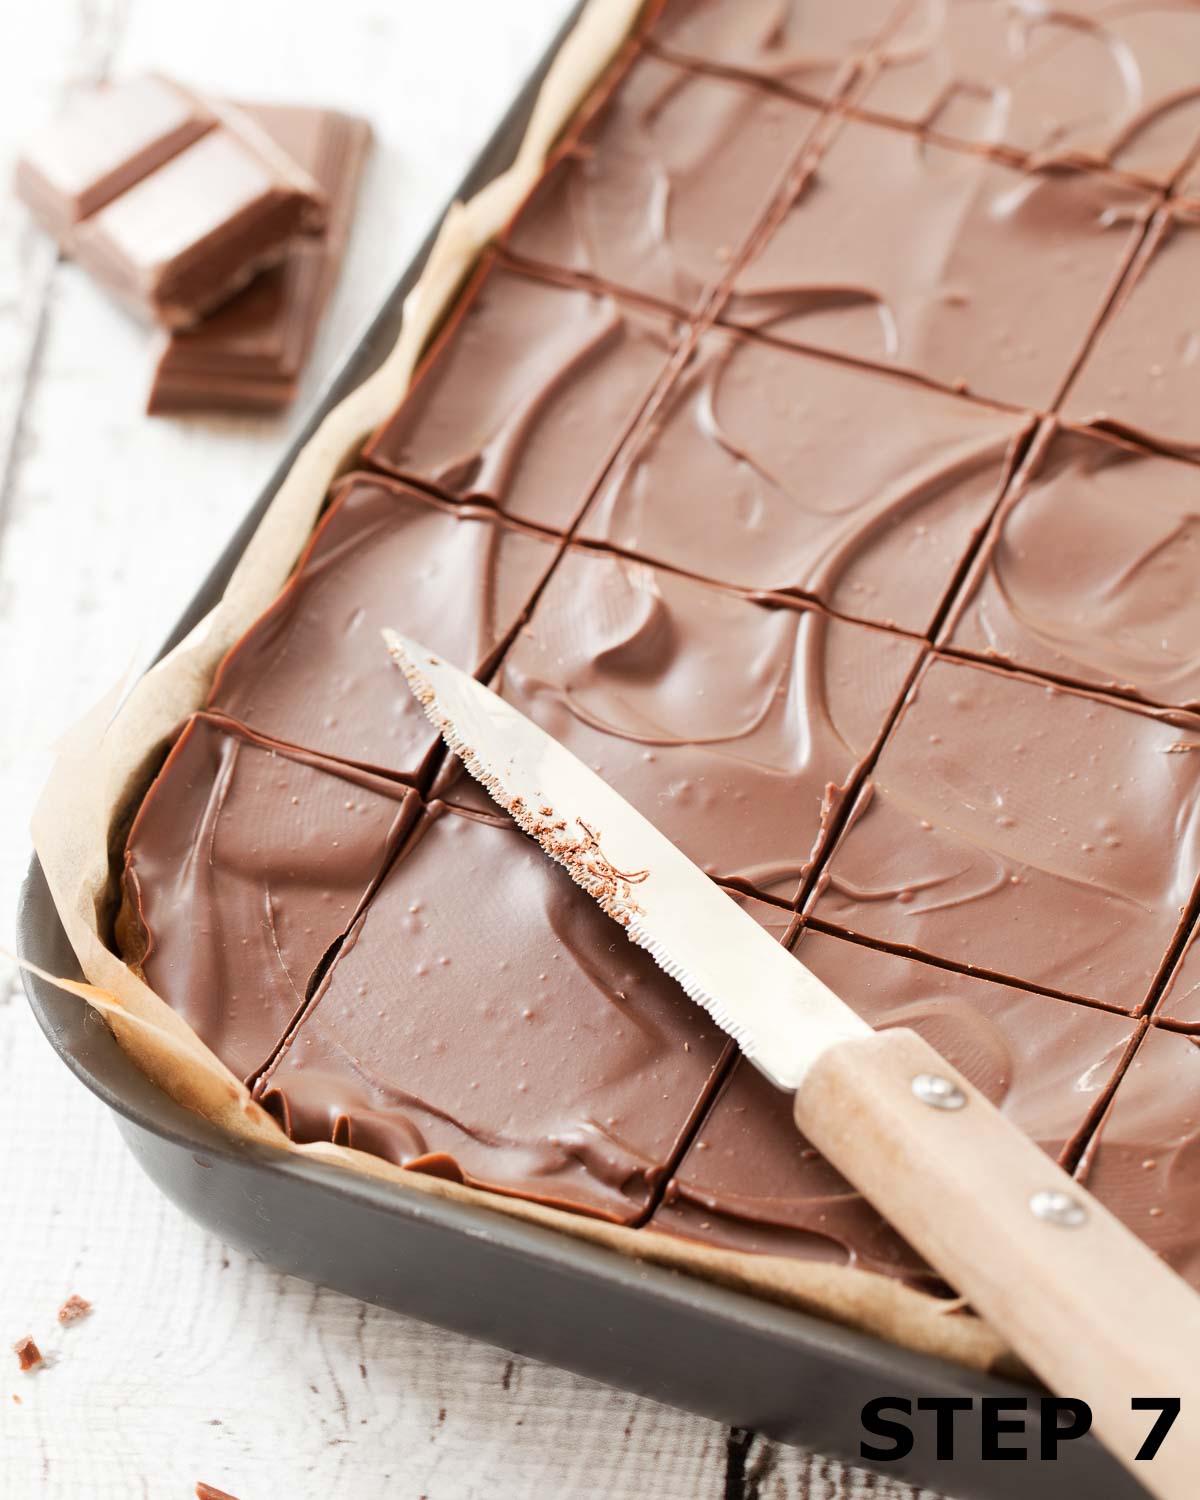
- Step 7: When set, use a warmed knife to cut the caramel Rice Krispies treats into bars or squares (wipe the knife clean and reheat it in between cuts to get a neat finish).
Expert tips
- Melt the marshmallows over a low-moderate heat: Slow and steady wins the race here - turning the heat up to high for a faster melt results in tough Rice Krispies treats.
- Don't use old marshmallows that are starting to dry out: They will not melt as well as they should.
- Classic pink and white marshmallows work far better than any other kind: Avoid the child-focussed versions that often have a sugary coating.
- How to spread the marshmallow mixture easily: Use greaseproof paper, wax paper or a piece of cellophane (from the marshmallow bag, depending on the type) to help negotiate the sticky mixture evenly into the tin and work quickly as it soon cools & stiffens up.
- Temper the chocolate: Optional, but it will result in a wonderful shine on your Rice Krispies bars with caramel and chocolate.
- Marble or feather the chocolate top for a polished finish: Use 2 contrasting types of chocolate, such as:
- semi-sweet dark chocolate with feathering of white chocolate.
- milk chocolate with a little dark chocolate marbled through.
Frequently asked questions
I cannot recommend this course of action. Margarine has a higher water content than butter. This additional water can wreak havoc with the final texture of the base in Rice Krispies treats. Stick with butter and have no regrets.
These caramel Rice Krispies bars can easily be made gluten-free. Simply swap the regular Rice Krispies for a gluten-free variety.
When it comes to slicing, I find that using a warmed knife helps cut through the chocolate without causing it to splinter. Just run the knife under a hot tap and dry it on a tea towel before cutting.
Be patient - it may seem a little fiddly, but the resulting neat caramel Rice Krispies bars will be worth the extra 5 minutes of effort.
Variations
- Make them salted caramel Rice Krispies squares - finely grind half a teaspoon of sea salt into the caramel before using it.
- Turn the Rice Krispies base chocolatey by mixing in 3 tablespoons of sieved cocoa powder.
- Scatter sprinkles over the top of the chocolate before it sets (here's a good example).
- Make them suitable for Easter by topping each square with half a mini caramel creme egg.
- Top with pieces of Twix bars to amplify the connection with millionaire's shortbread.
More child friendly treats to try


Or for other crowd-pleasing squares and bars take a flick through my easy traybake recipe collection.
If you've enjoyed this recipe for Rice Krispies bars with caramel and chocolate please leave a rating or comment below - you would make me very happy. Better still, why not show me a photo - post it on Instagram and tag #littlesugarsnaps so I can see it too.
Please add us as a trusted site on Google so that our recipes show up more in your searches!
Stay in touch: sign up to receive LittleSugarSnaps newsletters to hear when new recipes are published. Or follow me on social media:
📖 Recipe
Rice Krispies Bars with Caramel and Chocolate
Equipment
- 20x30cm baking tin with deep sides
Ingredients
For the base:
- 30 g Unsalted butter
- 150 g Marshmallows
- 90 g Rice Krispies
For the Caramel
- 397 g Condensed milk
- 110 g Dark brown sugar
- 90 g Unsalted butter
- 2 tablespoons Golden syrup
- Pinch of salt
For the topping:
- 150 g Milk chocolate Use 200g for a slightly thicker layer
Instructions
- Grease and line the baking tin with baking parchment.
- Cube the butter and put it, along with the marshmallows, into a heavy based pan set over a medium heat. Stir frequently until everything has melted.30 g Unsalted butter, 150 g Marshmallows
- Add the Rice Krispies and mix until thoroughly coated.90 g Rice Krispies
- Working quickly, tip the mixture into the baking tin and, using a piece of baking parchment, press it firmly down, so that it spreads into all of the corners and you get a compact, level surface. Set aside to cool completely (about 20 minutes).
- Put all of the caramel ingredients into a heavy based pan set over a medium heat. Stir frequently until the sugar has dissolved.397 g Condensed milk, 110 g Dark brown sugar, 90 g Unsalted butter, 2 tablespoons Golden syrup, Pinch of salt
- Turn up the heat slightly, and allow to boil gently until the temperature reaches 112°C - 115°C (234°F - 240°F). This is the soft ball stage. If you do not have a sugar thermometer, you can test for readiness by dropping a small amount of the caramel into some chilled water - it should form a firm ball that does not flatten when removed from the water, but squishes when squeezed.
- Once the caramel is ready, take the pan off the heat and plunge the bottom of it into cold water to stop the cooking process. Set aside and allow to cool for 10 minutes.
- Stir well, then pour over the cooled base. Set aside for at least 2-3 hours to firm up and cool completely.
- When the caramel layer has set, melt the chocolate: Put the chocolate into a heatproof bowl and heat on a mdeium heat in the microwave in short bursts or melt it over a bain-marie.150 g Milk chocolate
- Pour the melted chocolate over the caramel layer. Either tilt the tin to allow the chocolate to spread into the corners or use a palette knife to spread it out.
- Allow the chocolate to set before cutting your bake into squares. Tip: if you can be patient, using a warm knife to score through the chocolate helps to stop the chocolate cracking in all directions and gives you neater squares.
Notes
- Melt the marshmallows over a low-moderate heat: Slow and steady wins the race here - turning the heat up to high for a faster melt results in tough Rice Krispies treats.
- Don't use old marshmallows that are starting to dry out: They will not melt as well as they should.
- Classic pink and white marshmallows work far better than any other kind: Avoid the child-focussed versions that often have a sugary coating.
- How to spread the marshmallow mixture easily: Use greaseproof paper, wax paper or a piece of cellophane (from the marshmallow bag, depending on the type) to help negotiate the sticky mixture evenly into the tin and work quickly as it soon cools & stiffens up.
- Temper the chocolate: Optional, but it will result in a wonderful shine on your Rice Krispies bars with caramel and chocolate.
- Marble or feather the chocolate top for a polished finish: Use 2 contrasting types of chocolate, such as:
- semi-sweet dark chocolate with feathering of white chocolate.
- milk chocolate with a little dark chocolate marbled through.
Crystal says
Can you sub the butter in this recipe for coconut oil?
Jane Coupland says
Hi Crystal, that's not something I've tried to do. However, I'm not convinced it's a substitution that would work out well, so I do not recommend it. If you need to use a dairy-free alternative I suggest you use vegan block butter. I hope this helps.