

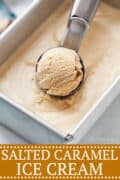
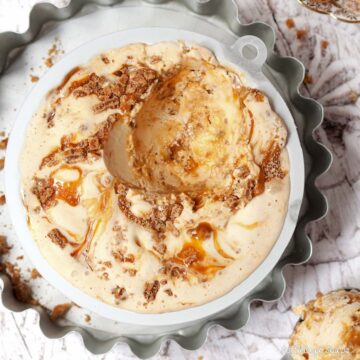
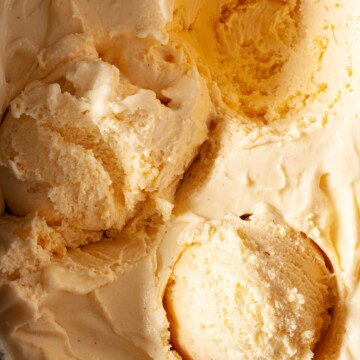
This homemade salted caramel ice cream recipe makes a dream dessert. Rich, creamy, sweet, salty and decadent.
If you enjoy sweet and salty treats don't miss my salted honey ice cream or my cinnamon chocolate cake with salted honey buttercream.
I like to give myself some challenges in the kitchen. This recipe for homemade salted caramel ice cream was me throwing down the ultimate gauntlet to my family.
Back in the summer of 2013 we holidayed in the South of France and found, on our campsite, a steady supply of salted caramel ice cream that each and every one of us agreed was the best ice cream we had ever tasted. Silky, creamy, sweet and salty. It was intoxicating frozen joy savoured by all of us, as often as possible, for the duration of the holiday.
For a long time, I vowed that I would never attempt to make my own salted caramel ice cream because I wasn't sure I could face the disappointment of being told, 3 times over, that the stuff in France was so much better than my paltry effort.
However, we have a long list of holidays to fit in before the kids leave home and a return to the same campsite, just for the sake of a frozen treat, seems just a bit too far-fetched. So I committed to making my own, doing the best job I could and living with the cruel remarks that would, inevitably, flow.
And here it is: homemade salted caramel ice cream.
How to make salted caramel ice cream
My recipe for salted caramel ice cream relies on two components:
- homemade salted caramel sauce
- a classic custard-style base comprised of sugar, egg yolk, vanilla milk and cream
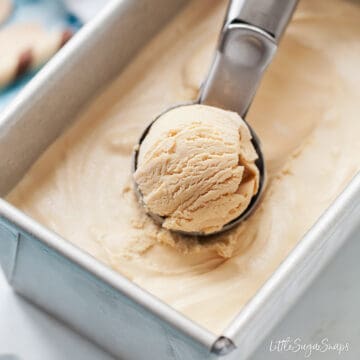
Once both components have been made, they are blended together and cooled before being churned into ice cream.
Make the caramel
Made from only 4 simple ingredients this homemade caramel is particularly easy. It doesn't even need a sugar thermometer:
- Put the water into a heavy-based saucepan. Spread the sugar on top in an even layer
- Set the pan over a medium heat and allow the sugar to gradually melt
- Meanwhile put the sea salt into a pestle & mortar & crush lightly
- Once the sugar has melted, the caramel will begin to darken. Continue to let it cook until it reaches a lovely mid amber colour - keep a close eye on the caramel as it cooks since it can burn easily
- Add ¼ of the cream and the salt, taking care as it can bubble up and it is extremely hot. Mix with a small handheld whisk until fully incorporated. Add another ¼ cream, stir well then add the remaining cream, whisking until thoroughly blended
- Remove from the heat and set aside to cool
Quite how far you want to develop those caramel flavours in step 4 is up to you:
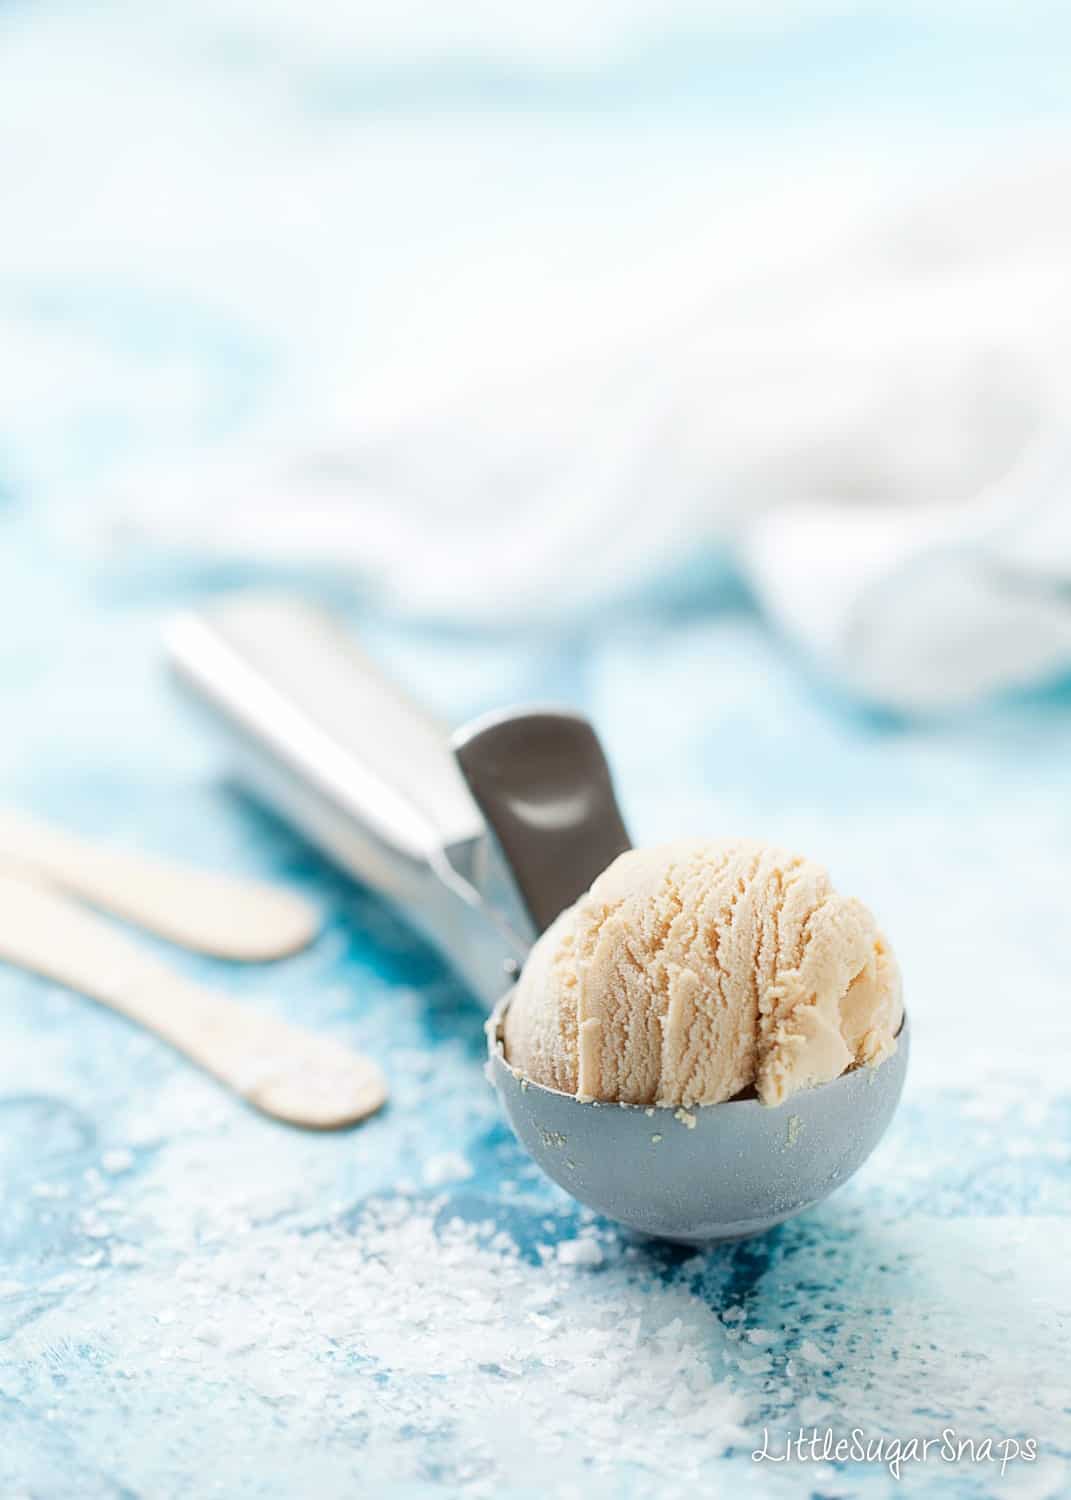
- When cooked to mid amber, the result will be a pure, deeply addictive, salty caramel all wrapped up in smooth, creamy ice cream.
- For sweet caramel with slightly bitter, toasty undertones cook the caramel a little longer until a dark amber colour is achieved. These qualities, and the salty kick, blend extremely well with the creaminess of the ice cream. Do take care not to overdo the cooking and wind up with burnt caramel though. That will not make pleasant ice cream
What I like best about salted caramel in general is how the saltiness tones down the overtly sweet nature of caramel, bringing a slightly savoury edge to the mix.
And just like the intensity of the caramel, the saltiness is something that can be adjusted to suit your own palate. The recipe for salted caramel ice cream that I'm presenting gives my ideal level of saltiness. But feel free to play around by adding less or more to suit your own tastes. That's the beauty of homemade - you get the final say.google maps driving directions
Make the custard base
Again, making the custard base for this ice cream is straightforward but it does also require your full attention. It is imperative that the ingredients are stirred constantly in step 4 to ensure a lump-free custard is achieved:
- Put the milk into a medium saucepan and heat to just below boiling
- Meanwhile beat the sugar, vanilla and egg yolks with an electric beater until pale and thick
- Gradually pour the hot milk onto the egg mixture, beating constantly
- Pour the custard into the saucepan, along with the caramel and stir well. Cook on a low heat, stirring constantly until thickened
- Once the mixture coats the back of a spoon, take off the heat, cover with a layer of clingfilm (to stop a skin forming), let cool, then chill for 4 hours (or overnight)
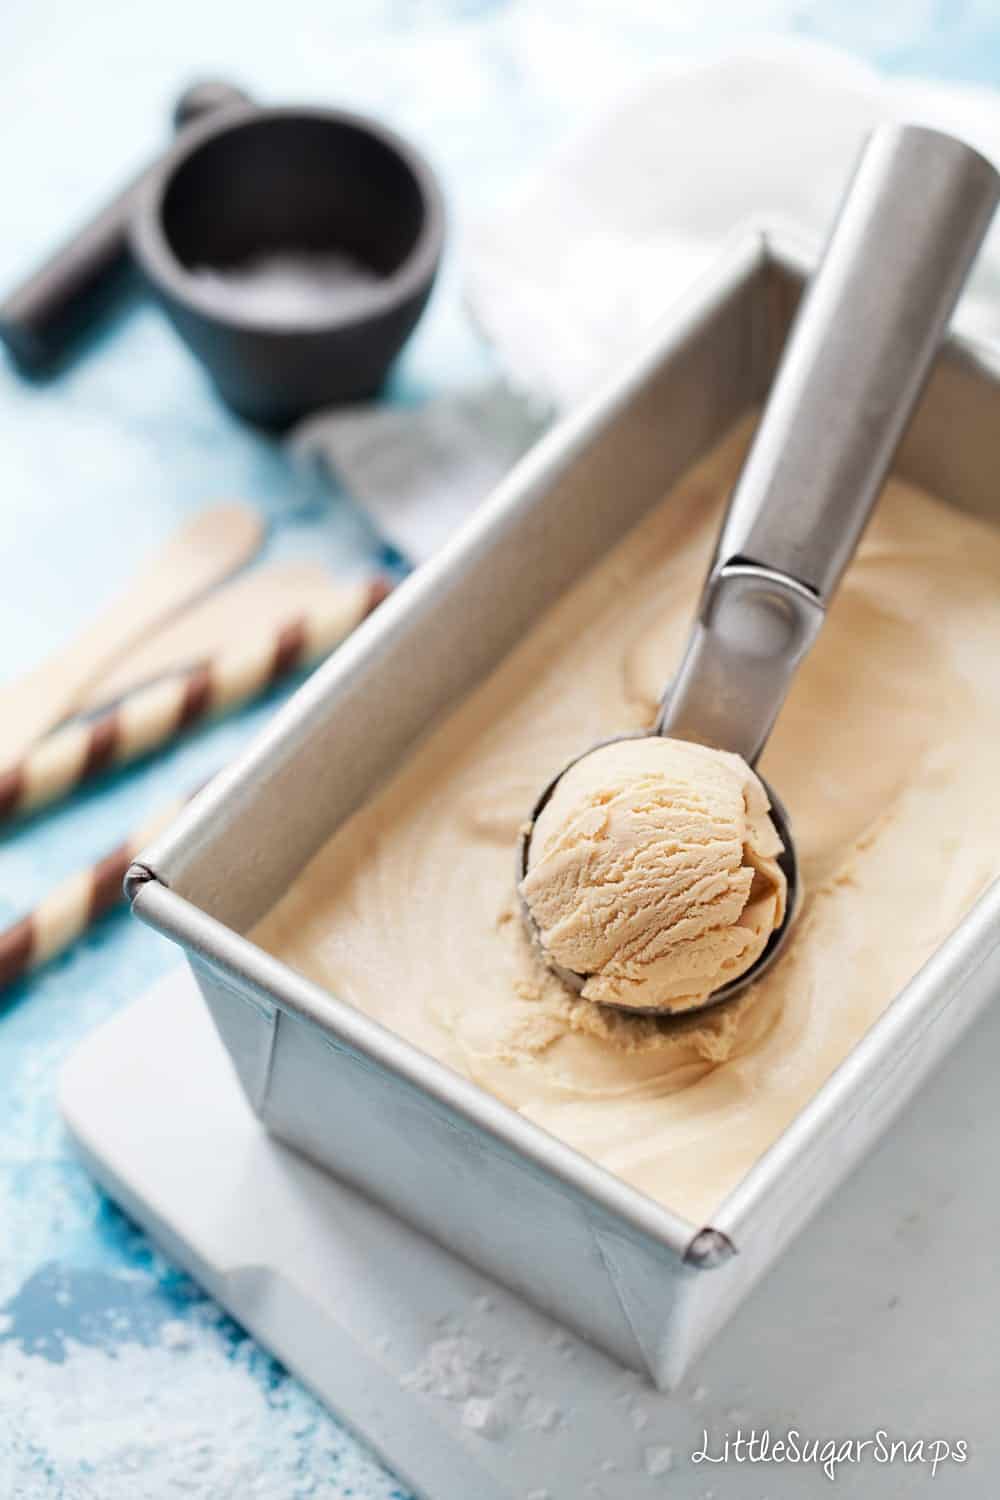
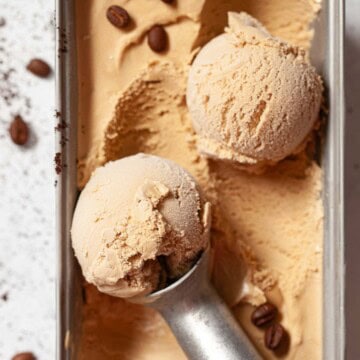
How to churn ice cream
There are 2 ways to churn homemade ice cream:
- manually (by hand)
- using a purpose-made machine
I've tried both techniques and can tell you that great results can be achieved with either. Of course, the former is more time consuming, but if you are tight on space or budget for kitchen gadgets, then just follow my guide and you'll be well on your way to dreamy, creamy homemade salted caramel ice cream.
Churning ice cream by hand
Churning by hand, (aka still freezing) is achievable provided you have a freezer compartment at home and can dedicate regular time to it:
- Ensure your freezer temperature is set to -18C (0F)
- When the ice cream batter is ready, transfer it to a suitable freezer container, cover and put it in the coldest part of your freezer for 90 minutes
- The sides should be beginning to freeze, but the centre will be soft and slushy
- Remove from the freezer and, working quickly, use electric beaters to beat the ice cream until the ice crystals are uniform. Cover and place back in the freezer
- Repeat this process 4-8 more times at 1 hour intervals - the better the texture will be the more the process is repeated
- Cover the ice cream with greaseproof paper or foil and freeze for a further 3 hours or overnight
- Remove from the freezer 10 minutes before serving
It is essential to keep beating the ice cream regularly. Simply placing the batter in the freezer and forgetting about it will result in a hard and icy block that is impossible to scoop and not too pleasant to eat.
Churning ice cream by machine
This is a far less time-consuming way of making ice cream. All ice cream makers will differ, so do refer to the instructions on your specific machine.
I have an inexpensive MagiMix that I've come to love in recent years. I simple pre-freeze the churning bowl then I pour my prepared batter in and let the machine churn away for 20-30 minutes.
If I were to ever replace my current machine, I'd be tempted by this Cuisinart model that does not require the bowl to be pre-frozen before use.
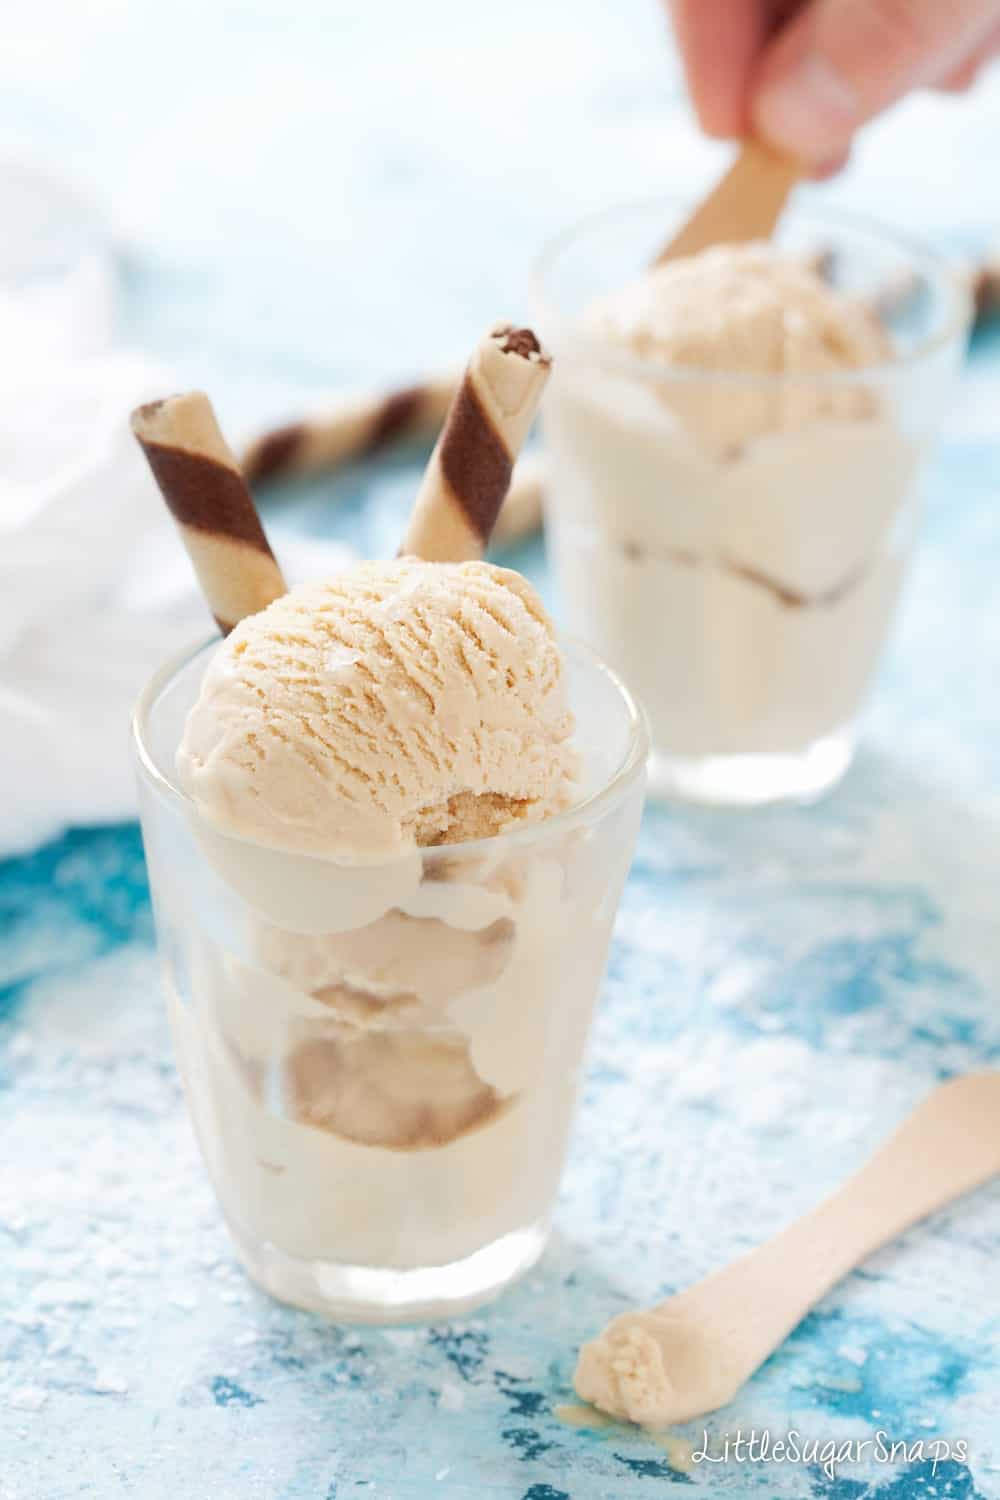
And the ultimate test: the family verdict.... this recipe for homemade salted caramel ice cream creates a surprisingly good match to the stuff of dreams in France. Remarkably close. A very close second. Oh blimey.
Keep feeding your ice cream addiction

Have you made this recipe for salted caramel ice cream. I hope you enjoyed it. Please let me know by leaving a review.
Please add us as a trusted site on Google so that our recipes show up more in your searches!
Stay in touch: sign up to receive LittleSugarSnaps newsletters to hear when new recipes are published. Or follow me on social media:
📖 Recipe
Homemade Salted Caramel Ice Cream
Ingredients
For the Salted Caramel
- 150 g/ ¾ cup Caster sugar
- 2 tablespoon Water
- 300 ml/ 1 ¼ cups Double (heavy) cream
- 1 ¼ teaspoon Sea salt crystals
For the Custard Base
- 1 ½ tablespoon Caster sugar
- 1 teaspoon Vanilla extract
- 6 Egg yolks
- 300 ml/ 1 ¼ cups Whole milk
Instructions
Make the Caramel Sauce
- Put the water into a heavy based saucepan. Spread the sugar on top in an even layer
- Set the pan over a medium heat and allow the sugar to gradually melt. As it melts you can gently swirl the pan a couple of times to ensure the caramel cooks evenly, but do not stir it
- Meanwhile put the sea salt into a pestle & mortar & crush lightly
- Once the sugar has melted, the caramel will begin to darken. Continue to let it cook until it reaches a lovely mid amber colour - but keep a close eye on the caramel as it can burn easily. Let it go darker for a more intense, almost burnt flavour
- Add ¼ of the cream and the salt, taking care as it can bubble up and is extremely hot. Mix with a small handheld whisk until fully incorporated. Add another ¼ cream, stir well then add the remaining cream, whisking until thoroughly blended
- Remove from the heat and set aside
Make the Custard Base
- Put the milk into a medium saucepan and heat to just below boiling
- Meanwhile beat the sugar, vanilla and egg yolks with an electric beater until pale and thick (about 3 minutes)
- Gradually pour the hot milk onto the egg mixture, beating constantly
- Pour the custard into the saucepan, along with the caramel and stir well. Cook on a low heat, stirring constantly until thickened. It is vital to heat slowly and stir constantly to avoid the custard splitting
- Once the mixture coats the back of a spoon, take off the heat, cover with a layer of clingfilm (to stop a skin forming), let cool, then chill for 4 hours (or overnight)
Making the ice cream using an ice cream maker
- Pour the custard into your ice cream maker and churn according to the manufacturer's instructions
- Serve immediately or transfer the ice cream into a freezer-proof container, cover the surface directly with greaseproof paper or foil and store in the freezer. (Remove from the freezer 10 minutes before serving).
Making the ice cream by hand
- Pour the ice cream into a suitable freezer-proof bowl, cover and put it in the freezer for 1-1 ½ hours. The sides should be beginning to freeze, but the centre will be soft and slushy
- Remove from the freezer and, working quickly, use electric beaters to beat the ice cream until the ice crystals are uniform. Cover and place back in the freezer
- Repeat this process 4-8 more times at 1 hour intervals - the better the texture will be the more the process is repeated
- Cover the ice cream with greaseproof paper or foil and freeze for a further 3 hours or overnight
- Remove from the freezer 10 minutes before serving
Julie says
I love salted caramel anything and this ice cream has me drooling!
Jane Saunders says
We've scoffed the lot now 🙂 and I'm looking forward to making some more very soon.
Melissa @ Insider The Kitchen says
This looks freaking amazing Jane. I’m so glad I’m not the only person who stands over my creations and eats them with a spoon without even sitting down.
Jane Saunders says
Thanks Melissa - isn't it one of the perks of the job?
Tracy says
Ahhhh this is my FAVORITE ice cream flavor! I'm not a huge fan of ice cream, but I cannot resist a great salted caramel ice cream! I can't wait to make this!
Jane Saunders says
Well, it seems this will be perfect for you. I'm very fussy with my ice cream - I like it firm and packed full of flavour - soft scoop leaves me cold (no pun intended)
Pamela (BrooklynFarmGirl) says
I love salted caramel! This looks absolutely amazing, I have to try this recipe.
Jane Saunders says
Thanks Pamela - enjoy it soon.
Kirsty says
I've just been thinking that I need to get making ice cream again soon so this is perfect timing. Looks delicious and it sounds like you managed to please a tough crowd!
Jane Saunders says
Glad I've given you the ice cream nudge you needed 🙂
Shashi at Savory Spin says
This looks wonderful - and am willing to bet that first one with slightly burnt undertones would have been just as scrumptious too!
Jane Saunders says
Oh it was. In fact, I had a slight preference for it. Thanks for stopping by Shashi.
Katie | Healthy Seasonal Recipes says
I love getting inspiration from things we love while traveling. So glad you went for it and decided to tackle it! This looks incredible!
Jane Saunders says
Thankyou Katie - I'm glad I tackled it too.
Liz @ I Heart Vegetables says
Wow this ice cream sounds delicious! So perfect for summer!
Jane Saunders says
Thanks Liz
Deanna says
I cant wait to get my ice cream maker out!! This looks so yummy!!!
Jane Saunders says
Thanks Deanna
Sarah says
Ahhh! Last night I kept going back and forth as to whether or not I should buy an ice cream maker...and I decided that I shouldn't...until I saw this recipe. Oh my word! Ordering tonight, making as soon as it comes in!
Jane Saunders says
Definitely do get on and order yourself one! I was making some ice cream during December and I thought my machine had broken so I ended up making it by hand - whisking every hour or so. Although the result was fine, it was much more of a time commitment... and I'm not great at remembering to do things every hour 🙂 Oh, and of course my machine wasn't really broken, it was just teasing me.